Pin It
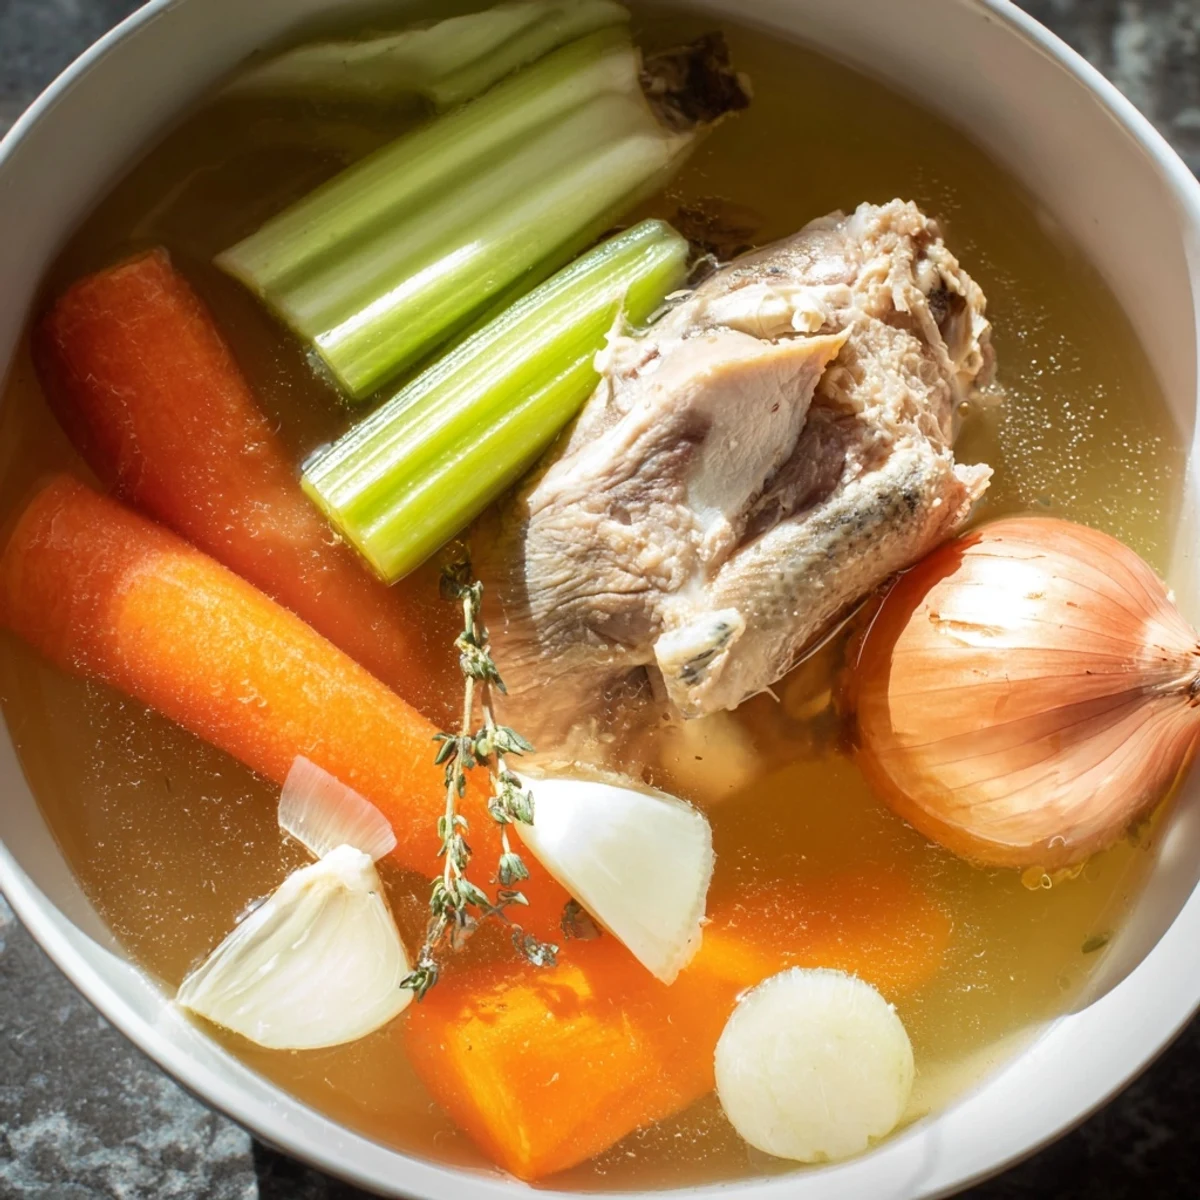
 This chicken bone broth is crafted by gently simmering poultry bones with fresh ginger and aromatic vegetables for hours to extract deep flavor and nutrients. The slow cooking releases minerals and collagen, resulting in a rich, nourishing liquid that serves both as a comforting drink and a base to enhance soups, sauces, and grains. Added herbs brighten the profile, while optional roasting of bones intensifies the taste. Ideal for gluten-free and paleo diets, this broth is both versatile and wholesome.
There's something meditative about watching bones transform into liquid gold over hours on the stove. My grandmother swore that bone broth was the answer to everything, and while I rolled my eyes at first, I found myself making it constantly once I understood the quiet power of patience and simple ingredients. The house fills with this warm, umami-rich smell that no candle could ever replicate, and somehow it became my favorite reason to spend a slow afternoon in the kitchen.
I made this for my sister when she was recovering from surgery, and she called me three weeks later just to say she'd made it again herself. She never cooks, but something about slowly sipping broth while reading felt healing in a way that mattered. That's when I realized this wasn't just a recipe, it was a small act of care you could bottle and freeze.
Ingredients
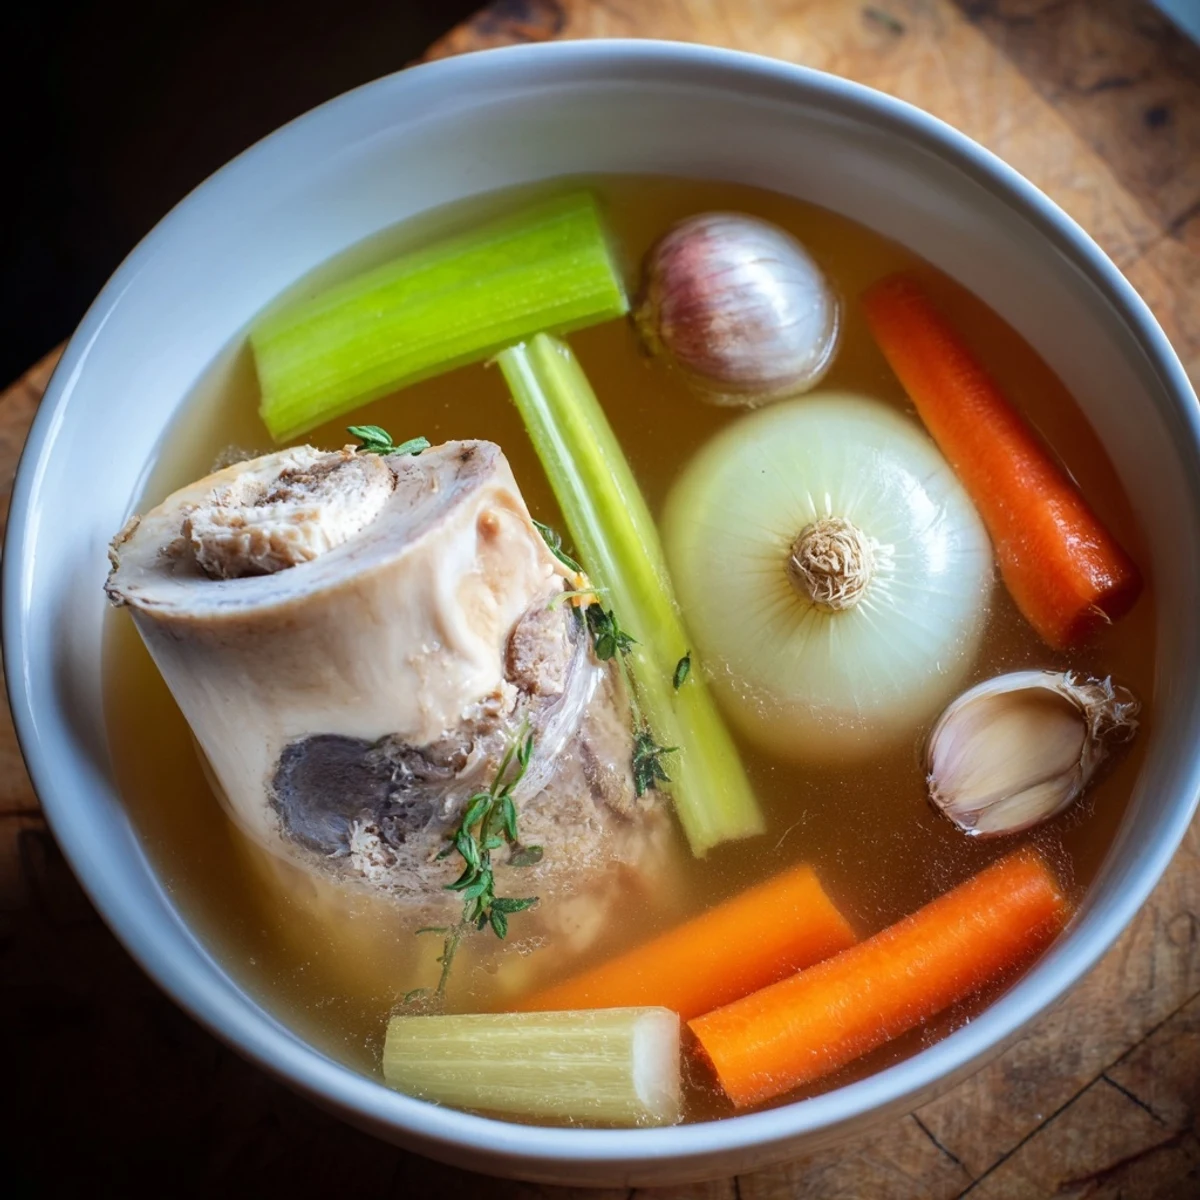
- Chicken bones (1.5 kg / 3 lbs): Use whatever you have—carcasses from roasted chickens, wings, necks, or a jumble of everything. The variety creates a deeper flavor than just one type.
- Onion (1 large, quartered): Keep the papery skin on; it adds color and subtle sweetness without any extra effort.
- Carrots (2 medium, roughly chopped): No need to peel them, just rinse well. The rough chop means they release flavor faster.
- Celery (2 stalks, roughly chopped): This is the backbone of flavor, so don't skip it even if it seems boring.
- Garlic (1 whole head, halved crosswise): Garlic mellows beautifully over hours, becoming almost sweet and savory at once.
- Fresh ginger (75 g / 3-inch piece, sliced): This is what makes the broth sing—the warmth and slight spice feels like a hug in a bowl.
- Bay leaves (2): These quiet herbs add an herbal undertone that keeps things sophisticated.
- Black peppercorns (1 tsp whole): Whole peppercorns stay gentle during long cooking, never turning bitter.
- Sea salt (2 tsp): Taste as you go; you can always add more but you can't take it back.
- Cold water (3 liters / 12 cups): The quantity matters—it should cover everything and give the broth room to concentrate.
- Apple cider vinegar (1 tbsp, optional): A small splash helps coax minerals from the bones, making the broth even more nourishing.
- Fresh herbs (thyme or parsley, optional): Add these in the last 30 minutes if you want brightness, but the ginger already carries the aromatics beautifully.
Instructions
- Gather your bones and vegetables:
- Place bones in your largest pot—they should sit comfortably with room around them. Toss in the onion, carrots, celery, garlic, and ginger right on top. This rough layering is exactly what you want.
- Add the water and seasonings:
- Pour in cold water until everything is covered by a couple of inches. Scatter in bay leaves, peppercorns, salt, and vinegar if you're using it. Cold water draws out flavor gradually, unlike hot water which rushes the process.
- Bring and skim:
- Turn heat to medium-high and let it come to a gentle boil. You'll see foam and grayish impurities rise to the surface, especially in the first 30 minutes—skim these off with a ladle or large spoon. This step isn't absolutely necessary, but it creates a cleaner, clearer broth that feels more refined.
- Settle into a simmer:
- Once you've done your initial skimming, drop the heat to very low. The broth should barely move, with only a lazy bubble or two breaking the surface. Too vigorous a simmer will cloud the broth and make the vegetables fall apart into sediment.
- Let time do the work:
- This is where patience becomes your ingredient. Simmer for four hours, occasionally peeking to skim any last bits of foam and topping with water if the bones start peeking above the liquid. The longer it goes, the deeper and richer the flavor becomes.
- Final touches:
- In the last 30 minutes, add fresh thyme or parsley if you want. Then remove from heat and let it rest for a few minutes while you set up your straining station.
- Strain with care:
- Pour slowly through a fine-mesh sieve or layered cheesecloth into a large bowl, letting gravity do the work rather than forcing it. Discard all the solids—they've given everything they have.
- Cool and store:
- Let the broth cool to room temperature, then refrigerate. A layer of golden fat will solidify on top, which you can skim off if you prefer a lighter broth, or leave for extra richness. It keeps for five days in the fridge and up to three months in the freezer.
 Pin It
 My best friend came over on a gray November afternoon when everything felt off, and I poured her a warm mug of this broth with just a pinch of sea salt. We sat in silence for a few minutes, and then she smiled. Sometimes food isn't about taste or nutrition; it's about feeling someone understood exactly what you needed without having to ask.
Flavor Building Moments
The ginger is what transforms this from a basic broth into something memorable—it builds a warmth that works as a drink on its own, but also hides beautifully under the flavors of soups and risottos. The aromatics (onion, garlic, carrot, celery) create the savory foundation, while the ginger adds dimension that keeps people guessing about what makes it taste so comforting. Taste the broth at the end and trust your instinct; if it needs more depth, a splash of soy sauce or a piece of kombu (dried kelp) can add umami richness without overpowering the ginger.
Beyond the Basic Recipe
Once you have this broth, it becomes your foundation for almost anything. Use it as the liquid for cooking rice or quinoa, as the base for a quick weeknight soup, or even warmed with a touch of honey as a nighttime drink. Some people roast the bones and vegetables at 220°C (425°F) for 30 minutes before simmering to deepen the color and create a darker, richer broth that feels more substantial. The roasted version takes the same time to simmer but tastes like it's been on the stove for twice as long.
Freezing and Making It Last
The true magic of making broth is that you can multiply its usefulness by freezing it smart. Ice cube trays are your best friend for portions you'll actually use in everyday cooking; muffin tins work for slightly larger amounts perfect for warming as a morning drink. Once frozen, pop them into labeled containers or bags and stack them in your freezer, and you'll have homemade broth ready whenever you need comfort, nourishment, or a soup base. This is the kind of kitchen abundance that transforms how you cook and eat.
- Freeze in portions that match how you actually cook—cubes for flavor, pints for drinking, larger tubs for soup-making days.
- Label everything with the date so you remember this is four-hour-simmered gold, not mystery liquid.
- A batch of broth in the freezer is like having your own insurance policy against takeout cravings.
 Pin It
 This broth is one of those rare recipes that rewards patience without demanding skill. It's there whenever you need something warm, healing, and genuinely made by your own hands.
Recipe FAQs
- → What is the best way to prepare the bones before simmering?
-
For richer flavor, roast the bones and vegetables at 220°C (425°F) for 30 minutes before simmering. This caramelizes the ingredients and deepens the broth's taste.
- → How long should the broth be simmered for optimal flavor?
-
Simmer the broth uncovered on low heat for about 4 hours, skimming any foam for a clear, flavorful result.
- → Can I add herbs to enhance the broth's aroma?
-
Yes, add fresh herbs like thyme and parsley during the last 30 minutes of simmering to brighten the broth’s flavor without overpowering it.
- → What is the purpose of apple cider vinegar in the broth?
-
Apple cider vinegar helps extract minerals and nutrients from the bones, enriching the broth's nutritional content.
- → How should the broth be stored after cooking?
-
Once cooled and strained, refrigerate the broth and skim off any solidified fat before use. It can be frozen in portions for up to 3 months.
- → Can the broth be used for cooking dishes other than soup?
-
Absolutely, this broth works well as a flavorful cooking liquid for grains like rice or risotto, as well as a base for sauces and stews.