 Pin It
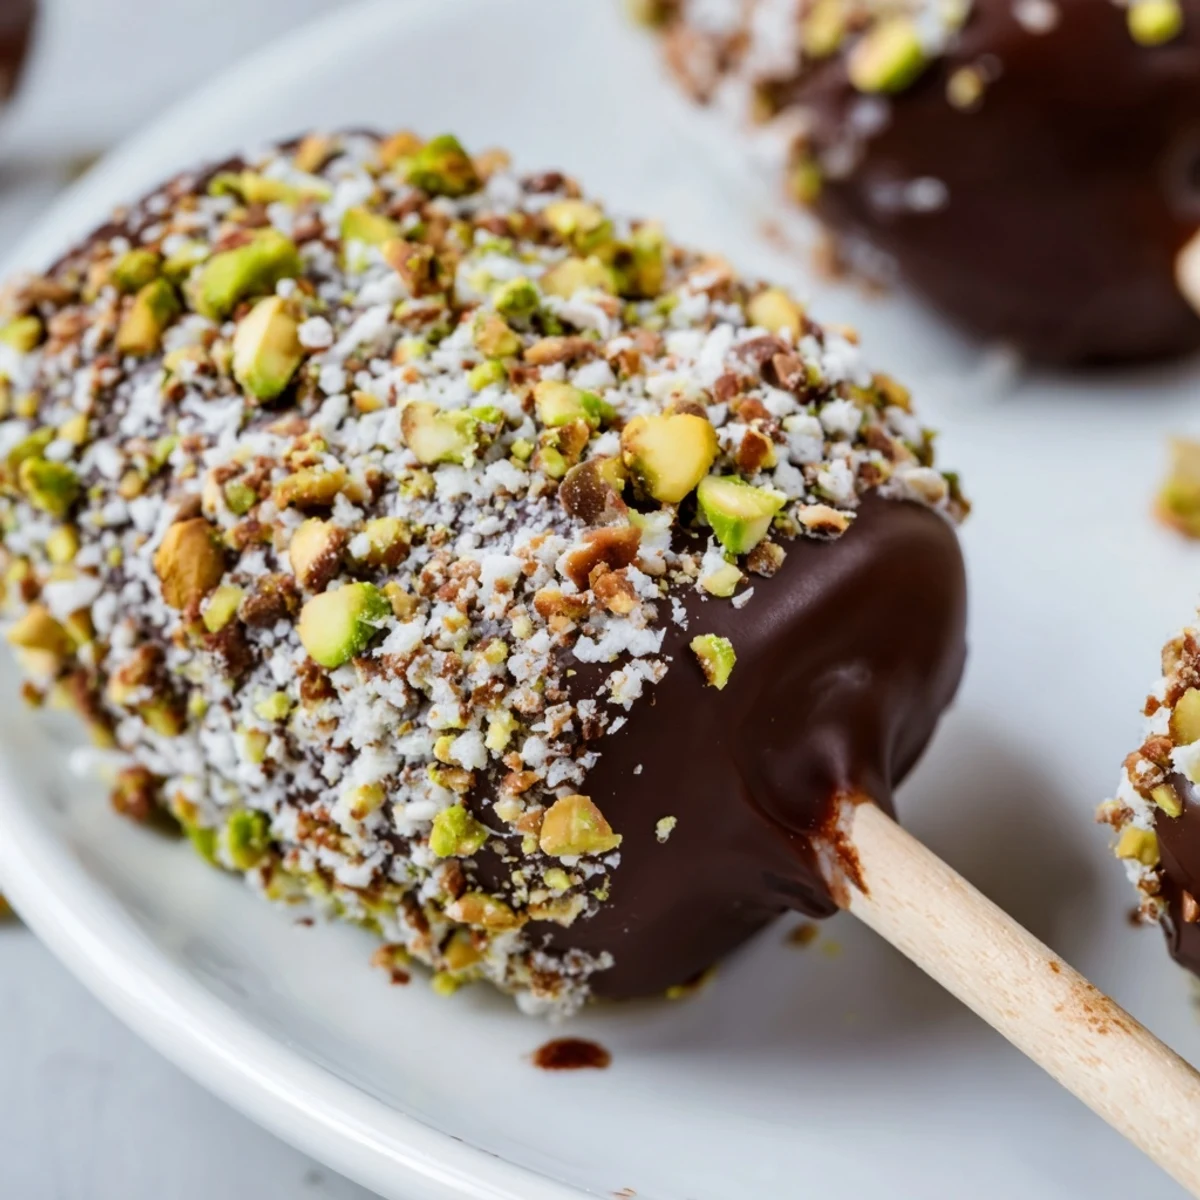
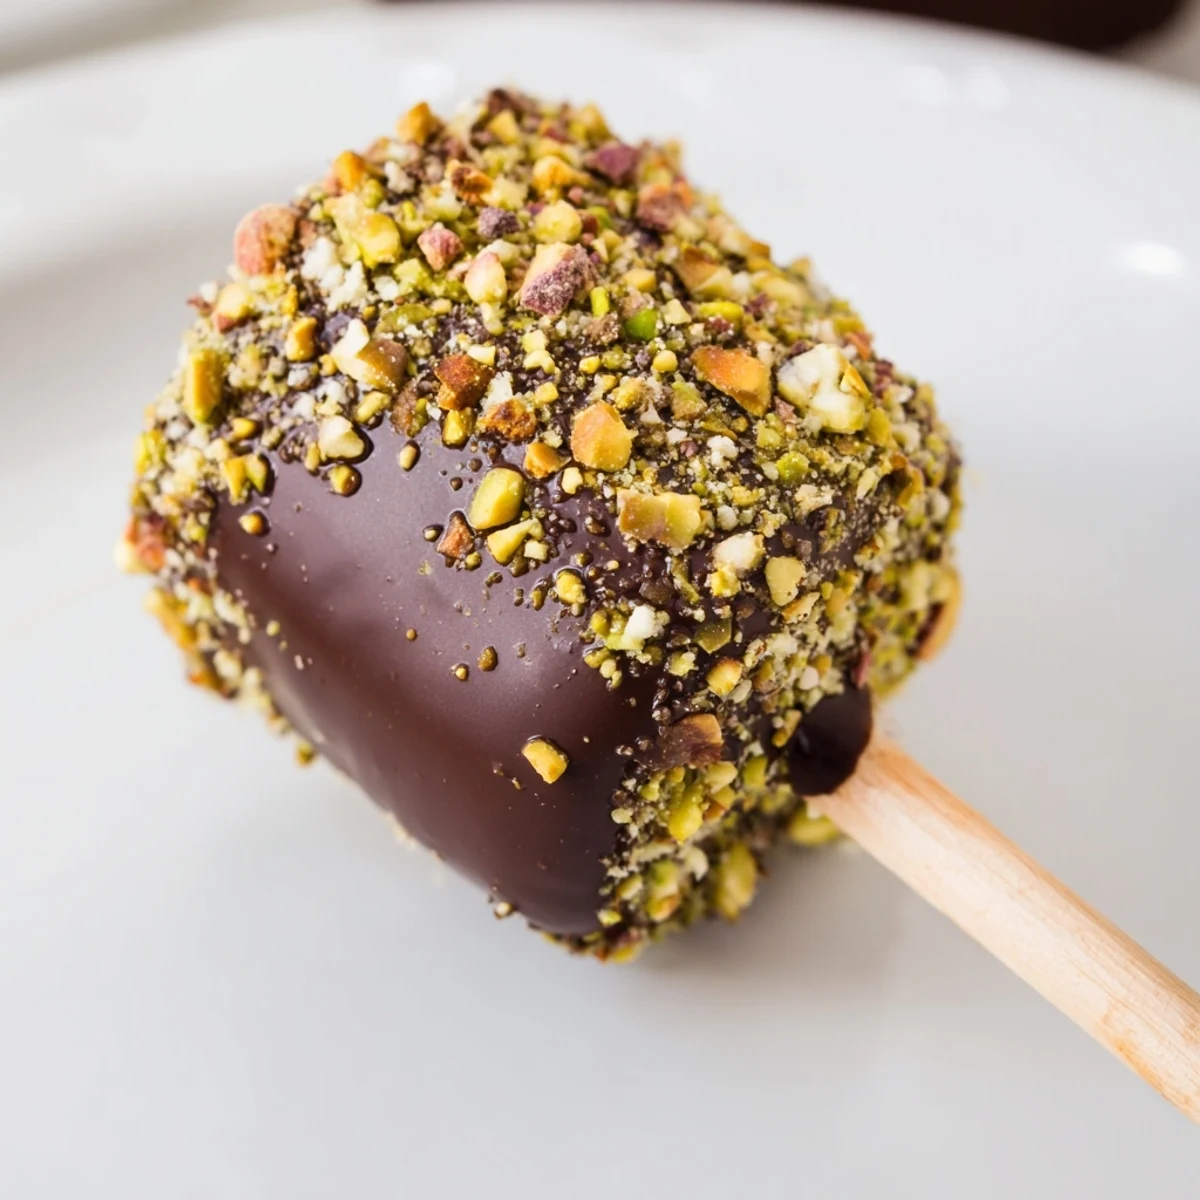
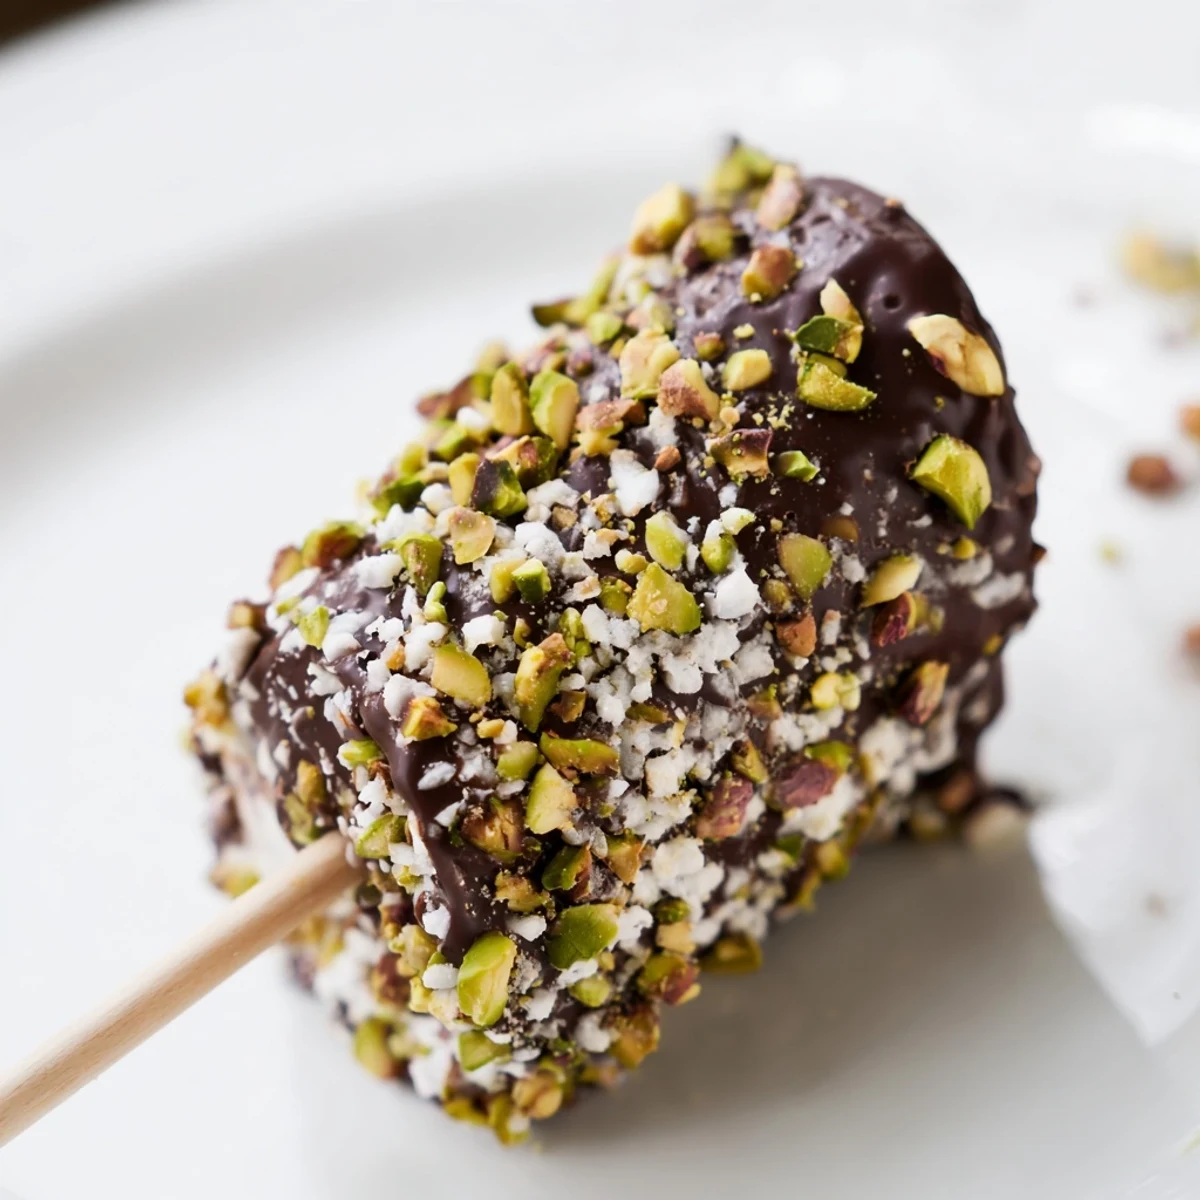
 These fluffy marshmallows are dipped in melted high-quality dark or milk chocolate and coated with optional toppings like crushed nuts, sprinkles, or freeze-dried raspberries. After dipping, they chill until the chocolate sets, creating a glossy, flavorful coating. Served on wooden sticks, they make a fun and easy dessert or party treat. Variations include white or ruby chocolate and vegan substitutes. Simple to prepare with essential tools and perfect for gifting or snacking.
There's something about a chocolate-dipped marshmallow on a stick that transports you back to childhood—but the first time I made these at home, I realized they're just as magical when you craft them yourself. What started as an impulse to recreate a carnival favorite turned into an afternoon of melted chocolate, sticky fingers, and the kind of kitchen joy that reminds you why cooking with your hands matters. I'd forgotten how satisfying it is to watch something so simple transform with a quick dip and a sprinkle, turning store-bought marshmallows into something that feels genuinely homemade.
I made these for my niece's seventh birthday party, and I watched her eyes light up the moment I pulled them out of the fridge. What surprised me was how the other kids didn't just eat them—they held them up to the light, examined the toppings like tiny treasures, and took photos before diving in. That's when I understood: these aren't just candy, they're an experience you can hold in your hand.
Ingredients
- Large marshmallows: Use fresh ones if possible—they'll have a better texture than those that have been sitting in the pantry for months.
- High-quality chocolate, chopped: The quality here genuinely matters; cheaper chocolate can taste waxy and won't coat as smoothly.
- Crushed nuts: Pistachios add a beautiful green hue and subtle flavor, but almonds and hazelnuts work just as well for that textural contrast.
- Sprinkles: The finer the sprinkles, the better they'll stick to the wet chocolate—pearl sprinkles are my secret weapon.
- Desiccated coconut: Toast it lightly in a dry pan first if you want deeper flavor, though raw works beautifully too.
- Freeze-dried raspberries: These add a tart pop that cuts through the sweetness in the best way.
- Wooden or paper lollipop sticks: Make sure they're food-safe and sturdy enough to support the marshmallow without bending.
Instructions
- Prepare your station:
- Line your baking sheet with parchment paper and lay out all your toppings in small bowls—this makes the dipping process feel like an assembly line rather than a scramble. Once the chocolate sets, you won't have time to hunt for things.
- Insert the sticks:
- Push each lollipop stick firmly into the center of a marshmallow, but stop before it pierces through the other side. If you go too far, the marshmallow becomes fragile and the chocolate can leak through.
- Melt the chocolate:
- If using a double boiler, keep the water at a gentle simmer and let the chocolate melt slowly, stirring occasionally until it's completely smooth. If microwaving, use short 20-second bursts and stir between each one—this prevents the chocolate from seizing and becoming grainy.
- Dip with confidence:
- Hold the stick and dip the marshmallow into the chocolate with one smooth motion, swirling it gently to coat all sides. Let any excess chocolate drip back into the bowl for a few seconds, then lift it out slowly.
- Top immediately:
- This is the crucial moment—the chocolate must still be wet when you add your toppings, or they'll slide right off. Roll or sprinkle your chosen topping and set it down on the parchment paper immediately.
- Chill thoroughly:
- Pop the baking sheet into the refrigerator for at least 30 minutes; this isn't just about setting the chocolate, it's about making sure the marshmallow stays firm enough to eat without the chocolate cracking.
- Serve with care:
- They're best enjoyed straight from the fridge, but if you're gifting them or serving at a party, room temperature works fine too.
 Pin It
 My partner walked into the kitchen as I was finishing the last batch and grabbed one straight from the fridge, not even waiting for me to plate them nicely. The chocolate cracked with this perfect sound, and the marshmallow was still so fluffy inside—and right then, I knew I'd landed on something special. It's funny how the smallest things become the most memorable when they're made with a little care.
Flavor Combinations Worth Trying
The beauty of this recipe is that you're never stuck with just one topping strategy. Dark chocolate pairs beautifully with sea salt sprinkled on top, while milk chocolate becomes instantly nostalgic with crushed graham crackers. I once tried white chocolate with crushed pistachios and a tiny pinch of cardamom salt, and it felt almost fancy—the kind of thing you'd find at a high-end candy shop. The key is thinking about balance: if your chocolate is rich and dark, lighter toppings let it shine; if you're using milk chocolate, bolder toppings like sea salt or crushed freeze-dried berries create a conversation.
Gifting and Storage
These keep surprisingly well in an airtight container in the fridge for up to a week, though I've never had any last that long. For gifting, clear cellophane bags tied with a ribbon at the top feel special without being fussy, and they photograph beautifully. I've learned that grouping them by topping—all the nutty ones together, all the fruity ones together—makes them look more intentional and curated, which is funny because it really is just a matter of organization.
Troubleshooting and Variations
If your chocolate is too thick and won't coat smoothly, add a teaspoon of coconut oil or butter to thin it out slightly. If you're feeling creative, ruby chocolate creates a pink hue that's absolutely stunning without any added color, and it has a subtle berry flavor that plays nicely with tart toppings. For a s'mores twist, dip the marshmallow in chocolate, then while it's still wet, roll it in crushed graham crackers—it sounds simple, but it captures that campfire magic perfectly.
- Always let your chocolate cool for 2-3 minutes after melting, or it'll be too runny and the coating will be paper-thin.
- If a topping isn't sticking well, it usually means the chocolate cooled too much—reheat it gently and try again.
- Keep a small damp cloth nearby for sticky hands; this process gets messy, but that's part of the fun.
 Pin It
 These chocolate-dipped marshmallows have become my go-to when I want to feel like I've done something special in the kitchen without the stress of a complicated recipe. They remind me that sometimes the most meaningful food isn't the most complicated—it's just something made with your own hands, with a little color and a little care.
Recipe FAQs
- → What type of chocolate works best for coating?
-
Use high-quality dark or milk chocolate for a smooth, rich coating. White or ruby chocolate also provide tasty alternatives.
- → How do I prevent marshmallows from sliding off the stick?
-
Insert the lollipop stick firmly but gently to avoid pushing through the other side, ensuring a secure hold during dipping.
- → Can I add toppings to the chocolate coating?
-
Yes, immediately after dipping, sprinkle crushed nuts, desiccated coconut, sprinkles, or freeze-dried raspberries for added texture and flavor.
- → How long should the coated marshmallows chill?
-
Chill them for at least 30 minutes in the refrigerator to allow the chocolate to set completely and develop a firm texture.
- → Are there vegan alternatives for this treat?
-
Vegan marshmallows and dairy-free chocolate can be used to adapt the treat for vegan diets without sacrificing flavor.