 Pin It
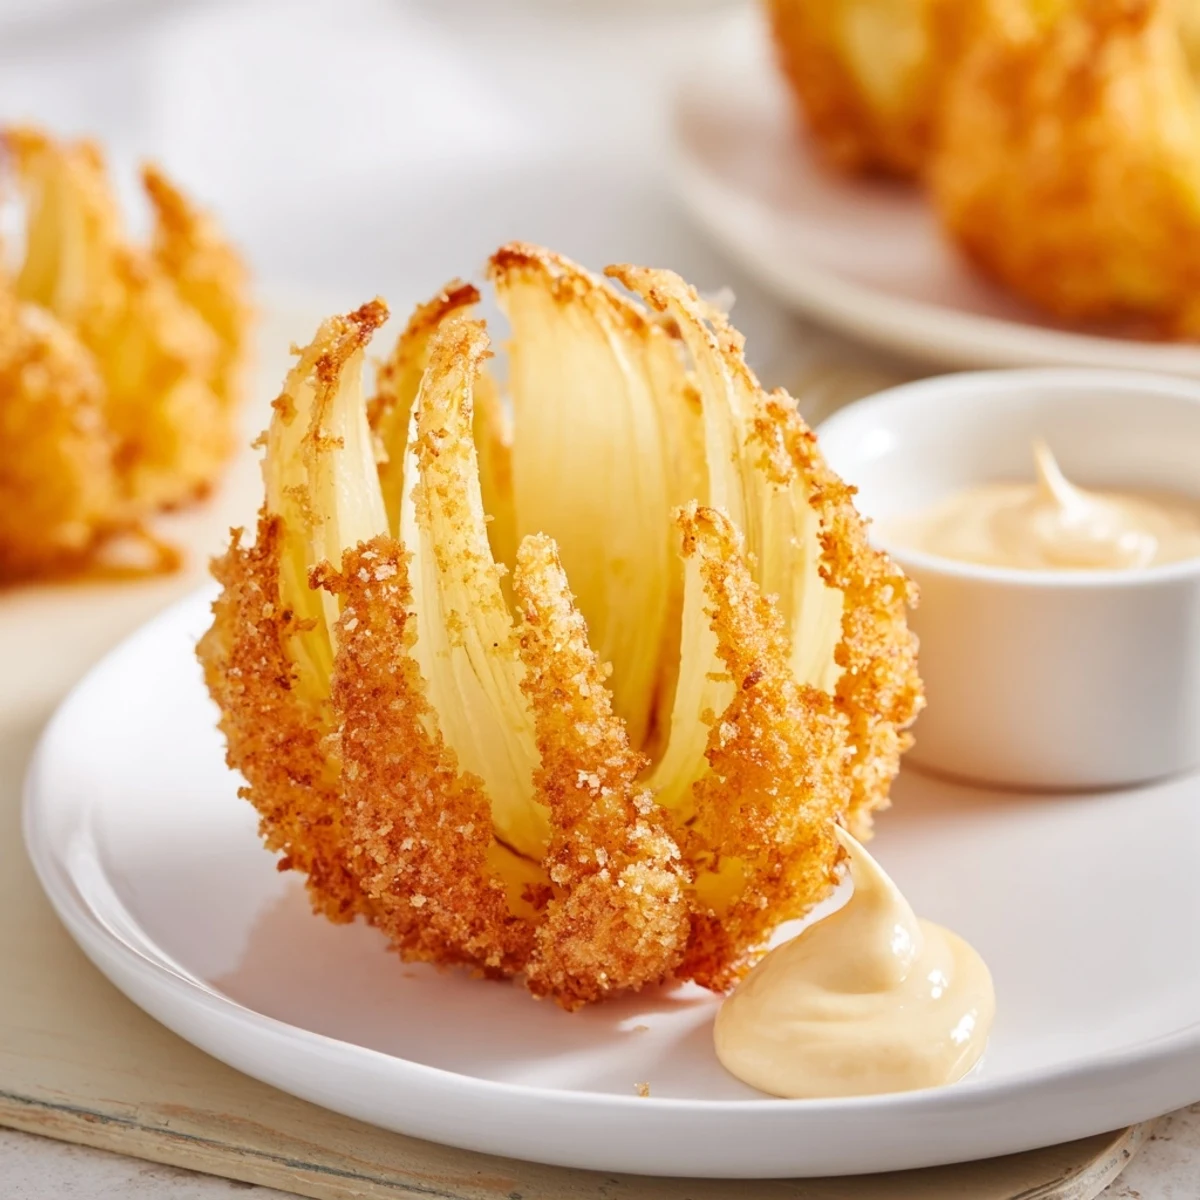
 Peel small yellow onions and trim roots to keep the base intact, then make evenly spaced vertical cuts so each onion opens into petals. Soak in ice water to encourage blooming, pat dry, and press petals while double-dredging in seasoned flour and an egg-milk wash so the coating clings. Fry in hot oil at 350°F (175°C), cut-side down 2–3 minutes per side until deeply golden. Drain, season, and serve warm with a tangy mayo-ketchup-horseradish dip; test oil temperature and avoid overcrowding for crisp results.
Sometimes, the best kitchen ideas come from wanting to make people laugh before dinner. I tried these mini bloomin onions the first time because I found a bag of golf-ball sized onions at the market and just thought, Why not let them steal the show? The sizzle and aroma as they fry is like a celebration all by itself. Biting into the crispy petals with a creamy, zippy dip made my kitchen feel like the happiest corner of any fairground.
The first time I made a platter of these for friends, I underestimated how quickly theyd be claimed—hands darted in before I could even arrange the dipping cups. There was sauce on fingers, flour on shirts, and a contagious glee that had nothing to do with the main course. I caught my neighbor mid-bite shaking her head in disbelief that homemade could ever top the ones at a steakhouse. That moment definitely made my whole evening.
Ingredients
- Small yellow onions: Their sweet mildness blooms perfectly when crisped up, and I found smaller ones look and taste best as appetizers.
- All-purpose flour: Gives the exterior its signature crunch, and whisking it well helps prevent lumps.
- Cornstarch: Essential for an extra light, shattering coating every single time.
- Paprika, garlic powder, onion powder, cayenne, salt, black pepper: This blend woke up my usual batter and reminded me that seasoned flour makes all the difference.
- Eggs and whole milk: The duo that gets the batter to hug every petal with just the right richness.
- Vegetable oil for frying: Any neutral oil will work, but I always give it a sniff to be sure its fresh before heating.
- Mayonnaise, ketchup, horseradish, smoked paprika, garlic powder, salt & pepper: Whisked together, they build a sharp-creamy dipping sauce that steals the spotlight alongside the onions.
Instructions
- Shape the mini blooms:
- Peel the onions and make careful vertical cuts, keeping the base intact so the petals fan out beautifully.
- Chill for bloom:
- Soak the cut onions in ice water for 10 minutes—its a magic trick that makes the petals really open up.
- Mix the dry coating:
- Whisk together the flour, cornstarch, and your spices, letting their fragrance hint at the flavor to come.
- Prepare the wet batter:
- Beat eggs and milk together in a fresh bowl for a smooth, slightly foamy dip.
- Dredge and double-coat:
- Dust each onion in the flour mixture, dip in egg, and flour again, pressing so the coating sticks to every nook.
- Heat the oil:
- Bubbling oil set to 350F is key—get a clean sizzle, not a smoke, and adjust the heat as needed.
- Fry in batches:
- Lower onions in cut side down, let them crisp before flipping, and swoop them out onto paper towels once deeply golden.
- Whip up the dip:
- Stir the mayonnaise, ketchup, horseradish, and seasonings together until smooth and a little rosy in color.
- Serve right away:
- Arrange warm crispy onions beside a generous dish of sauce—let everyone dig in while theyre at their crunchiest.
 Pin It
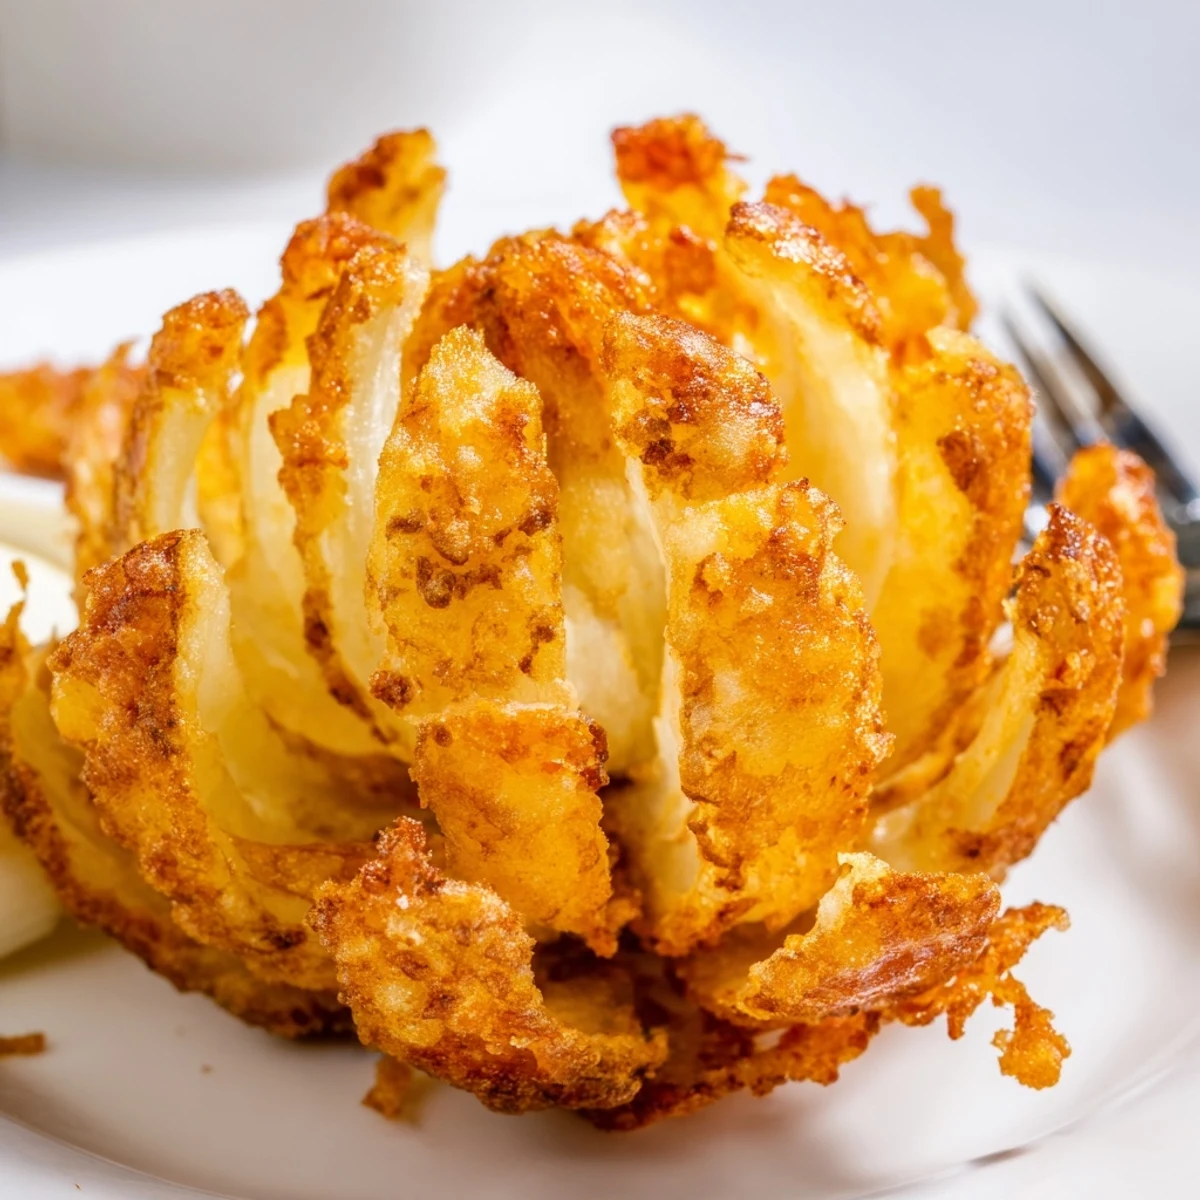
 The first party these made an appearance at, I barely finished frying before people circled the plate like it was buried treasure. Watching everyone pull off the petals and dunk them in sauce—each bite met with a crunchy snap—turned the kitchen into the happiest place in the house. I found myself smiling more at the chatter than at the empty serving dish.
Getting the Petals Just Right
The most satisfying moment comes when the sliced onions hit the ice water and open like tiny flowers. Ive learned to give each a gentle finger-wiggle to separate petals, but never force it or theyll break. The key: patience, and letting cold water do the heavy lifting.
Messy is Part of the Fun
No matter how careful I am, flour dust ends up everywhere, and my hands somehow wear more batter than the onions do. Ive started keeping a damp towel nearby and just accepting that mess is proof of a good time. The laughter that comes from clumsy frying and sauce smudges is half the enjoyment.
Small Tweaks, Big Results
Swapping standard paprika for smoked brought a whole new depth to the sauce—now I wont go back. When I ran short on horseradish, a dash of hot sauce gave great zing in a pinch. Even changing the oil or dipping sauces makes these feel new all over again.
- The onions really bloom better if completely dry before battering.
- A pinch more cayenne in either the coating or dip wakes up every bite.
- Serve these warm—once cooled, that shatter gets lost.
 Pin It
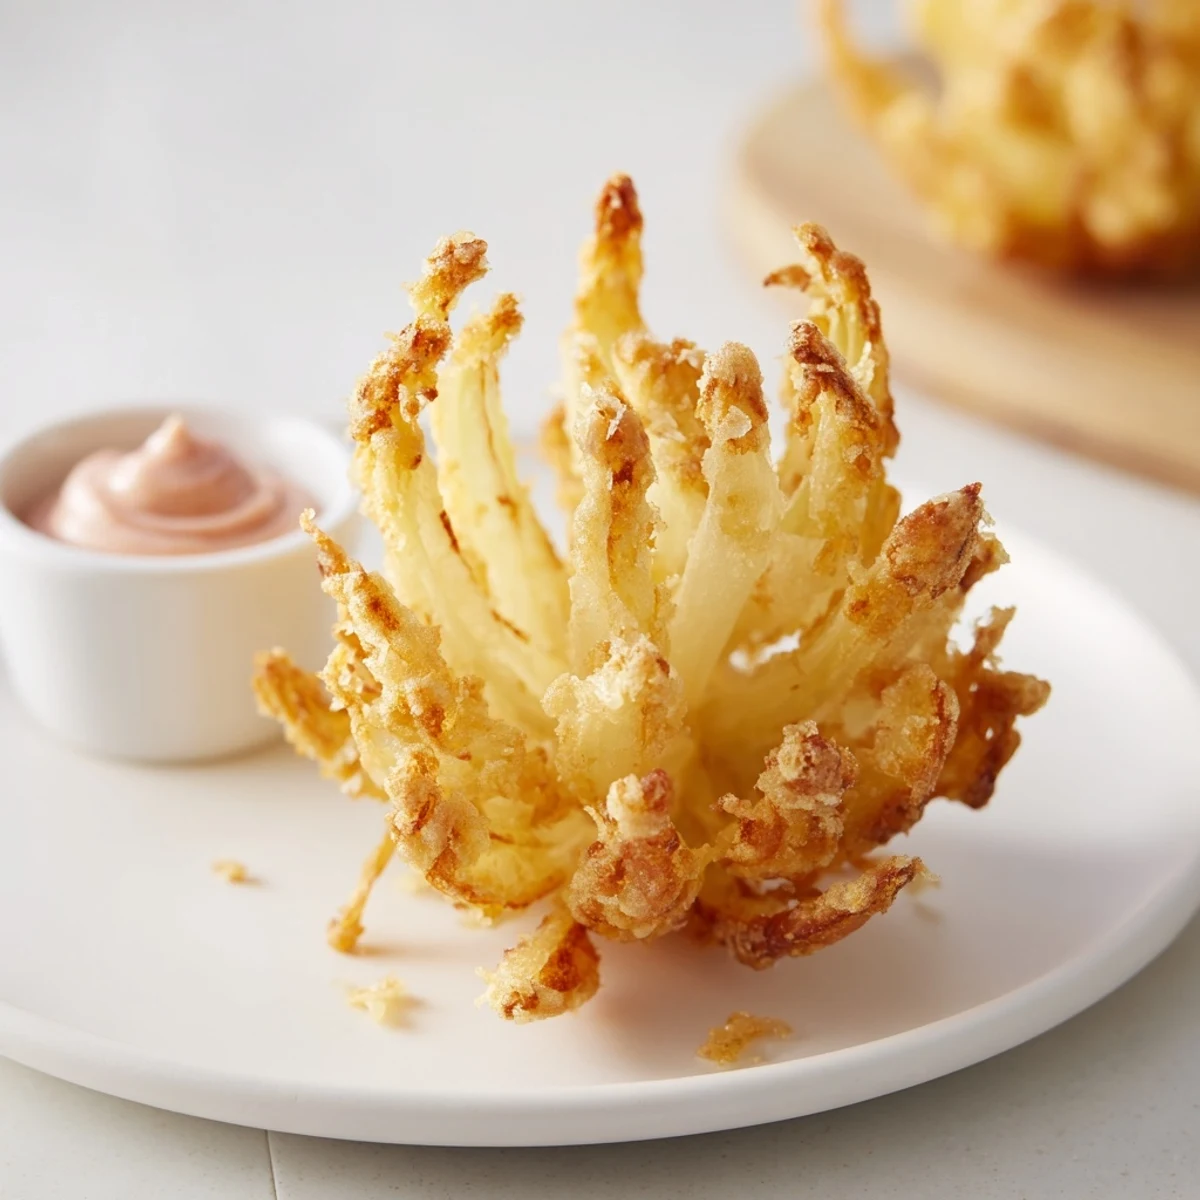
 Serve these while theyre hot and let the chatter and crispy bites bring out the best in everyone around your table. A little effort, a lot of fun, and youll have friends asking for your onion secrets next time.
Recipe FAQs
- → How do I cut the onions so they bloom evenly?
-
Trim the root just enough to hold the base, then make four evenly spaced vertical cuts, slicing downwards but not through the root. Make four more cuts between the first set to form petals, and gently separate with your fingers so each onion can open during soaking and frying.
- → Why soak the onions in ice water?
-
Soaking in ice water helps the layers open into petals and firms the onion, improving texture and allowing the coating to reach into crevices for a crisper finish when fried.
- → What oil temperature and frying technique gives the best crispness?
-
Heat oil to about 350°F (175°C). Fry cut-side down first to set the coating, 2–3 minutes per side. Avoid overcrowding the pot and use a thermometer to maintain temperature for even browning and crispness.
- → How can I keep the batter from falling off the petals?
-
Pat onions dry, press petals gently after each coat, and use a double-dredge (flour, wet wash, flour). Cornstarch in the flour mix also helps create a light, adherent crust.
- → Can I make a gluten-free version?
-
Yes—swap the all-purpose flour for a 1:1 gluten-free blend or a mix of rice flour and cornstarch. Keep the same technique and watch frying times, as GF coatings brown differently.
- → How should leftovers be stored and reheated?
-
Store cooled pieces in an airtight container for up to 2 days. Reheat in a 375°F oven or air fryer to restore crispness; avoid the microwave, which will soften the coating.