 Pin It
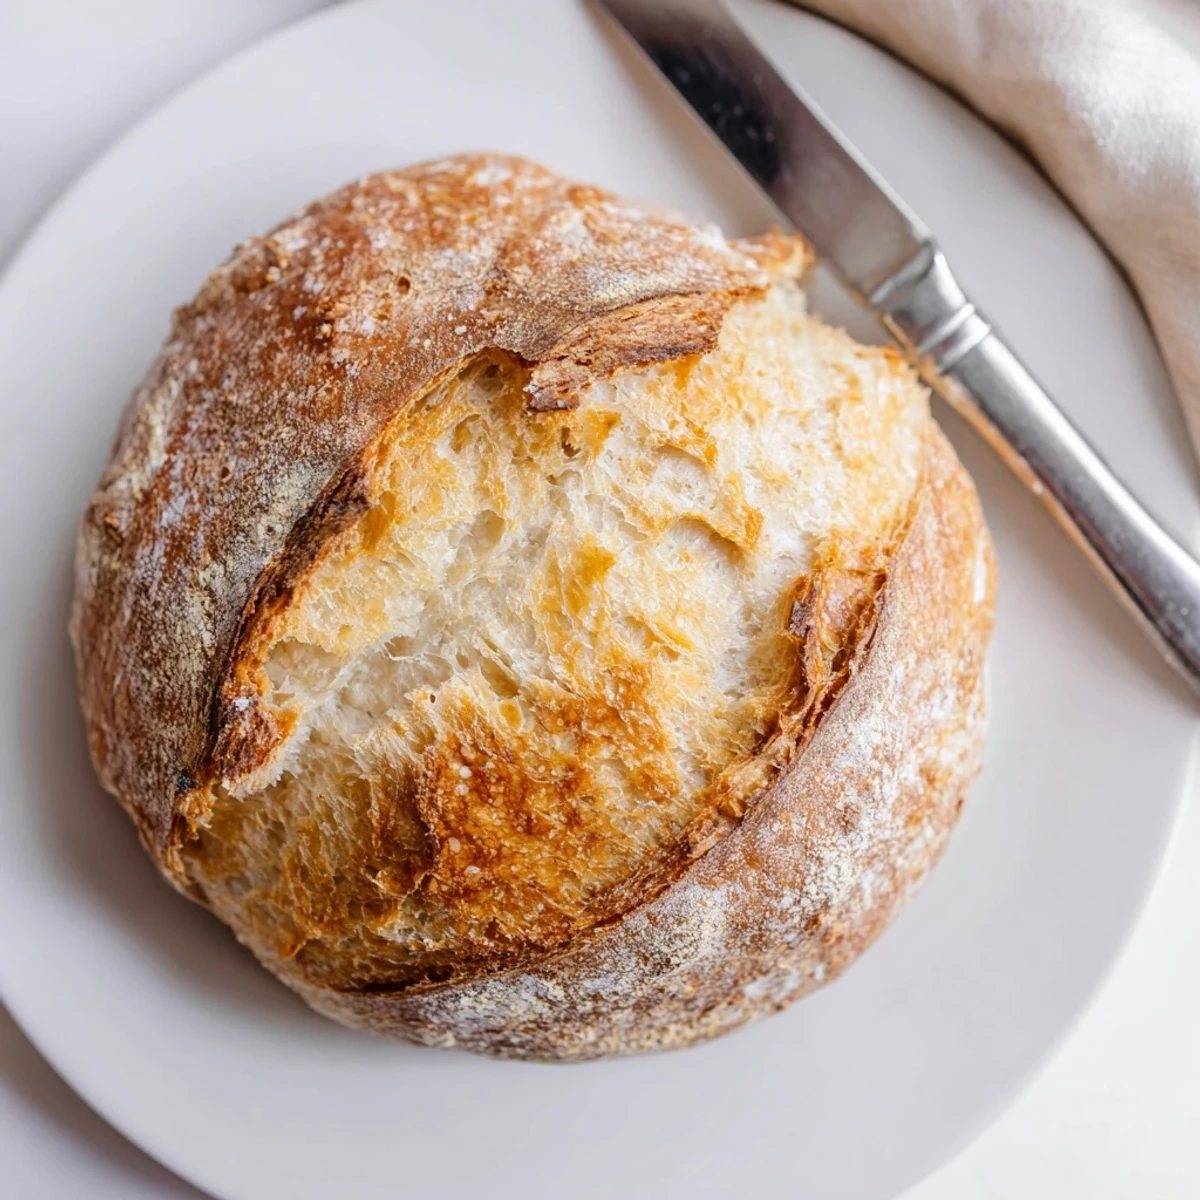
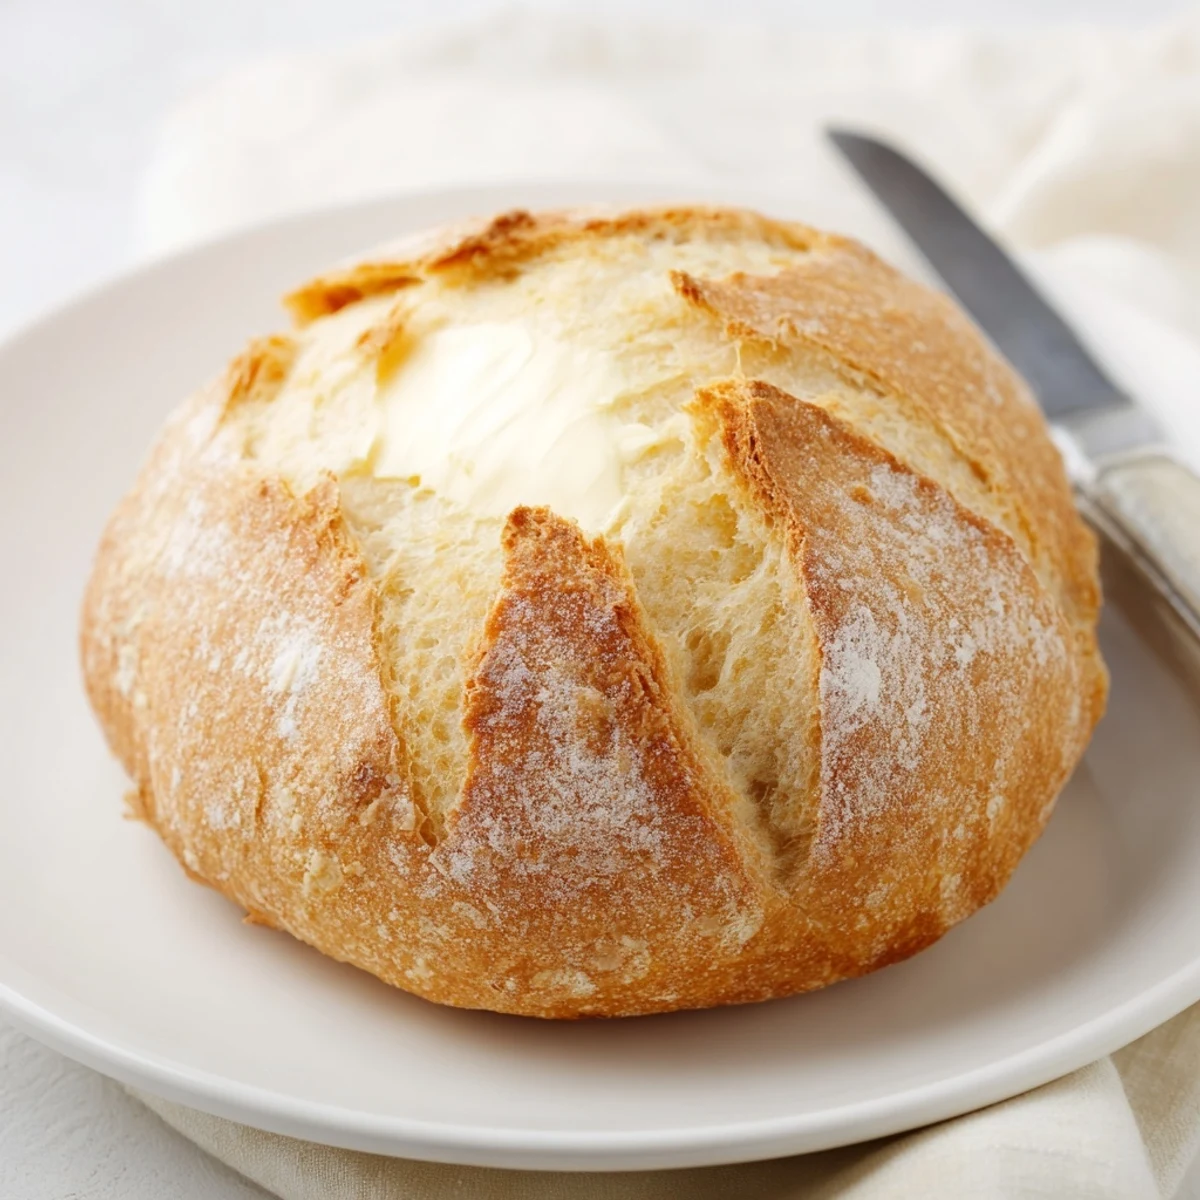
 These classic French bread rolls feature a beautifully golden, crispy crust that gives way to a soft tender interior. The dough requires simple pantry staples and yields bakery style results at home.
The secret to achieving that signature crackly crust involves creating steam in the oven while baking. This technique ensures your rolls develop that satisfying crunch that French bread is known for.
Allow proper rising time for the best texture and flavor development. Serve them fresh from the oven with melted butter, or use them as the foundation for sandwiches.
My tiny apartment kitchen was filled with the most incredible aroma when I first attempted these rolls at twenty two years old. I had no idea what I was doing but followed some vague instructions from a French cookbook I found at a yard sale. That first batch came out dense but my roommates devoured them anyway, asking when I would make more. Now after dozens of attempts and many lessons learned, these rolls have become the one thing my family requests most.
Last winter during a snowstorm I made three batches back to back when we could not get to the store. Something about warm bread baking while snow falls outside makes everything feel cozy and right. My neighbor texted asking if I was running a bakery because the smell had drifted through the building vents.
Ingredients
- Bread flour: The higher protein content creates that chewy texture and excellent structure, do not substitute with all purpose if you want authentic results
- Lukewarm water: Test it on your wrist like baby bottle warm, too hot kills the yeast but too cold makes the dough sluggish
- Active dry yeast: Let it proof until foamy to ensure it is alive and working before adding flour
- Salt: Essential for flavor but also controls yeast growth and strengthens gluten structure
- Sugar: Just a tiny amount feeds the yeast and helps that beautiful golden color develop
- Extra flour for dusting: Gives the rolls that professional bakery appearance and helps the crust form
Instructions
- Wake up the yeast:
- Combine lukewarm water with sugar and yeast in your largest bowl, then walk away for ten minutes until you see a layer of foam on top
- Build the dough:
- Add flour and salt to the yeast mixture, stirring until it comes together, then turn onto a floured surface and knead until the dough feels smooth and springs back when poked
- First rise:
- Place dough in a lightly oiled bowl, cover with a damp towel, and find the warmest spot in your kitchen for about an hour until it has doubled in size
- Shape the rolls:
- Gently deflate the dough and divide into eight equal pieces, then roll each into a tight ball by tucking the edges underneath
- Second rise:
- Arrange rolls on parchment paper with space between them, cover again, and let rest for forty minutes until puffy and noticeably larger
- Create steam:
- Preheat oven to 450°F and place a pan of water on the bottom rack, this moisture is what creates that signature crackly crust
- Add character:
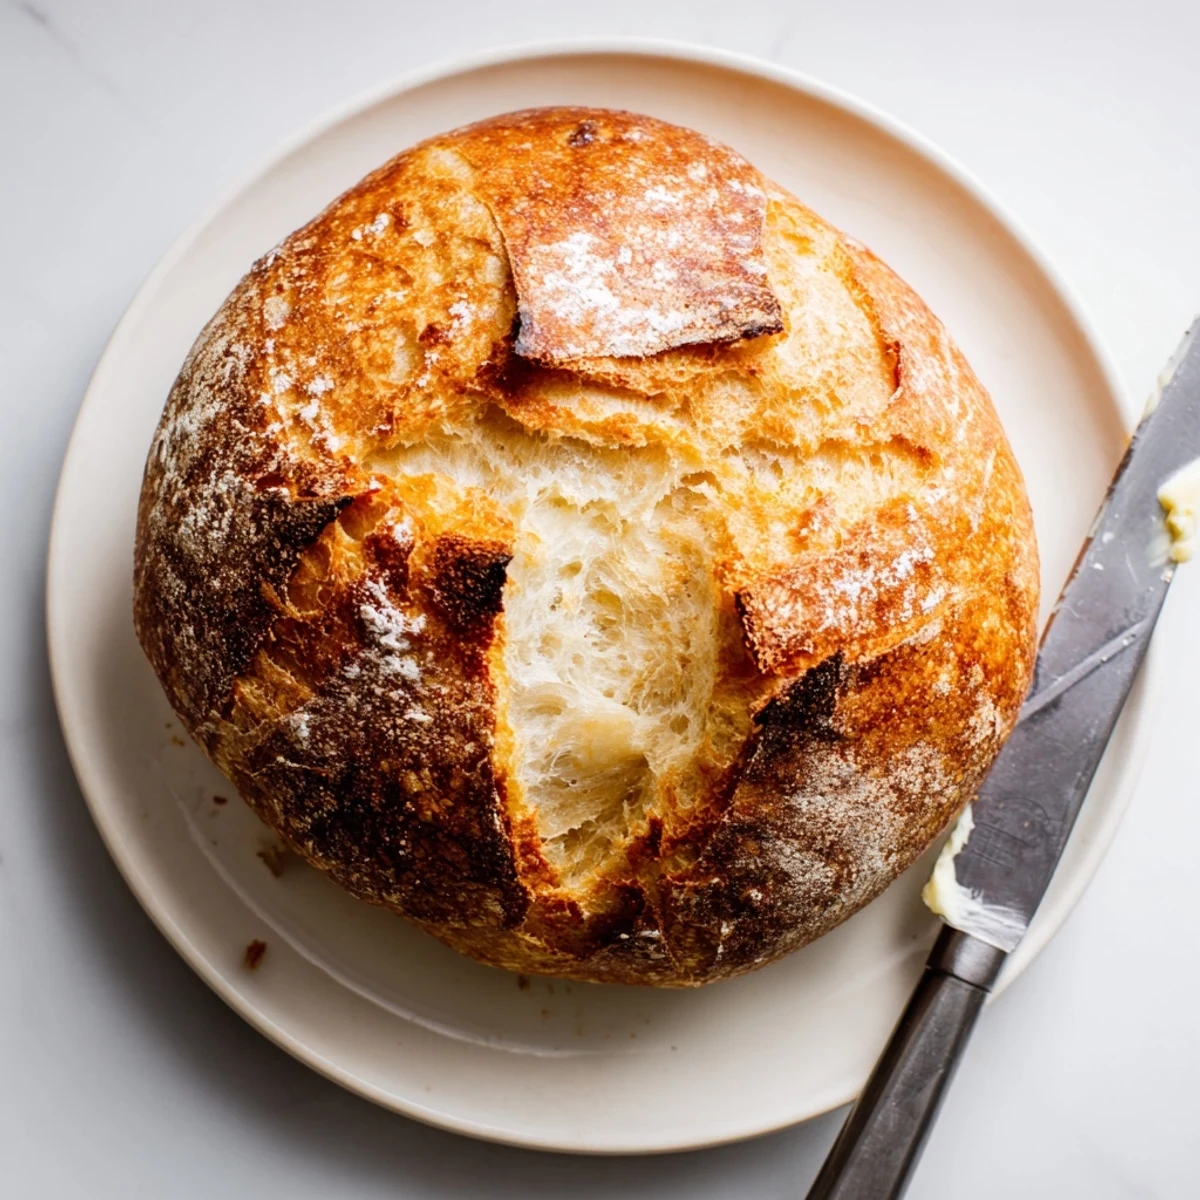
- Dust tops with flour and use a sharp knife to make quick diagonal slashes, which helps the rolls expand beautifully while baking
- Bake to perfection:
- Bake for twenty to twenty five minutes until deeply golden, then cool on a wire rack for at least fifteen minutes before tearing into them
 Pin It
 These rolls became a Sunday ritual that my kids now help with, each claiming their own shaped ball to watch expand. The look on their faces when the timer goes off and that first hot roll hits the butter dish makes all the kneading worth it.
Making Them Your Own
Once you master the basic dough, the variations are endless. Try replacing some water with warm milk for softer rolls or add herbs like rosemary right into the flour mixture.
Timing Everything Right
The biggest mistake I made was rushing the rising process. Good bread needs patience and that quiet hour while dough rises is actually perfect for catching up on reading or sipping coffee.
Storage And Serving Suggestions
Fresh baked rolls are best eaten the same day but they freeze beautifully if wrapped well. To refresh day old rolls, sprinkle with water and warm in a 350°F oven for five minutes.
- Freeze unbaked shaped rolls on a baking sheet then transfer to bags for fresh bread anytime
- Slashing the dough not only looks professional but controls where the crust cracks
- Let rolls cool completely before storing in a paper bag to maintain that crispy exterior
 Pin It
 There is something deeply satisfying about making bread from scratch, and these rolls might just become the recipe that earns you requests from everyone who tastes them.
Recipe FAQs
- → How do I get a crispy crust on my bread rolls?
-
Create steam in your oven by placing a tray of water on the bottom rack while baking. The steam helps develop a crackly, golden crust that's the signature of great French bread.
- → Why is my dough not rising?
-
Ensure your water is lukewarm, not hot, as extreme temperatures can kill the yeast. Also check that your yeast is fresh and not expired. Find a warm, draft-free spot for rising.
- → Can I make these rolls ahead of time?
-
Yes, you can prepare the dough and let it have its first rise, then refrigerate overnight. Bring to room temperature before shaping and baking for the second rise.
- → What's the purpose of slashing the rolls before baking?
-
Slashing creates a controlled path for the dough to expand while baking, giving you that classic artisan appearance. It also helps the steam escape and contributes to the crusty texture.
- → Can I use all-purpose flour instead of bread flour?
-
Bread flour has higher protein content which helps develop gluten for better structure and chew. All-purpose works but may yield slightly less chewy results. You can add vital wheat gluten to compensate.