 Pin It
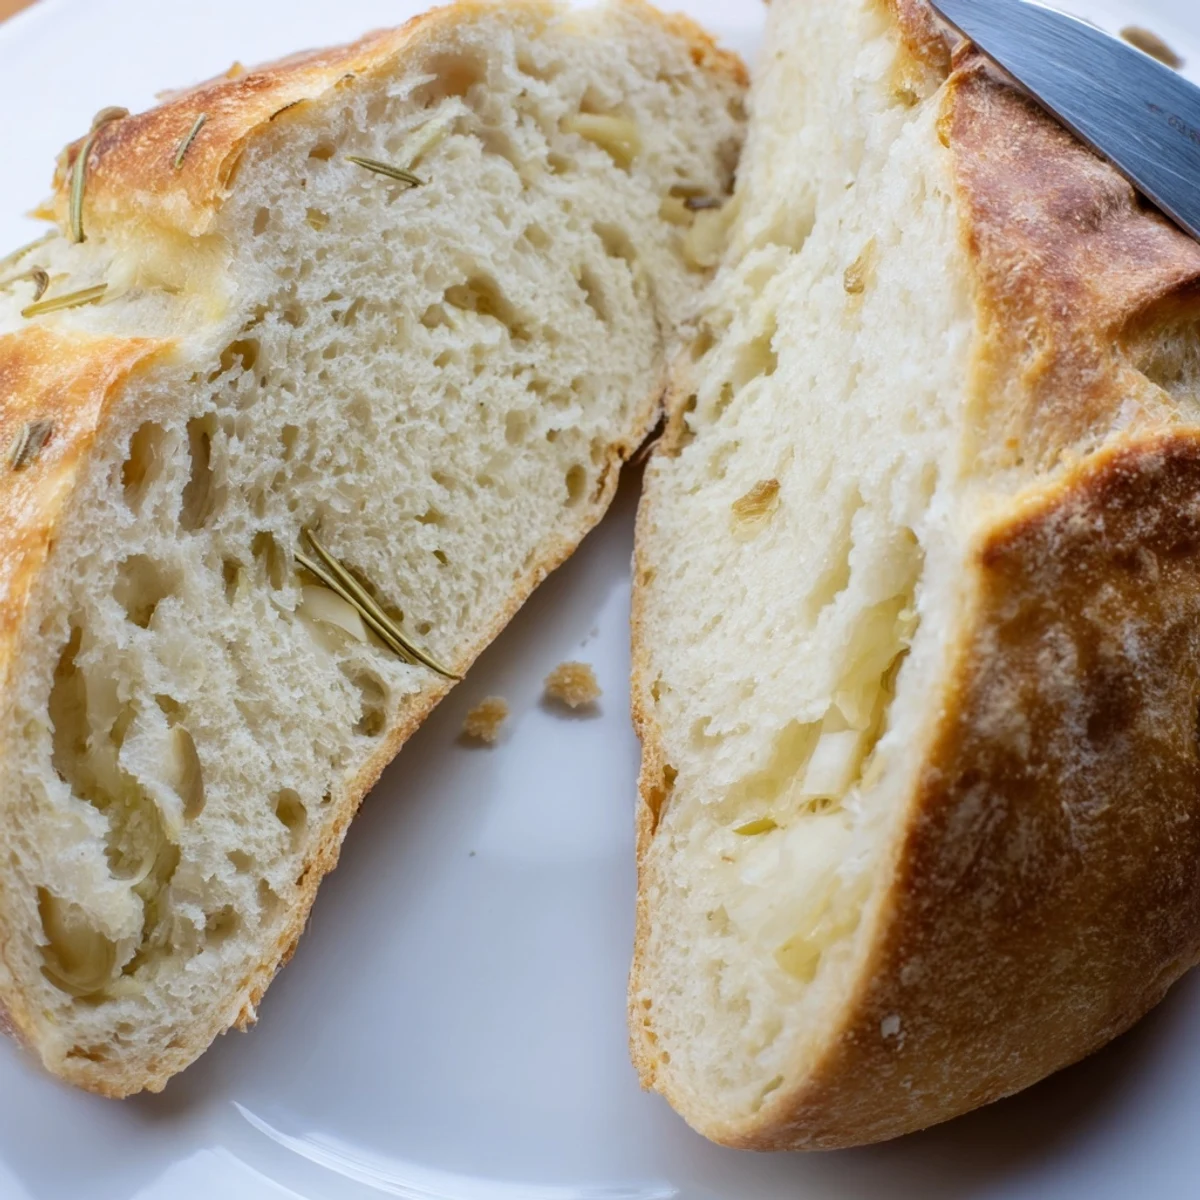
 Craft a stunning European-style loaf with minimal effort using a Dutch oven for professional bakery results. The combination of fresh garlic and fragrant rosemary creates an irresistible aroma that fills your kitchen. This medium-difficulty bread delivers a crackling golden crust protecting a tender, flavorful crumb. The long fermentation develops complex flavors while the Dutch oven creates steam for that perfect rise. Ideal for dipping in olive oil, serving with pasta, or enjoying warm with butter.
The smell of garlic and rosemary hitting hot olive oil is one of those kitchen moments that stops time. I stumbled onto Dutch oven bread during a particularly gray February when my tiny apartment felt too quiet. Something about the ritual—mixing, waiting, the sudden drama of lifting that searing hot lid—made even a lonely Tuesday feel like an occasion. Now this bread is my go-to whenever I need to feed people and my soul in the same gesture.
Last summer my sister visited and we ate half a loaf straight from the cooling rack, standing over the kitchen counter with butter smeared on our chins. She had just come back from Italy and kept saying this reminded her of some tiny bakery in Florence, which I took as the highest compliment. Bread does that—connects you to people and places through something as simple as flour and water and patience.
Ingredients
- Bread flour: Higher protein content gives this bread structure and that satisfying chewy texture
- Fine sea salt: Coarser salt can create weird salty spots, so opt for the fine stuff
- Active dry yeast: Instant works too, but I swear the rise tastes better with traditional
- Lukewarm water: Think bath temperature, around 100°F—too hot kills the yeast, too cold makes it grumpy
- Olive oil: Use the good stuff here since the flavor really comes through
- Fresh garlic: Minced finely so it disperses evenly instead of creating garlic pockets
- Fresh rosemary: Dried herbs work in a pinch but fresh makes the kitchen smell like heaven
- Extra flour: Keep handfuls nearby for shaping and dusting—this dough is sticky but that means good bread
Instructions
- Mix the dry base:
- Whisk flour, salt, and yeast in a large bowl until everything feels thoroughly combined—about 30 seconds of serious whisking does the job
- Add the wet ingredients:
- Pour in water and olive oil, stirring with a wooden spoon until the flour disappears and you get this shaggy, sticky dough that looks a bit messy but promises greatness
- Fold in the aromatics:
- Gently work in the minced garlic and chopped rosemary until distributed throughout—do not overwork it or the bread gets tough instead of tender
- Let it rise:
- Cover the bowl with plastic wrap or a damp towel and walk away for 2 to 3 hours until the dough has doubled and looks puffy and alive
- Shape the loaf:
- Turn dough onto a floured surface, use floured hands to tuck the edges under and form a rough ball, then place seam-side down on parchment paper
- Second rise:
- Cover loosely and let it rest for another 30 to 45 minutes while you preheat the oven—this is when the magic happens
- Preheat your Dutch oven:
- Put your Dutch oven and its lid in a cold oven, then crank it to 450°F and let it get screaming hot for at least 30 minutes
- Bake covered:
- Carefully lift the parchment and dough into the hot Dutch oven, cover with the lid, and bake for 30 minutes to trap steam and create that gorgeous crust
- Reveal and finish:
- Remove the lid and bake another 12 to 15 minutes until the bread turns deep golden brown and sounds hollow when tapped
- Cool completely:
- Let it rest on a wire rack for at least 20 minutes—slicing too soon steam cooks the inside and ruins the texture you worked so hard to achieve
 Pin It
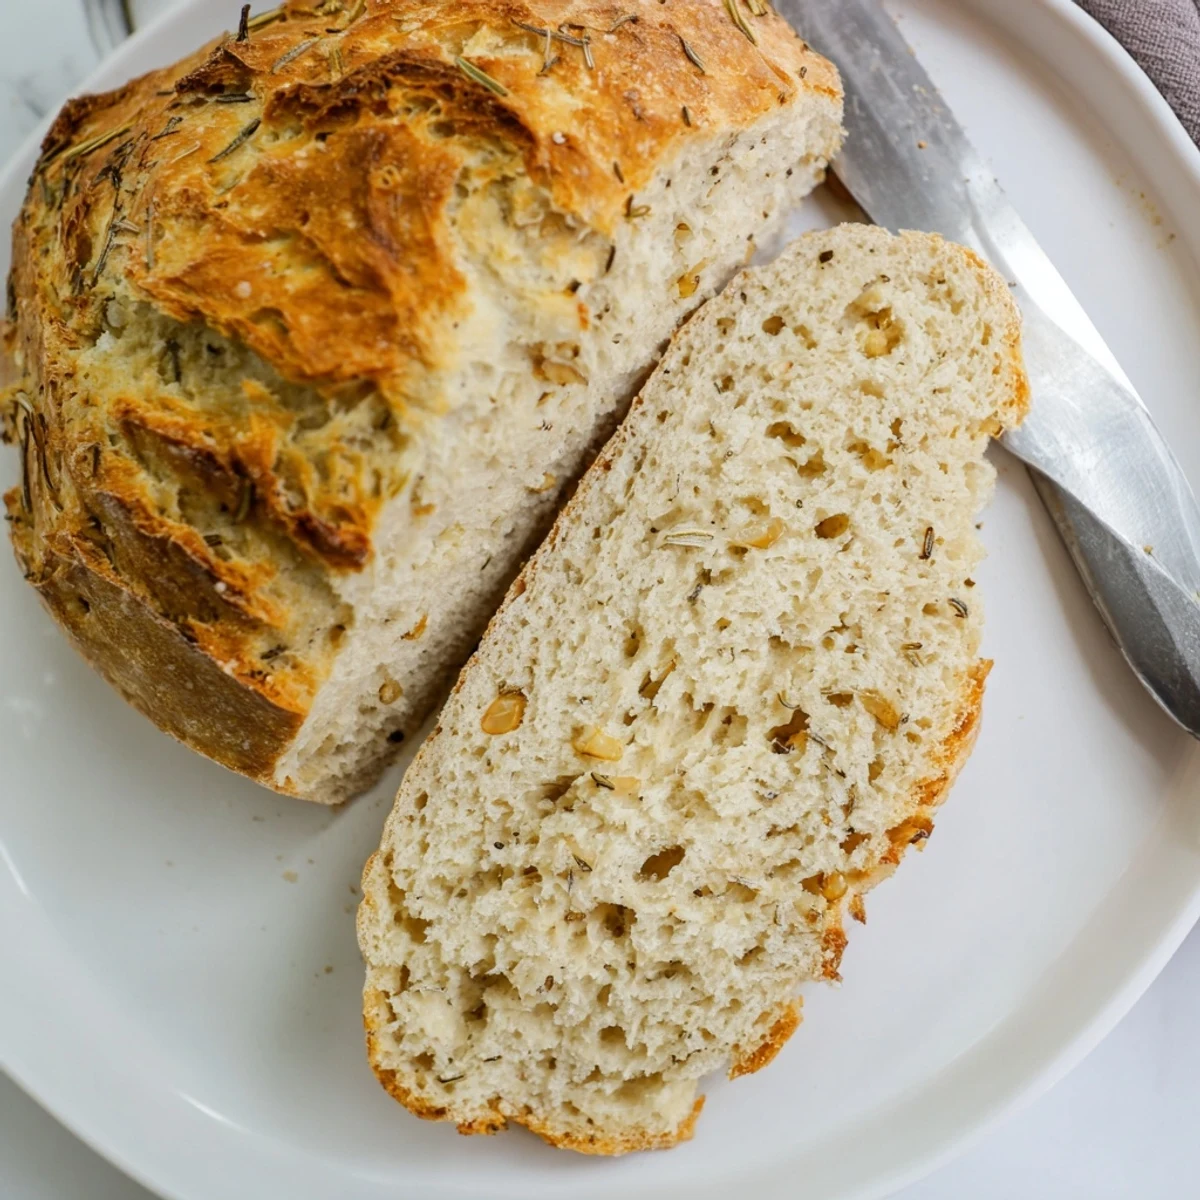
 This recipe became my Sunday ritual through a particularly rough year. There is something profoundly meditative about making bread with your own hands, watching bubbles form under the surface, anticipating that first warm slice with salted butter melting into the crevices. Some weeks it was the only thing that felt certain.
The Dutch Oven Secret
Dutch ovens recreate the steam injected professional ovens use to create crackling crusts. The trapped steam keeps the crust soft initially, allowing the bread to expand fully before hardening into that gorgeous golden shell. No Dutch oven means no steam means no magic crust—it is that simple.
Timing Is Everything
Start this in the late afternoon and you will have fresh bread for dinner. The long rise develops deeper flavor than quick bread recipes, plus it fits beautifully into a lazy weekend rhythm. I have learned to schedule my life around bread rising time instead of the other way around.
Make It Your Own
Once you master the basic technique, this dough takes to variations beautifully. Kalamata olives, sun dried tomatoes, or caramelized onions all work. Just keep the ratio of wet to dry ingredients the same and you can really experiment.
- Sprinkle coarse sea salt on top before baking for extra crunch
- Swap rosemary for fresh thyme or oregano depending on the season
- Add roasted garlic cloves instead of raw for a sweeter, milder flavor
 Pin It
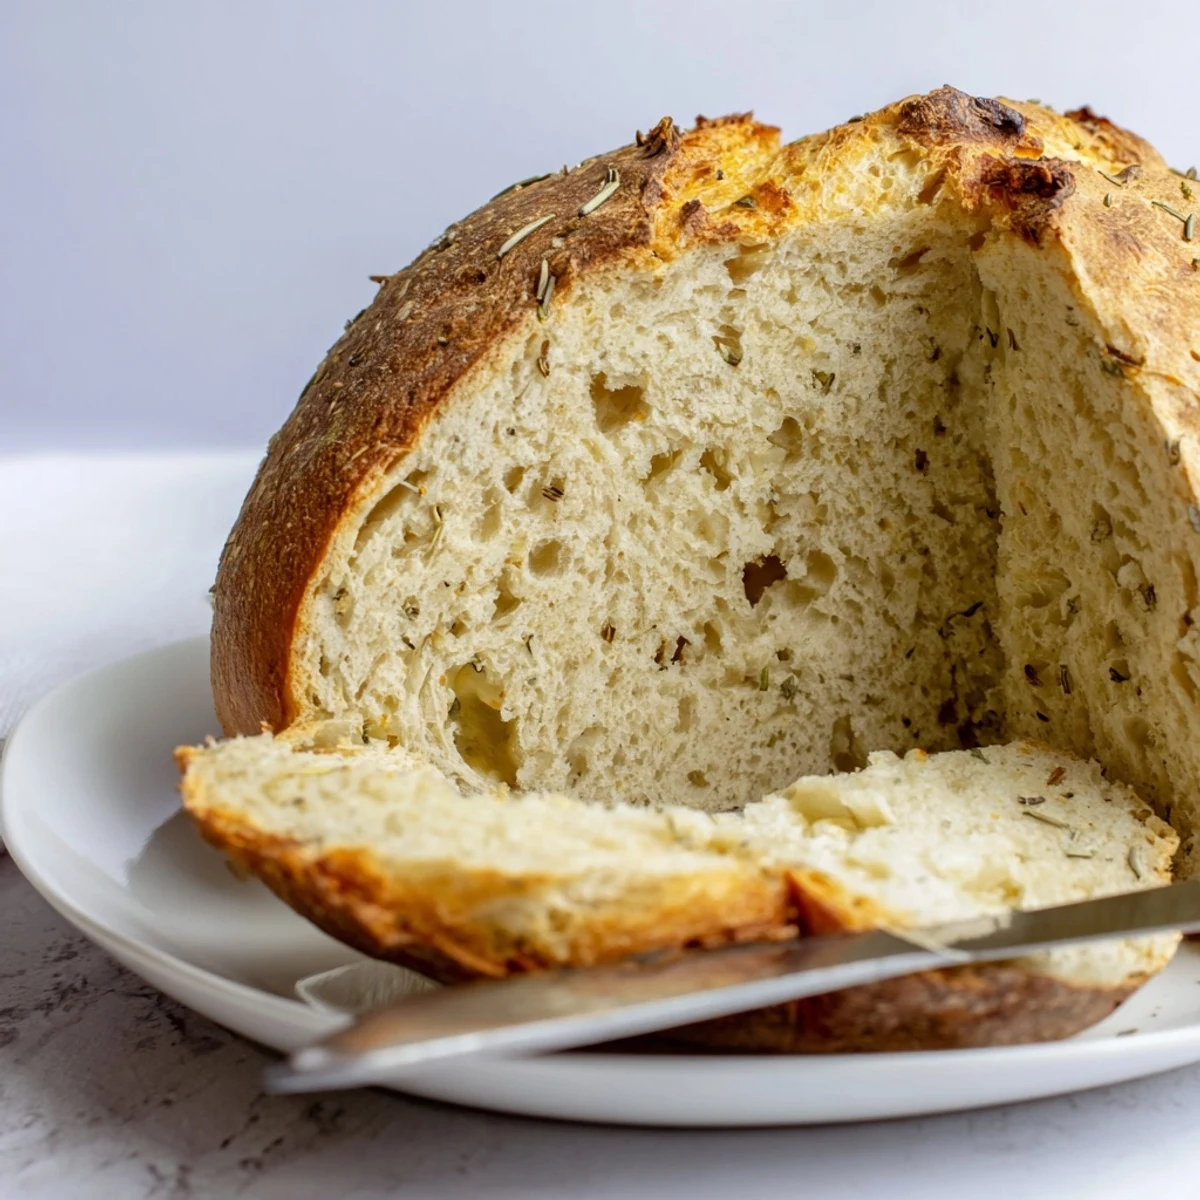
 There is nothing quite like breaking bread you baked yourself, steam rising between your fingers, the house still smelling like rosemary and possibility. Start simple, trust the process, and keep baking.
Recipe FAQs
- → Why use a Dutch oven for bread?
-
A Dutch oven traps steam during baking, creating the ideal environment for a crisp, crackly crust and excellent oven spring. The heavy walls distribute heat evenly, mimicking professional deck ovens.
- → Can I use dried rosemary instead of fresh?
-
Fresh rosemary provides superior flavor and aroma, but dried rosemary works in a pinch. Use one-third the amount since dried herbs are more concentrated. Rehydrate briefly in warm water before adding.
- → How do I know when the bread is done?
-
The crust should be deep golden brown, and the loaf should sound hollow when tapped on the bottom. An instant thermometer inserted into the center should read 200-205°F (93-96°C).
- → Can I add other mix-ins to this dough?
-
Absolutely. Kalamata olives, sun-dried tomatoes, caramelized onions, or shredded parmesan complement the garlic-rosemary base beautifully. Add 1/2 cup of your favorite ingredients during step 3.
- → Why must the Dutch oven be preheated?
-
Preheating ensures immediate oven spring when the dough hits the hot surface. This rapid initial rise creates a lighter texture and better crumb structure while jumpstarting crust formation.
- → How should I store leftovers?
-
Wrap cooled bread tightly in plastic or store in a paper bag at room temperature for up to 2 days. For longer storage, slice and freeze in freezer bags, then toast individual slices as needed.