 Pin It
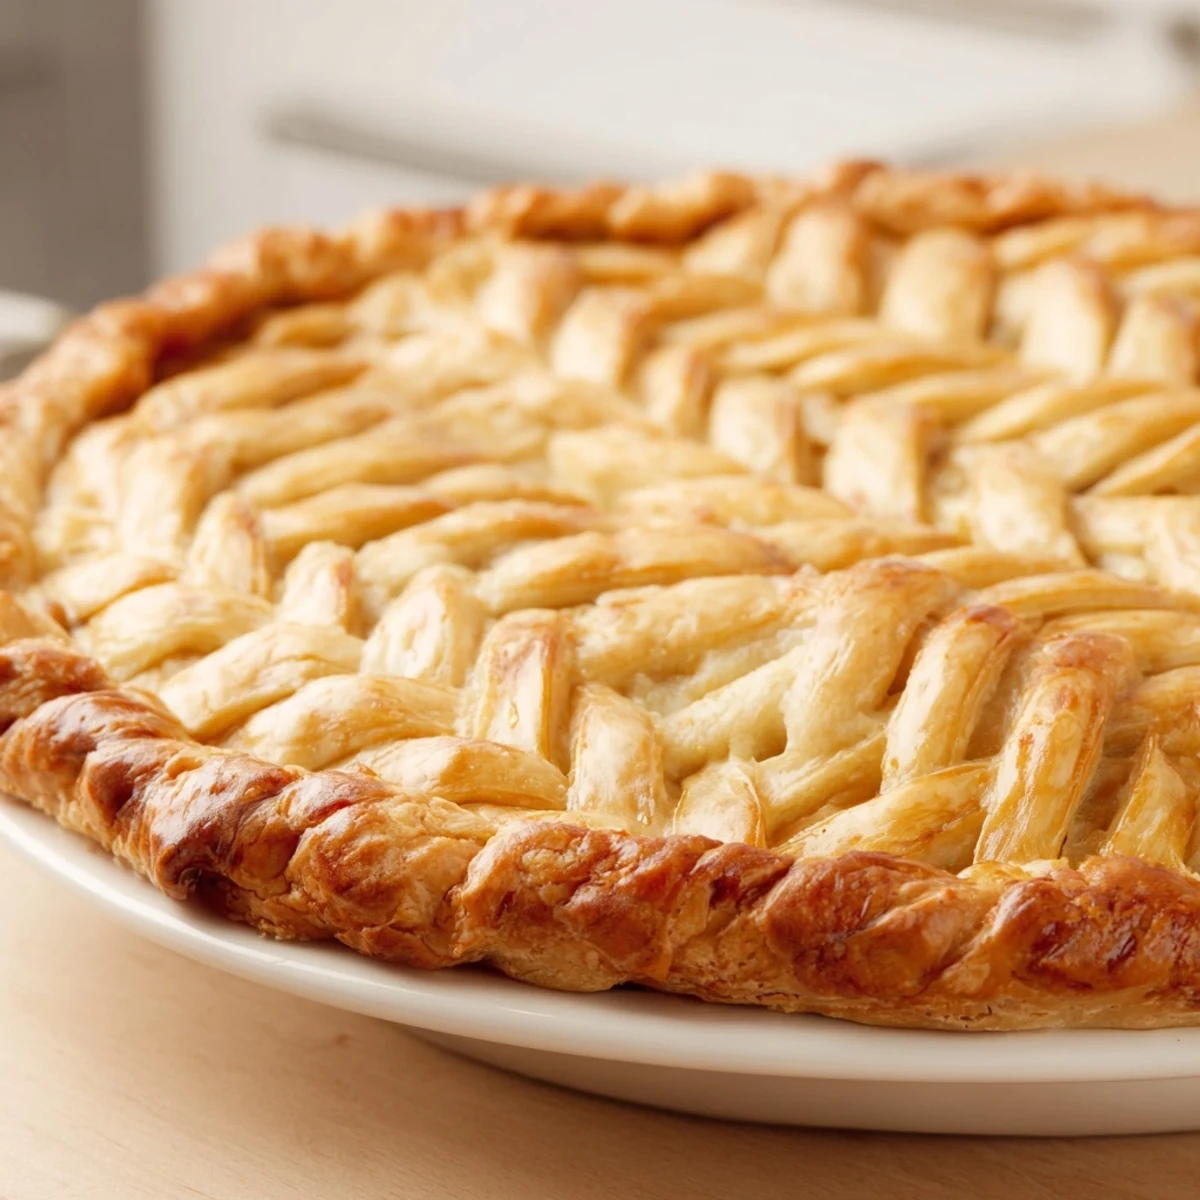
 Master the art of creating an impressive fishtail braid pie crust that transforms ordinary pies into stunning centerpieces. This decorative technique involves weaving strips of buttery pastry dough into an intricate braided pattern around the pie edge, perfect for both sweet fruit pies and savory quiches.
The process begins with a classic flaky dough made from cold butter, flour, and ice water. After chilling, the dough is rolled and cut into even strips, then woven using a simple fishtail braiding technique. The finished braid is brushed with egg wash for golden shine and adhered to the pie rim before baking.
This medium-skill decoration yields impressive results worth the effort. The braided crust not only looks professional but adds extra flaky, buttery texture to every slice. Customization options include incorporating herbs for savory versions or experimenting with colored dough for visual impact.
The first time I attempted a braided pie crust, my kitchen looked like a flour explosion zone. I'd seen those gorgeous Instagram pies with woven edges and thought, how hard can it be? Turns out, learning the fishtail braid technique takes some patience, but the moment you lift that woven crust onto your pie and see it transform into something bakery-worthy, you'll understand why the effort is absolutely worth it.
I made this for my sister's birthday last fall, and she actually gasped when I brought the apple pie to the table. The braided edge caught the golden afternoon light streaming through her kitchen window, and honestly, it felt like something straight out of a baking magazine. She made me promise to teach her the technique during our next cooking weekend.
Ingredients
- All-purpose flour: The foundation of any good pie crust, providing structure and that tender flake we all crave
- Cold unsalted butter: Keeping butter ice-cold is nonnegotiable for creating those irresistible flaky layers
- Salt: Enhances flavor and strengthens the gluten structure just enough
- Sugar: Optional for sweet pies, but a tablespoon adds subtle depth and helps with browning
- Ice water: The magic binding agent that brings everything together without activating gluten too much
- Egg wash: Gives your beautiful braid that professional golden sheen
Instructions
- Prepare your workspace:
- Cold ingredients are your best friend here, so I clear my counter and even chill my mixing bowl for 10 minutes before starting
- Mix the dry ingredients:
- Whisk flour, salt, and sugar together in that chilled bowl until they're perfectly combined
- Cut in the butter:
- Work those cold butter cubes into the flour with a pastry cutter or fingertips until you see pea-sized pieces scattered throughout
- Add ice water gradually:
- Start with a quarter cup and gently mix, adding more only until the dough barely holds together when squeezed
- Chill the dough:
- Divide into two disks, wrap tightly, and refrigerate for at least an hour or overnight for easier handling
- Roll and cut strips:
- On a floured surface, roll one disk into a rectangle and cut at least six even strips about 12 inches long and half an inch wide
- Create the fishtail braid:
- Press three strip ends together, then alternate crossing the outermost strips toward the center, pulling gently until you've woven the entire length
- Assemble your masterpiece:
- Brush your pie's rim with water, carefully lift the braid, and press it gently onto the edge
- Add the finishing touch:
- Brush the entire braid with egg wash, then bake according to your recipe until gorgeously golden brown
 Pin It
 My daughter now asks specifically for the pretty pie whenever there's a holiday or special occasion. Watching her eyes light up when I bring it to the table has become one of my favorite moments. It's funny how something as simple as a braided crust can turn a regular Tuesday dinner into a celebration.
Working With Temperature
I've learned through plenty of warm, sticky dough disasters that temperature control makes or breaks a decorative crust. Keep your butter frozen until the moment you need it, and don't be afraid to refrigerate your dough multiple times during the braiding process. A marble pastry board has become my secret weapon for maintaining that crucial chill.
Making It Your Own
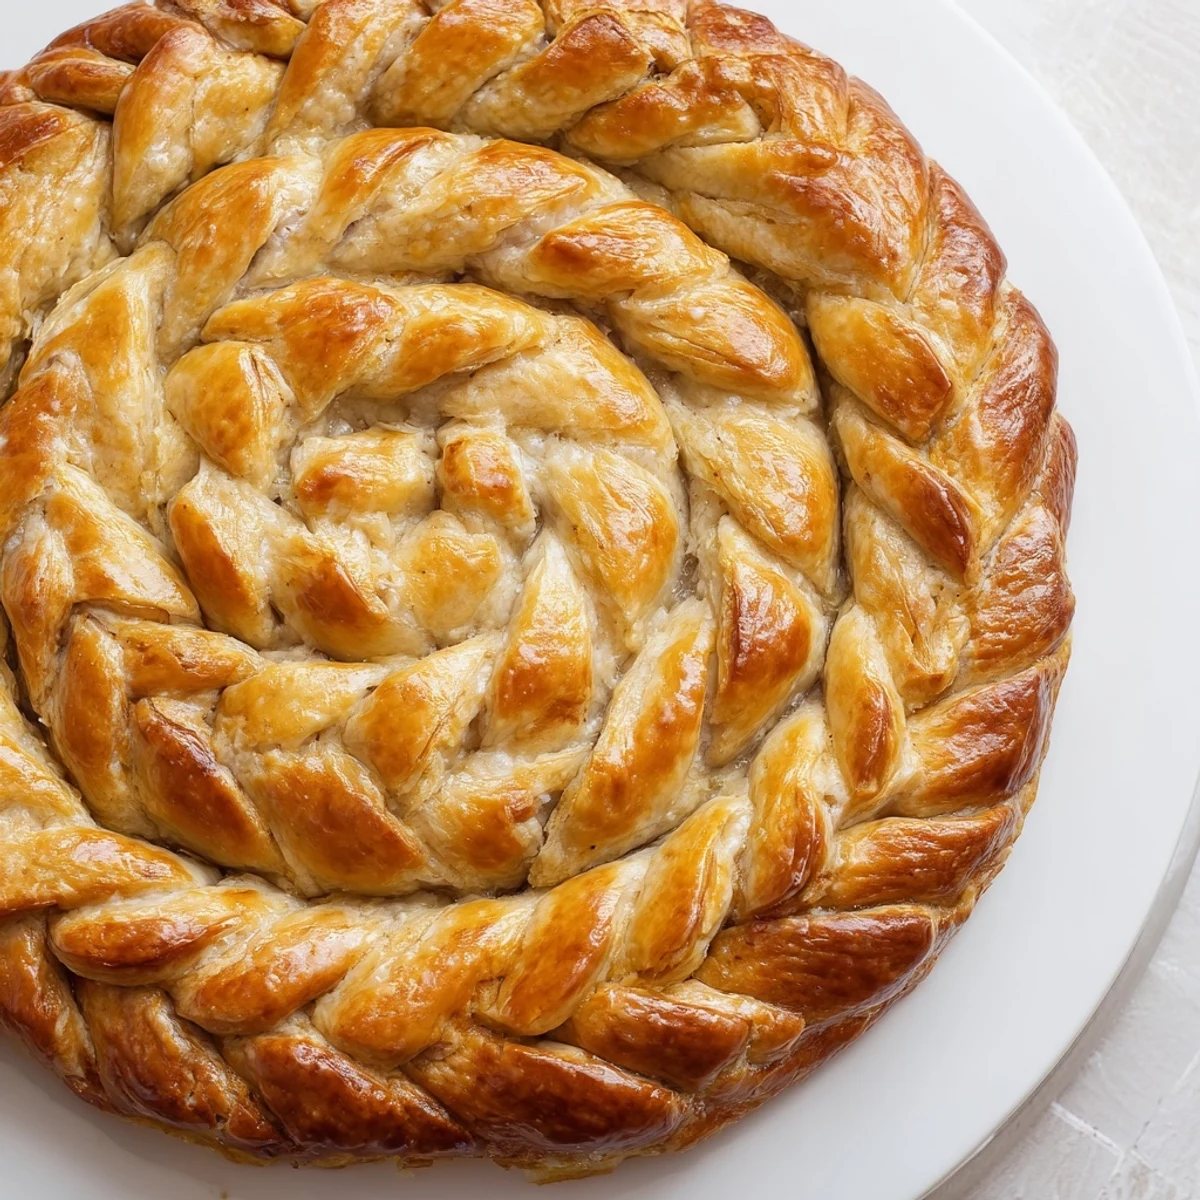
The beauty of this technique is how adaptable it is once you've got the basics down. Try brushing the braided edge with cream and sprinkling turbinado sugar for apple pies, or everything bagel seasoning for savory quiches. Last Thanksgiving, I wove thin strips of beet-dyed dough into a regular braid for a stunning pink and white spiral effect.
Troubleshooting Common Issues
Sometimes your braids will look uneven or the strips might tear as you're working. Don't panic and don't throw it away. Gently press any torn pieces back together, and remember that baking forgives many sins. An imperfect braid still looks impressive and tastes absolutely delicious.
- If strips keep breaking, your dough is probably too cold or too dry, let it warm slightly or sprinkle with water
- The braid seems too tight or too loose, adjust your pressure when pulling strips toward center
- Practice with playdough or extra dough scraps before attempting on your actual pie
 Pin It
 There's something deeply satisfying about creating pie art that tastes as good as it looks. Every time you serve this, remember that you made something beautiful with your own two hands.
Recipe FAQs
- → What makes fishtail braiding different from regular braiding?
-
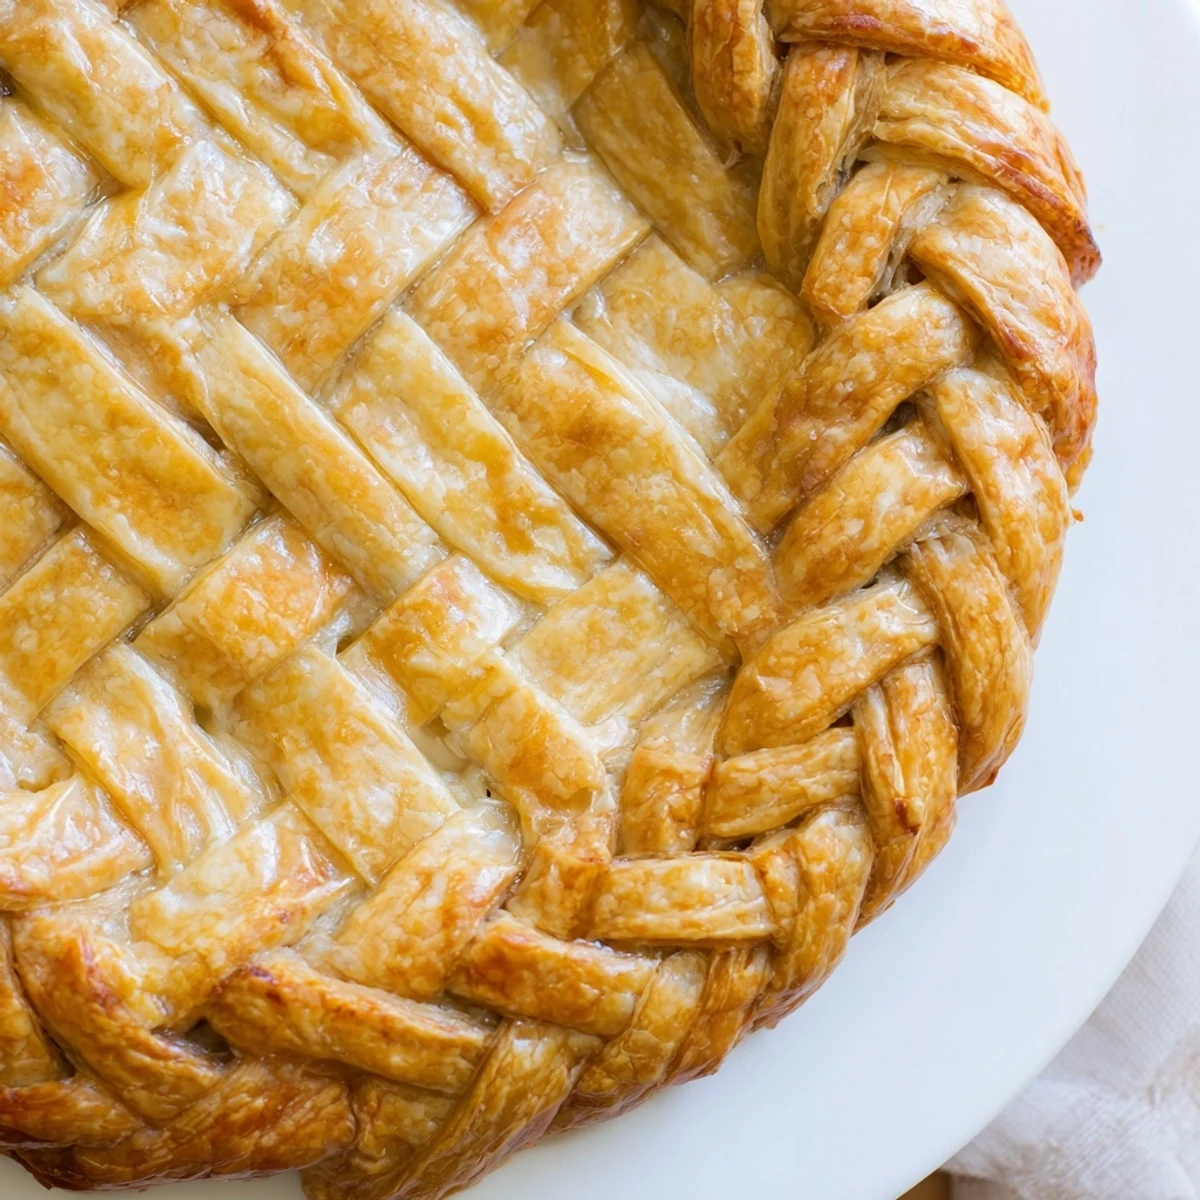
Fishtail braiding uses a distinct technique where you cross the outermost strips to the center alternately, rather than weaving three strips in a traditional over-and-under pattern. This creates a flattened, intricate weave that resembles a fish's tail and provides more surface area for golden browning.
- → How do I keep the dough strips from breaking while braiding?
-
Keep your dough well-chilled throughout the process. Work in a cool kitchen and handle the strips quickly but gently. If the dough becomes too warm or sticky, return it to the refrigerator for 10-15 minutes before continuing. Cold dough maintains its shape and braids cleanly without tearing.
- → Can I make this crust ahead of time?
-
Absolutely. Prepare and braid the crust up to 24 hours in advance, then wrap tightly in plastic and refrigerate. You can also freeze the braided crust for up to 3 months. Thaw overnight in the refrigerator before applying to your filled pie and baking.
- → What types of pies work best with a braided crust?
-
This decorative crust shines on both sweet and savory pies. Fruit pies like apple, cherry, or berry showcase the braid beautifully. It's equally stunning on quiches, chicken pot pies, and savory vegetable tarts. The visual appeal makes it perfect for holidays and special occasions.
- → Do I need to pre-bake the braided crust?
-
Pre-baking depends on your filling. For custard pies or quiches that require longer baking, apply the raw braid directly and bake everything together. For fruit pies with shorter baking times, you can blind bake the crust with the braid at 375°F for 12-15 minutes until golden before adding filling.
- → Can I use store-bought dough for this technique?
-
Yes, refrigerated pie dough works for fishtail braiding, though homemade dough provides better flavor and texture. Let store-bought dough thaw according to package directions, then roll and cut as directed. The braiding technique remains the same regardless of dough source.