 Pin It
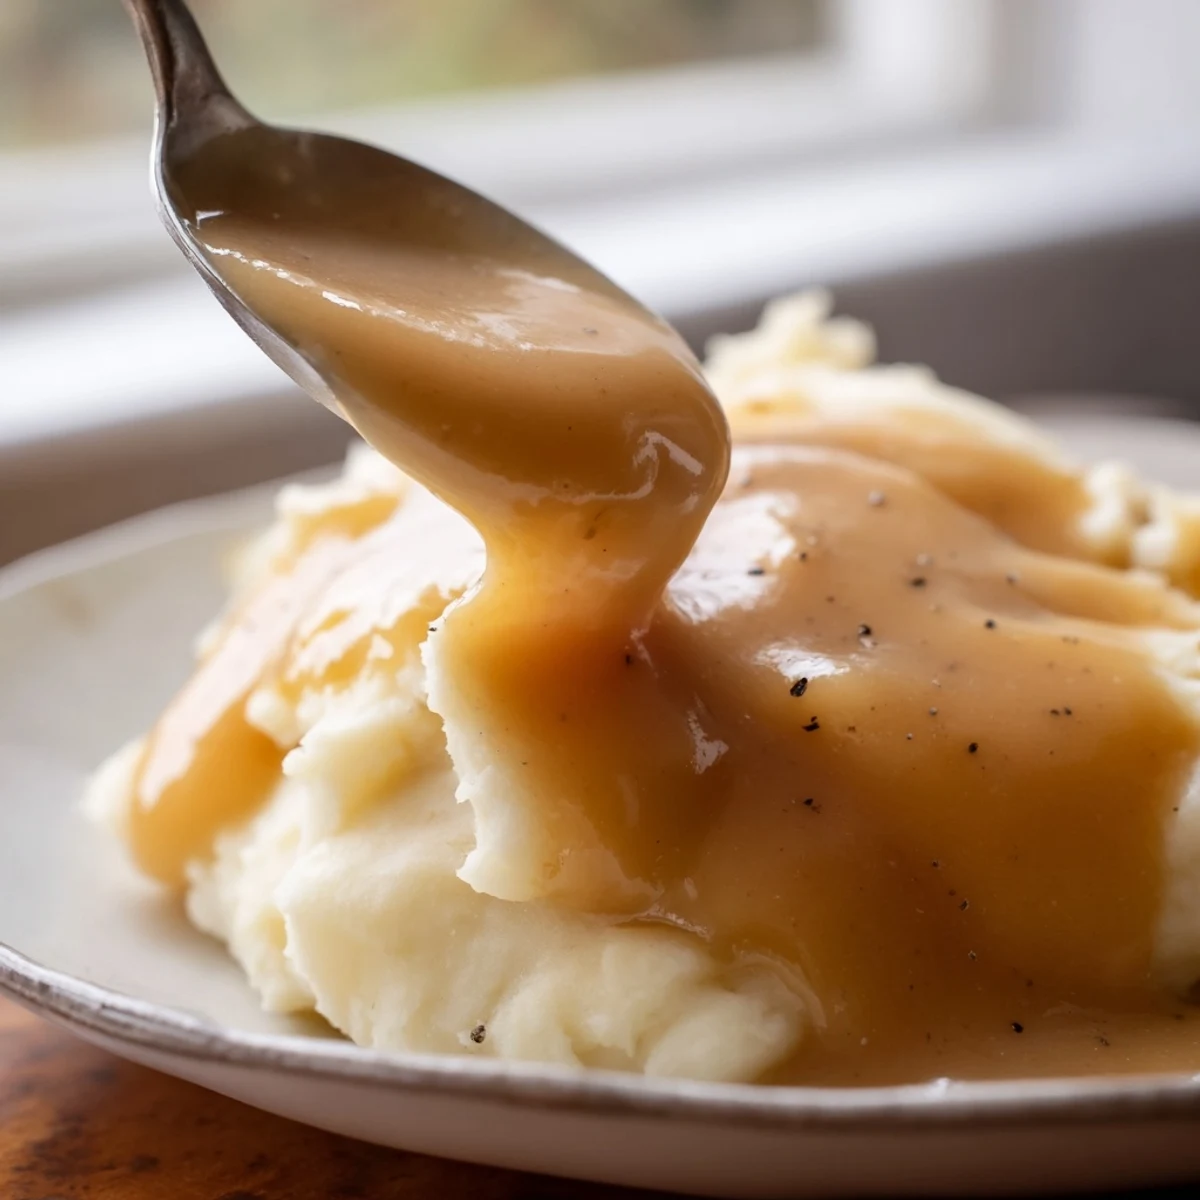
 This classic homemade gravy delivers restaurant-quality results with minimal effort. Starting with a simple roux of butter and flour, you'll build a rich foundation that thickens chicken or vegetable stock into a silky, smooth sauce.
The technique involves whisking continuously to prevent lumps while the mixture simmers and thickens. In about 15 minutes of cooking time, the sauce develops deep flavor and achieves that perfect pourable consistency that coats the back of a spoon.
Customize with herbs like thyme or sage, add cream for extra richness, or incorporate shallots for deeper flavor complexity. This versatile sauce complements everything from Sunday roasts to holiday feasts, making it an essential technique for any home cook.
The kitchen was quiet except for the gentle hiss of butter melting in my grandmother's old copper saucepan. Sunday dinners at her house always ended with gravy, and watching her transform simple pan drippings into liquid gold felt like witnessing genuine kitchen magic. Now whenever I catch that nutty aroma of flour and butter cooking together, I am instantly transported back to her cramped but cheerful kitchen, learning that the best things worth eating rarely require fancy techniques or obscure ingredients.
Last Thanksgiving, I made three batches back to back because my brother kept accidentally drinking it from his gravy boat like soup. I have also learned that keeping a small jar of this gravy in the refrigerator transforms leftover roast chicken into an entirely new meal the next night, and frankly, having homemade gravy on hand for emergency mashed potatoes is just smart life planning.
Ingredients
- Unsalted butter: Starting with cold butter lets you control the seasoning, though warm pan drippings from a roast add incredible depth you cannot replicate
- All-purpose flour: This forms the roux base that thickens your gravy, and cooking it for those crucial few minutes removes any raw flour taste
- Low-sodium chicken stock: Using low-sodium stock gives you complete control over the final salt level since the gravy will reduce slightly as it simmers
- Kosher salt: Diamond Crystal flakes distribute more evenly than table salt and you can always add more but cannot take it back
- Freshly ground black pepper: The pepper grind releases volatile oils that pre-ground pepper lost months ago in some factory
- Dried thyme or sage: These herbs bloom beautifully in the hot fat and add that classic holiday flavor everyone recognizes immediately
Instructions
- Melt your foundation:
- Drop the butter into your saucepan over medium heat and watch it foam and sizzle as it melts completely
- Build the roux:
- Whisk in the flour until no dry specks remain, then keep stirring as it turns pale gold and smells slightly nutty
- Add the liquid slowly:
- Pour in just a splash of stock first to dissolve the roux into a paste before gradually streaming in the rest while whisking
- Simmer to thicken:
- Let the gravy bubble gently for about 10 minutes, whisking along the bottom and corners, until it coats the back of a spoon
- Season and serve:
- Taste and add salt and pepper as needed, then strain through a sieve if you want it perfectly smooth
 Pin It
 My friend Sarah once called me at 10 PM from her kitchen because she had somehow managed to burn the flour and her gravy tasted like acrid disappointment. We made a fresh batch together over the phone, and now she makes gravy every Sunday just because she finally understands how simple it actually is when you do not overthink the process.
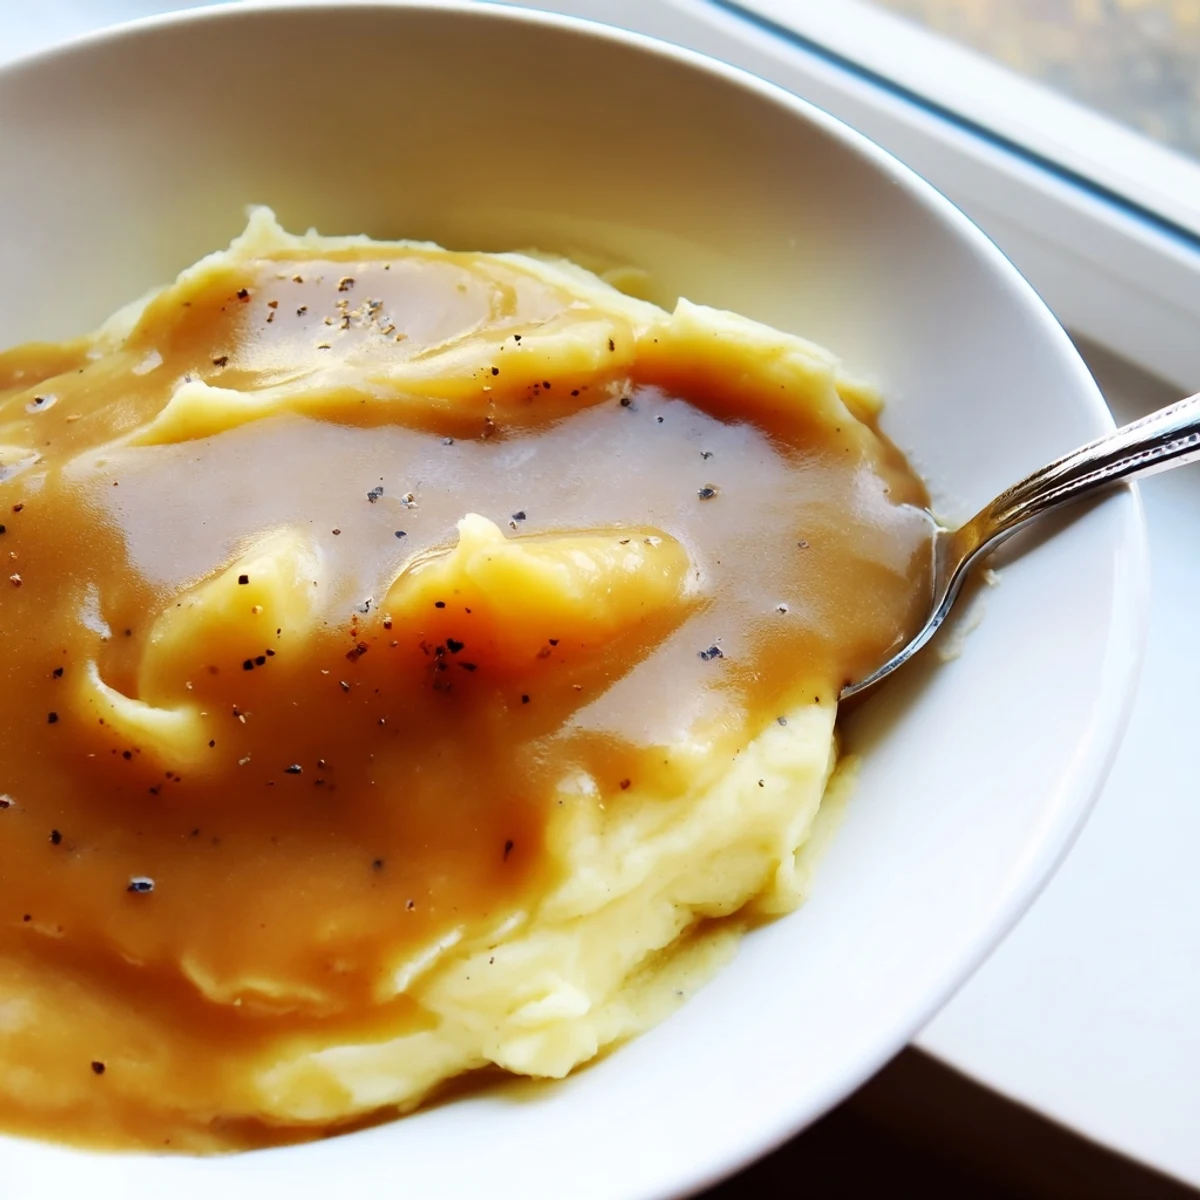
Making It Richer
Heavy cream whisked in during the last minute creates a velvety restaurant-style gravy that feels incredibly luxurious on top of mashed potatoes.
Building Deeper Flavor
Sautéing a minced shallot in the butter before adding the flour adds a subtle sweetness that balances the savory stock beautifully.
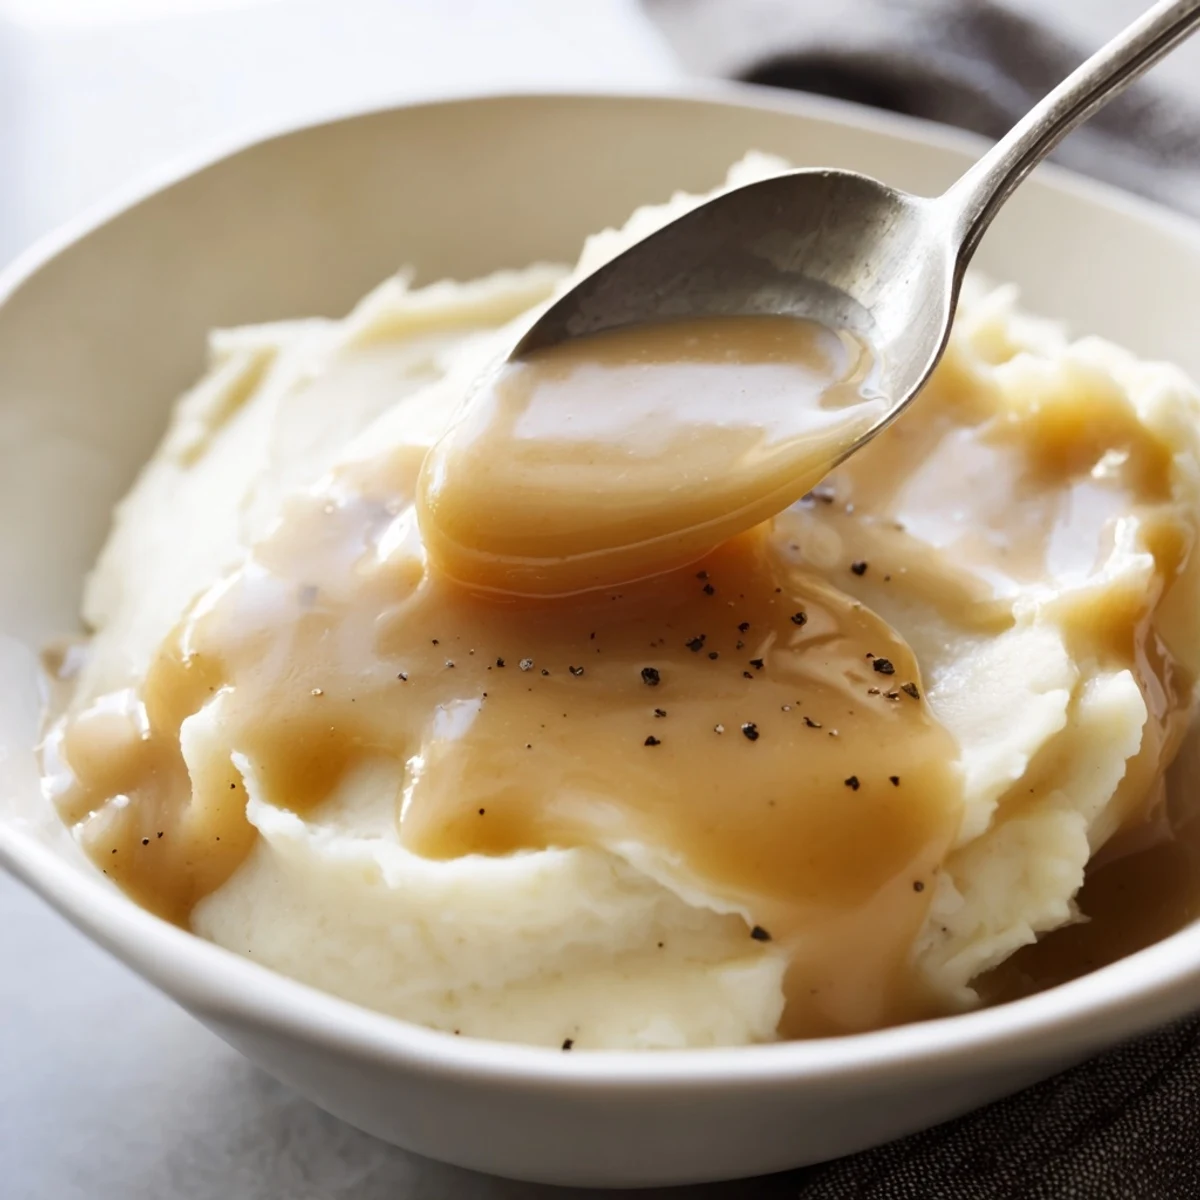
Troubleshooting Texture
If your gravy ends up too thick, whisk in additional warm stock a tablespoon at a time until it reaches the right consistency. For gravy that refuses to thicken, make a slurry by whisking 1 tablespoon of flour with 2 tablespoons of cold water until smooth, then stir it into the simmering gravy.
- Keep the gravy warm over very low heat, stirring occasionally to prevent a skin from forming on top
- Refrigerate leftovers for up to 3 days and reheat gently with a splash of water to loosen
- Freeze gravy in ice cube trays for easy portioning and drop a cube into soups for instant richness
 Pin It
 Good gravy turns a simple meal into something people remember and talk about for years. You have got this.
Recipe FAQs
- → How do I prevent lumps in my homemade gravy?
-
Whisk continuously when adding the stock to the roux, pouring slowly while maintaining constant motion. If any lumps form, strain through a fine-mesh sieve before serving for an ultra-smooth texture.
- → Can I make this gravy ahead of time?
-
Yes, prepare up to 2 days in advance and refrigerate. Reheat gently over low heat, whisking in a splash of stock or water to thin if needed. The consistency often thickens when chilled.
- → What's the best way to season gravy?
-
Start with salt and pepper, tasting frequently during the final minutes of cooking. Dried thyme or sage adds classic herb notes. For extra depth, add a dash of soy sauce or a splash of Worcestershire sauce.
- → How can I make gluten-free gravy?
-
Replace the all-purpose flour with a certified gluten-free flour blend or cornstarch. If using cornstarch, mix with cold stock first to create a slurry before whisking into the hot liquid, as it behaves differently than flour-based roux.
- → Why is my gravy too thin or too thick?
-
If too thin, continue simmering to reduce and thicken further. For too-thick gravy, simply whisk in additional warm stock or water a tablespoon at a time until reaching desired consistency. Remember that it thickens slightly as it cools.
- → Can I use pan drippings instead of butter?
-
Absolutely, pan drippings add incredible flavor. Pour off excess fat, then use the remaining drippings in place of butter for your roux. Adjust seasoning accordingly since drippings are already salty.