 Pin It
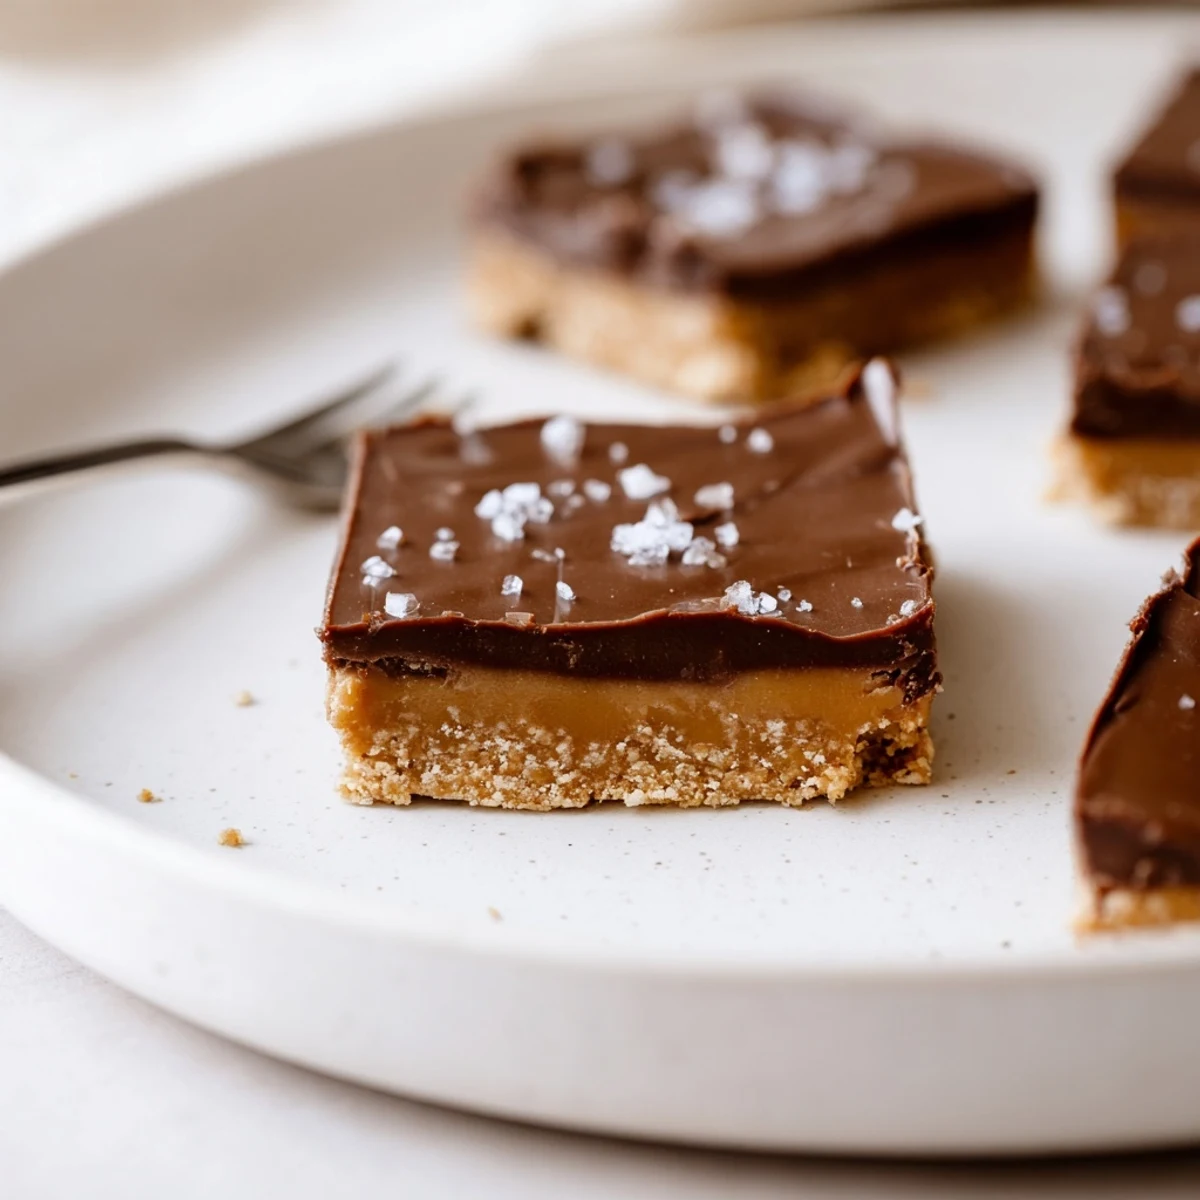
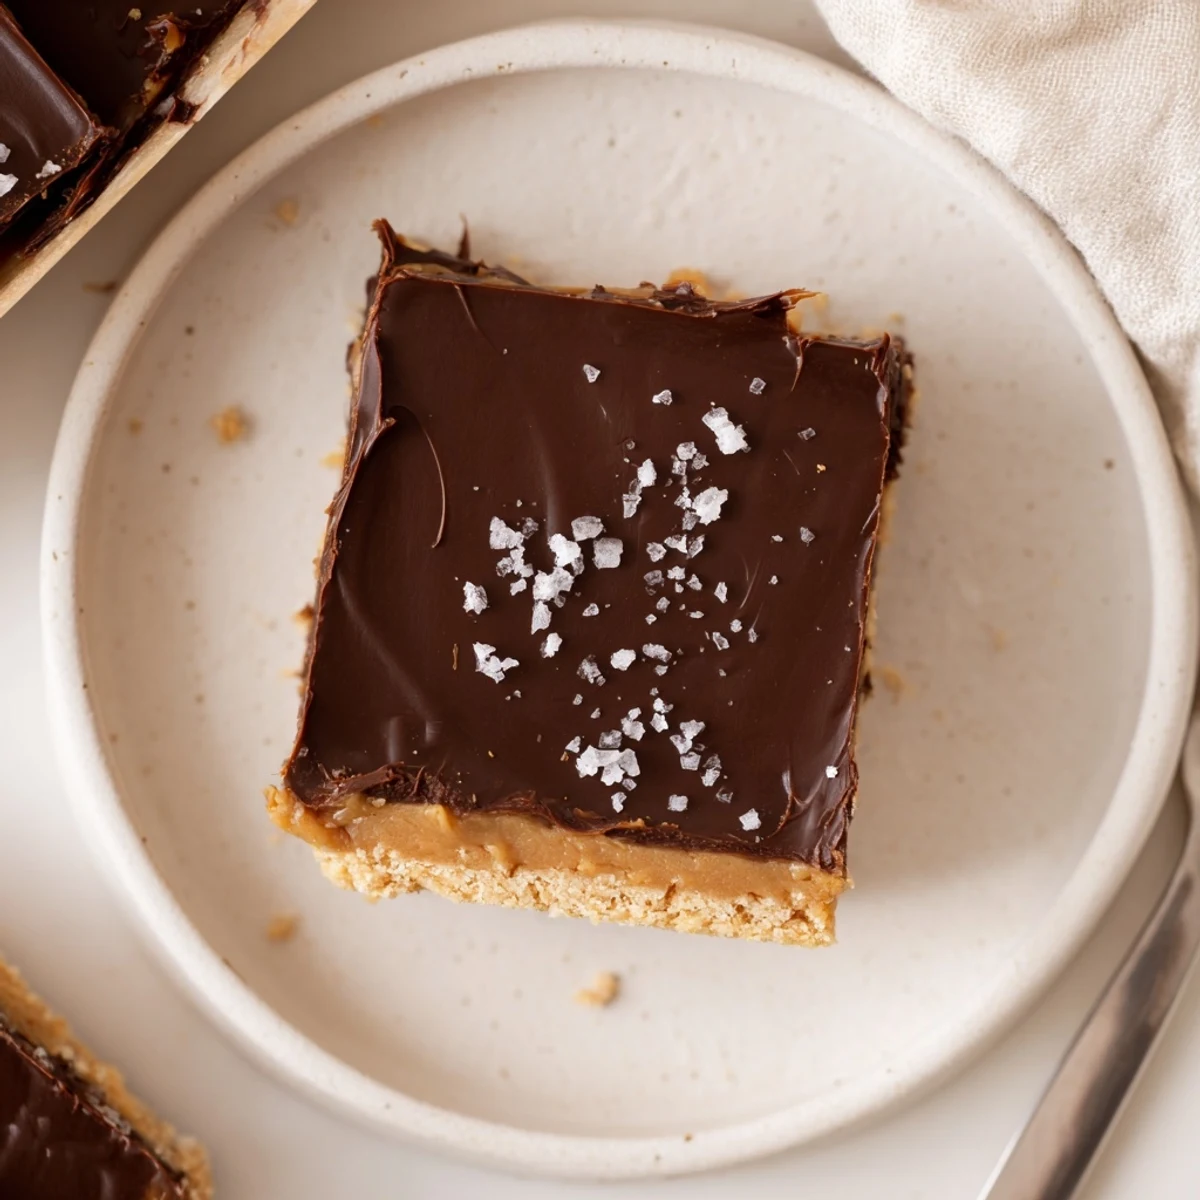
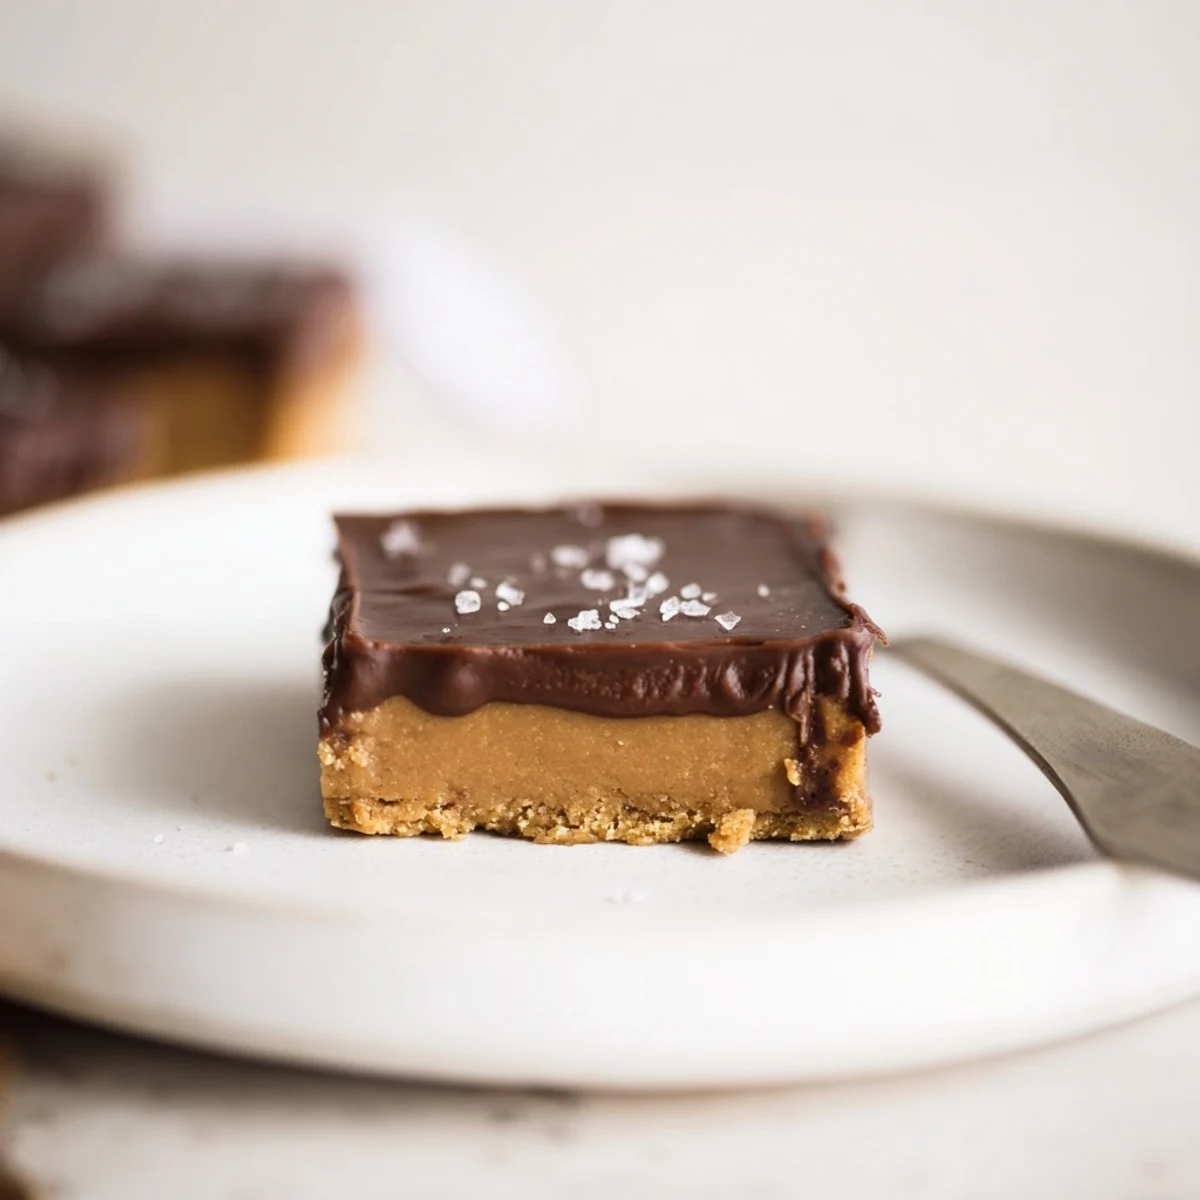
 Layered peanut butter bars that set in the fridge: a creamy base of peanut butter, melted butter, powdered sugar and graham crumbs topped with a melted chocolate-peanut glaze. Prep about 20 minutes, then chill at least 2 hours. Yields 16 bars. Try chunky peanut butter for texture, a sprinkle of sea salt, or gluten-free crumbs for an alternative. Store chilled up to a week.
The first time I made no bake peanut butter bars, it was a sweltering afternoon and the idea of turning on the oven seemed criminal. As I pressed the mixture into the pan, the scent of peanut butter instantly made the kitchen feel indulgent and warm, despite the heat outside. There was something oddly satisfying about layering chocolate over that soft peanut base and knowing there would be no waiting for it to bake. Before I knew it, these bars became my secret weapon for easy, crowd-pleasing desserts.
One chaotic weekend, my friends dropped by unannounced and within half an hour, I whipped these bars up between catching up and spontaneous kitchen dancing. We ended up debating the best chocolate-peanut butter combo, tasting as we went. There were chocolatey fingerprints everywhere—worth it for the laughs and empty pan by evening. That carefree afternoon is now my benchmark for a dessert that brings people together.
Ingredients
- Creamy peanut butter: The star—choose a smooth variety so the base binds perfectly and every bite melts in your mouth.
- Unsalted butter, melted: Blending with peanut butter, it creates that fudgy texture and keeps things balanced—room temperature butter melts smoothly and saves clumps.
- Powdered sugar: This sweetens and binds; always sift if you see clumps for an even mix.
- Graham cracker crumbs (or digestive biscuits): Adds a toasty flavor and crucial structure—press firmly into the pan for a solid bar that holds up when sliced.
- Vanilla extract: Just half a teaspoon makes every flavor pop; don’t skip it.
- Semi-sweet chocolate chips: Bring the indulgent, smooth topping; I found mini chips melt fastest.
- Additonal creamy peanut butter for the topping: This sneaky layer means the top stays soft enough to bite without shattering.
Instructions
- Pan and parchment prep:
- Line your baking pan with parchment paper, letting extra hang over the sides—it makes lifting the bars out so much easier later.
- Mix base together:
- Stir melted butter and creamy peanut butter in a large bowl until glossy and even, inhaling that roasted peanut aroma.
- Sweeten and thicken:
- Add powdered sugar and graham cracker crumbs, sprinkle in vanilla, and mix until a thick dough forms that practically begs to be sampled.
- Press and smooth:
- Press the base mixture into your lined pan—an offset spatula or the back of a spoon makes everything smooth and level.
- Make the chocolate topping:
- Melt chocolate chips with peanut butter in the microwave (short bursts to avoid burning), stirring in between as the kitchen fills with luscious chocolate perfume.
- Spread and chill:
- Pour the melted topping over the peanutty base and swirl it to the corners; a gentle tap evens things out nicely.
- Set in the fridge:
- Pop the pan in the fridge for a couple of hours—enough time to sneak a fingertip test every now and then.
- Lift, slice, and enjoy:
- Once firm, grab the parchment edges to lift out the slab and slice into squares—wipe the knife between cuts if the chocolate wants to stick.
 Pin It
 Watching my niece pull up a chair and help press the base into the pan, both of us giggling as a bit of chocolate dripped on the counter, I realized these bars would become our rainy day ritual. It’s more than a dessert—it's a memory we get to keep and eat.
Making It Your Own
Swapping out graham crackers for digestive biscuits, gluten free cookies, or even pretzels changes the flavor and crunch in surprising ways. Don’t be afraid to sprinkle chopped peanuts or a little sea salt over the top—the crunch and spark of salt truly transform each bar.
Storage and Leftovers
Pop any leftovers into an airtight container and stash them in the fridge. The bars keep their texture for up to a week, and if you love a firmer bite, try sneaking one straight from the cold fridge late at night.
Troubleshooting: Avoiding Sloppy Bars
Once, impatient to dig in, I cut the bars before they had fully set—cue chocolate sliding everywhere and sticky fingers. Now I always chill the whole block at least two hours, and run a sharp knife under hot water for the cleanest slices.
- Let the bars rest at room temp for five minutes if they are too hard straight from the fridge.
- Use a metal spatula for tidy slices.
- Don’t forget to wipe your knife between cuts for picture-perfect bars every time.
 Pin It
 No bake peanut butter bars are proof that even a simple treat can make an ordinary day feel a little more special. May your kitchen be filled with the sweet smell of peanut butter and laughter.
Recipe FAQs
- → Can I use crunchy peanut butter?
-
Yes — crunchy peanut butter adds pleasant texture throughout the base. If you prefer a smoother finish, use creamy peanut butter or pulse the mixture briefly to break up large chunks.
- → How do I melt the chocolate without seizing?
-
Warm chocolate in 20–30 second microwave bursts, stirring between each, or use a double boiler over gentle simmering water. Avoid water contact with chocolate and remove from heat just before fully melted to prevent graininess.
- → How can I make these gluten-free?
-
Substitute the graham cracker crumbs with certified gluten-free cookie crumbs or almond flour. Check all ingredient labels to ensure no cross-contamination for strict gluten-free needs.
- → Tips for clean slices and neat bars?
-
Chill bars until fully firm before slicing. Run a sharp knife under hot water, dry it, and make clean strokes between heats to minimize crumbing. Refrigerate briefly between cuts if filling softens.
- → What’s the best way to store and freeze them?
-
Keep bars in an airtight container in the fridge for up to one week. For longer storage, wrap individual bars and freeze up to 3 months; thaw in the fridge before serving to retain texture.
- → Can I change the chocolate type for the topping?
-
Yes — semi-sweet, dark, or milk chocolate all work. Darker chocolate yields a less sweet, firmer topping while milk chocolate offers a creamier, sweeter finish. Adjust peanut butter amount for spreadability.