 Pin It
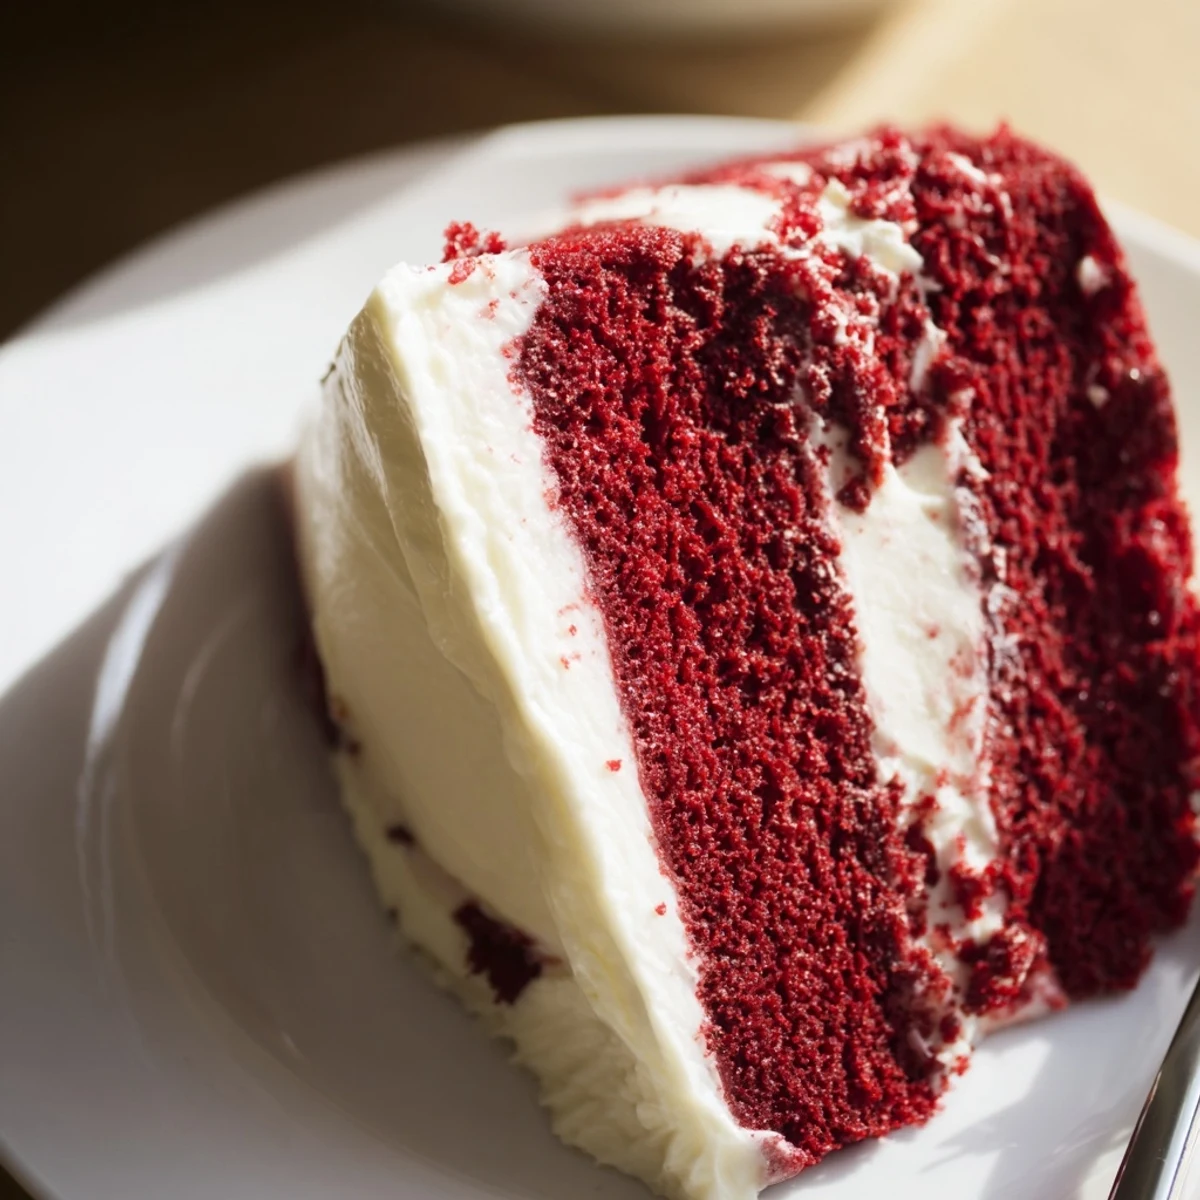
 This classic red velvet features a moist crumb infused with a hint of cocoa, layered and topped with smooth, tangy cream cheese frosting. Combining simple ingredients like buttermilk, red coloring, and vanilla, the cake delivers a balanced flavor and vibrant appearance. The frosting, creamy and light, adds the perfect finishing touch, creating a dessert renowned for its delicate texture and rich taste. Ideal for celebrations or casual gatherings, this cake yields 12 servings and offers a satisfying treat with every bite.
There's something about red velvet cake that stops conversations mid-sentence. I learned this the hard way at my cousin's engagement party when I brought one I'd made from scratch, and suddenly I was fielding requests from every corner of the room. The real magic isn't in the striking crimson color—it's that subtle cocoa whisper underneath, the way the crumb stays impossibly tender, and that tangy cream cheese frosting that makes people close their eyes for a moment. Once you've tasted a proper homemade version, the bakery box versions feel like distant cousins.
I made this for my partner's birthday during a bleak February, and it transformed the whole evening. The kitchen smelled like vanilla and cocoa while we decorated it together, and by the time we lit the candles, we'd already forgotten it was supposed to be a simple weeknight. Those small moments—where baking becomes about showing up for someone—are when this cake truly shines.
Ingredients
- All-purpose flour (2½ cups): The foundation—measure by weight if you can, as scooping can pack it down and throw off your ratios.
- Granulated sugar (1½ cups): This creams with the oil to create structure and tenderness in equal measure.
- Baking soda (1 tsp): Works with the vinegar to lift the cake, so don't skip or substitute.
- Fine salt (1 tsp): Balances sweetness and deepens the cocoa notes.
- Unsweetened cocoa powder (1 tbsp): The secret ingredient that adds earthiness without making it taste like chocolate cake.
- Vegetable oil (1½ cups): Keeps the crumb moist; butter would make it denser and drier.
- Buttermilk (1 cup, room temperature): The acid that reacts with baking soda and tenderizes the flour.
- Large eggs (2, room temperature): Room temperature eggs incorporate smoothly, creating a silkier batter.
- Red food coloring (2 tbsp): Use gel coloring for deeper red without thinning the batter.
- Vanilla extract (1 tsp): Amplifies the cocoa and balances the tang.
- White distilled vinegar (1 tsp): The overlooked star—it reacts with baking soda and adds subtle tang.
- Cream cheese (16 oz, softened): Must be at room temperature or it will be grainy and lumpy.
- Unsalted butter (½ cup, softened): Room temperature butter blends seamlessly with cream cheese.
- Confectioners sugar (4 cups, sifted): Always sift before adding to avoid lumps that no amount of beating will fix.
- Vanilla extract (2 tsp for frosting): A bit more than the cake to shine through the richness.
- Salt (pinch): Cuts through sweetness and brings out the tang.
Instructions
- Prepare your pans like you mean it:
- Preheat to 350°F while you work. Grease and flour two 9-inch pans generously, then line the bottoms with parchment paper—this is your safety net for clean cake layers. Cold pans can cause the edges to set before the center cooks.
- Whisk the dry ingredients:
- In a large bowl, whisk flour, sugar, baking soda, salt, and cocoa powder together until the cocoa is evenly distributed. This step aerates the flour and prevents lumps later.
- Combine the wet mixture smoothly:
- In another bowl, whisk oil, buttermilk, eggs, food coloring, vanilla, and vinegar until the color is uniform and the mixture looks homogeneous. Don't skip the vinegar—it's essential for the chemistry.
- Fold it all together gently:
- Add the wet to the dry and mix with a spatula until just combined—lumps are okay, overmixing creates a tough cake. The batter should look thick but pourable.
- Divide evenly and bake:
- Pour batter into pans and smooth the tops. Bake 28–32 minutes until a toothpick comes out clean or with a few crumbs. The center should be set but still tender.
- Cool with patience:
- Let cakes rest in pans for 10 minutes (they firm up enough to turn out), then invert onto a wire rack and cool completely. Warm cake and warm frosting are a disaster waiting to happen.
- Beat the frosting until clouds form:
- Cream cheese and butter should be beaten until pale and fluffy before you add sugar. Add the sifted confectioners sugar gradually, scraping the bowl often—the longer you beat, the lighter it becomes.
- Layer and frost with intention:
- Place the first cake layer on your platter, spread a third of the frosting on top, then add the second layer. Frost the top and sides with remaining frosting, chill for 30 minutes for clean slices.
 Pin It
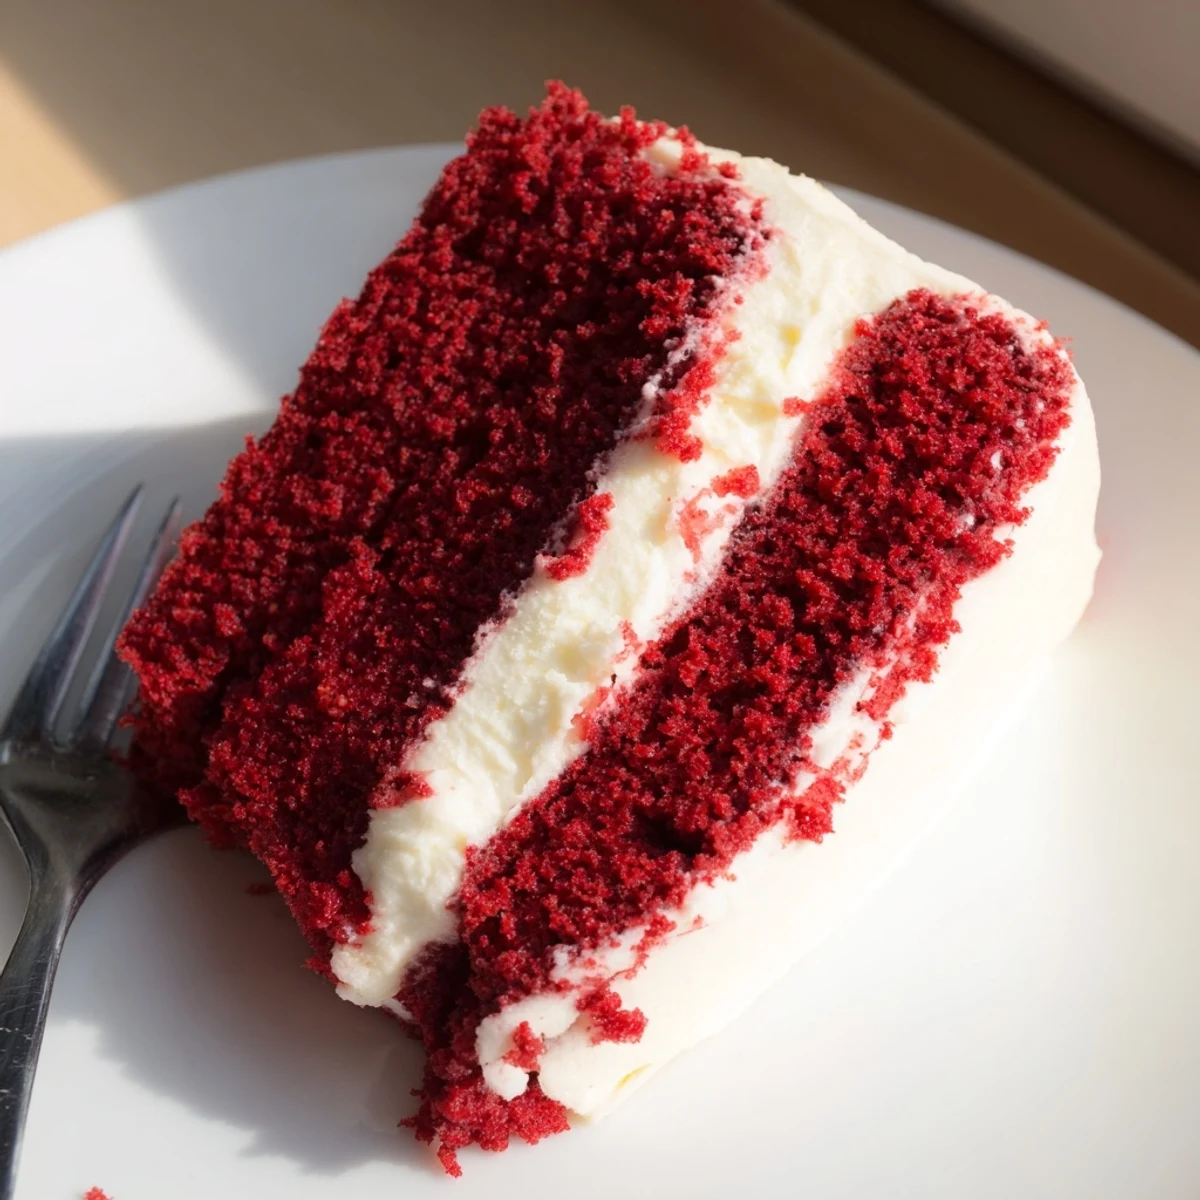
 The first time someone asked for the recipe, I realized this cake had become more than something I made—it was something people looked forward to. That shift from 'nice to have' to 'we hope you'll make this' is when you know you've found something worth repeating.
The Color Question
Red velvet gets its color from food coloring, not cocoa or beets or anything else people wonder about. Gel coloring gives a deeper, truer red than liquid coloring without affecting the batter's texture. If you use liquid coloring, you might need an extra teaspoon or two, but the batter starts to feel looser and the cake becomes slightly less stable. I learned this by accident when I was out of gel coloring and tried to improvise—the result was a paler, slightly greasier cake that still tasted good but looked shy.
Why This Frosting Works
Cream cheese frosting could be cloying, but the tang cuts through the sweetness in a way that makes you want another bite. The ratio of cream cheese to butter matters—too much cream cheese and it tastes sour, too much butter and it tastes like sweetened butter. The balance here is intentional.
Storage and Variations
This cake keeps well in the refrigerator for up to four days and actually tastes better on day two. You can make it a day ahead, frost it the morning of serving, and everything stays moist and perfect. Some people swear by adding a tiny bit of cream to the frosting for even more richness, and others press crushed cake crumbs onto the sides for texture.
- Gel food coloring creates deeper red without changing the batter's consistency.
- For cupcakes, reduce baking time to 18–20 minutes and frost generously.
- Room temperature is your friend—every single ingredient matters.
 Pin It
 Red velvet cake teaches you something about how small details—an extra second of beating, the right temperature, one tablespoon of cocoa—compound into something that tastes like it took way more effort than it did. That's when you know you've truly learned it.
Recipe FAQs
- → What gives the red velvet its color?
-
The vibrant red hue comes from red food coloring, which highlights the cake's rich cocoa undertones.
- → How can I achieve a deeper red color?
-
Using gel food coloring instead of liquid enhances the red tone more vividly without altering batter consistency.
- → What texture should the cream cheese frosting have?
-
The frosting should be smooth, creamy, and light, achieved by beating cream cheese with butter and gradually adding sifted sugar.
- → Can I substitute buttermilk in the batter?
-
Yes, buttermilk can be mimicked by mixing milk with vinegar or lemon juice to provide the necessary acidity and moistness.
- → How do I ensure the cake layers bake evenly?
-
Grease and flour the pans, line the bottoms with parchment paper, and bake at 350°F until a toothpick comes out clean.
- → Can this cake be made into cupcakes?
-
Yes, by reducing the baking time to 18–20 minutes, the batter can be baked as cupcakes for smaller portions.