 Pin It
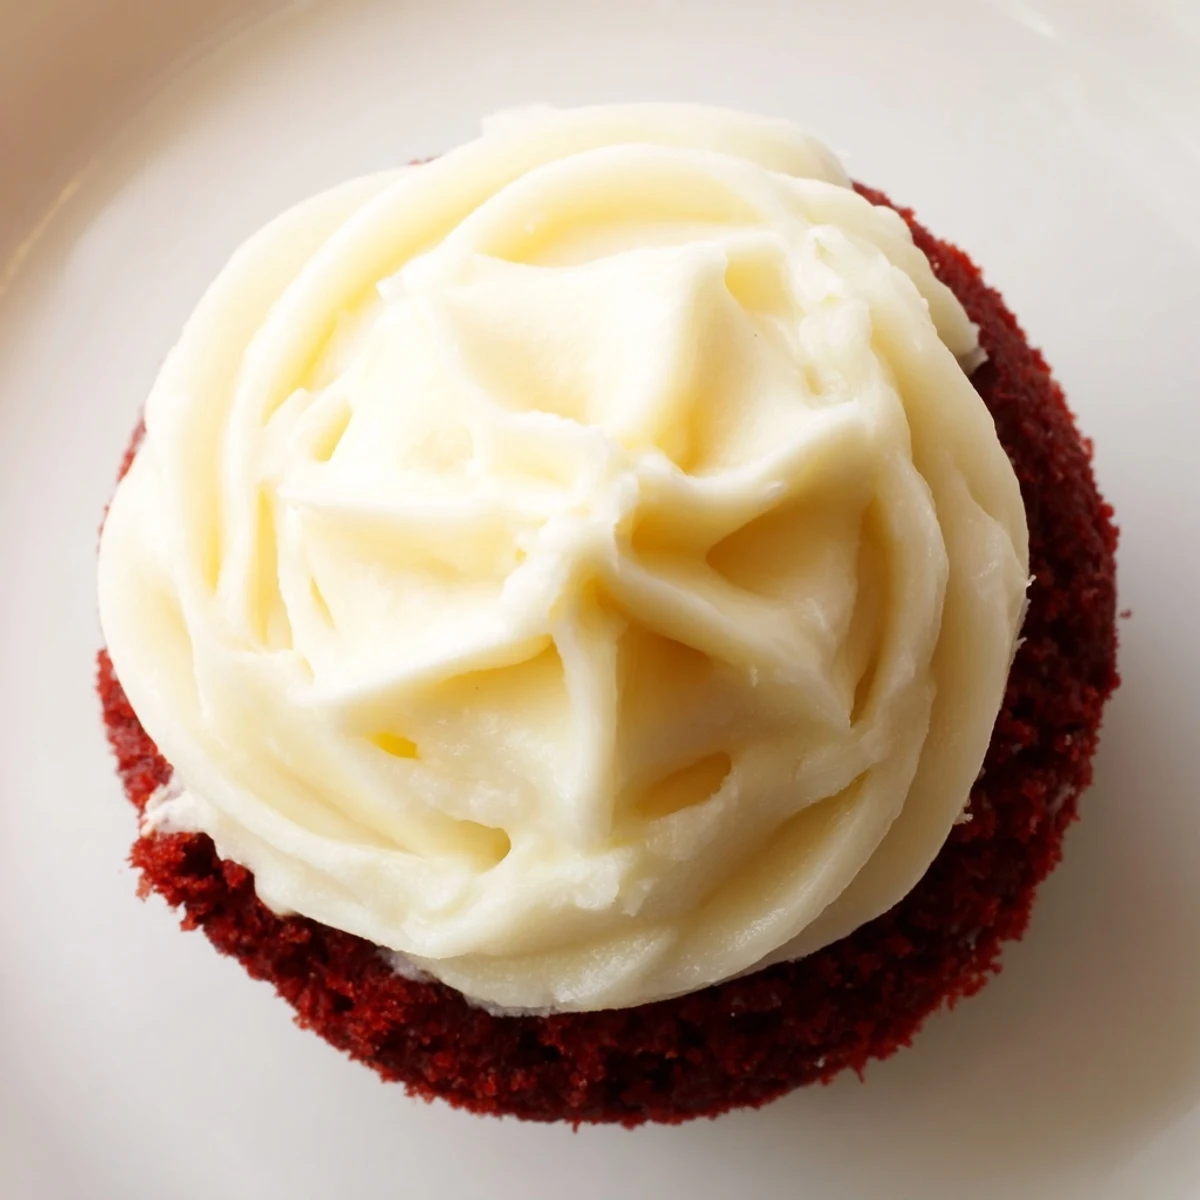
 These red velvet cupcakes feature a moist, tender crumb enhanced by cocoa and buttermilk. The vibrant red hue pairs beautifully with a luscious cream cheese frosting, offering a perfect balance of tangy and sweet flavors. Simple mixing methods and quick baking times make them suitable for any occasion. Top with crumbs or sprinkles for extra flair. Store refrigerated and bring to room temperature before serving to enjoy full flavor and texture.
My sister walked into the kitchen holding a magazine cutout of the most vibrant red cupcake I'd ever seen. She didn't say a word, just pointed at it and raised an eyebrow. That weekend, we spent hours trying to get the color just right, laughing every time the batter looked more pink than crimson. By the third batch, we finally nailed it—and those cupcakes disappeared before they even cooled.
I brought these to a friend's birthday once, stacked on a glass stand under the afternoon light. Everyone went quiet when I set them down, and for a moment I worried I'd overdone the food coloring. Then someone took a bite, closed their eyes, and said it tasted like childhood. I've been making them ever since.
Ingredients
- All-purpose flour: The foundation of tenderness here, measure it carefully or your cupcakes will turn dense instead of airy.
- Unsweetened cocoa powder: Just enough to add depth without turning these into chocolate cupcakes, sift it if it's lumpy.
- Baking soda: This reacts with the vinegar at the end to give you that perfect rise, don't skip it.
- Unsalted butter (for cupcakes): Softened means you should be able to press a finger into it easily, not melted or cold.
- Granulated sugar: Creaming this with butter is what creates all those tiny air pockets that make the cupcakes light.
- Large eggs: Room temperature eggs blend into the batter without deflating it, I leave mine on the counter for 30 minutes.
- Buttermilk: Adds moisture and a slight tang that plays beautifully with the cocoa, you can make your own by adding a teaspoon of vinegar to milk.
- Sour cream: This is the secret to keeping these cupcakes tender even the next day, it's worth buying a small tub.
- Vanilla extract: Use the real stuff if you can, it makes a difference you can taste in every bite.
- Red food coloring: Gel gives you the deepest color without thinning the batter, liquid works too but you'll need more.
- White vinegar: Stirred in last, it reacts with the baking soda for a boost of lift right before baking.
- Cream cheese (for frosting): Must be fully softened or you'll have lumps no amount of beating will fix, I leave it out for an hour.
- Unsalted butter (for frosting): Also softened, it blends with the cream cheese to create that silky, pipeable texture.
- Powdered sugar: Sift it before adding or your frosting will be gritty, I learned that the hard way.
Instructions
- Preheat and Prep:
- Turn your oven to 350°F and line a muffin tin with paper liners, this is the moment to double-check you have everything ready. I like to set out all my ingredients now so I'm not hunting for vanilla mid-mix.
- Combine the Dry Ingredients:
- Whisk together flour, cocoa powder, baking soda, and salt in a medium bowl until no streaks remain. Set it aside and resist the urge to skip the whisking, it distributes everything evenly.
- Cream Butter and Sugar:
- Beat softened butter and sugar together for 2 to 3 minutes until the mixture looks pale and fluffy, like frosting itself. This step traps air that'll make your cupcakes rise beautifully.
- Add the Eggs:
- Crack in one egg at a time, beating well after each addition until it's fully incorporated. Rushing this can make the batter look curdled, just keep beating and it'll come together.
- Mix in the Wet Ingredients:
- Stir in buttermilk, sour cream, vanilla, and red food coloring until the batter turns a bright, cheerful red. The color might look intense now, but it softens a bit as it bakes.
- Fold in the Dry Mixture:
- Add your dry ingredients in two parts, mixing gently until just combined after each addition. Overmixing now will give you tough cupcakes, so stop as soon as you don't see any flour streaks.
- Stir in the Vinegar:
- Add the vinegar last and give it a quick stir, you might see a few bubbles as it reacts with the baking soda. That's exactly what you want.
- Fill the Liners:
- Divide the batter evenly among the 12 liners, filling each about two-thirds full. I use a cookie scoop for this, it keeps them all the same size so they bake evenly.
- Bake Until Done:
- Slide the tin into the oven and bake for 16 to 18 minutes, checking with a toothpick at the 16-minute mark. When it comes out clean or with just a crumb or two, they're ready.
- Cool Completely:
- Let the cupcakes rest in the pan for 5 minutes, then move them to a wire rack. Frosting warm cupcakes will melt everything into a mess, so be patient here.
- Make the Frosting:
- Beat cream cheese and butter together until smooth and creamy, no lumps allowed. Gradually add sifted powdered sugar, vanilla, and a pinch of salt, beating until it's fluffy enough to hold a peak.
- Frost and Serve:
- Once the cupcakes are completely cool, frost them generously with a piping bag or offset spatula. I like to swirl the frosting high, it makes them look bakery-perfect.
 Pin It
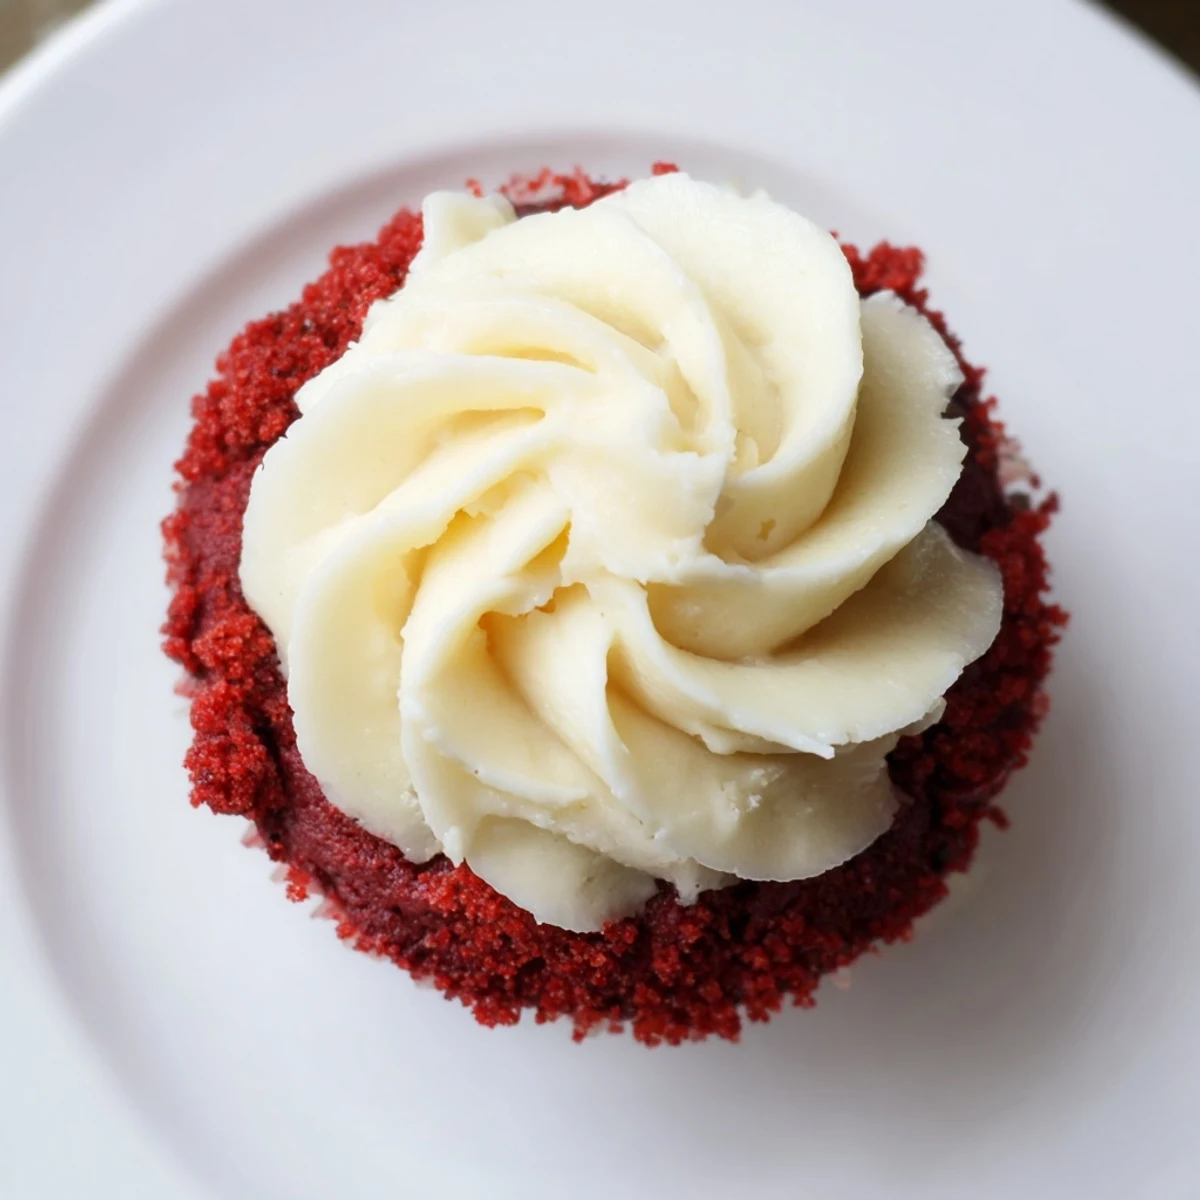
 There's something about the way the frosting catches the light when you pipe it just right, how everyone leans in a little closer when you set the tray down. These cupcakes have become my go-to for birthdays, bad days, and every celebration in between. They never feel ordinary.
How to Get the Perfect Red Color
Gel food coloring is your best friend here, it won't water down the batter and gives you that deep, true red without needing half a bottle. Start with a tablespoon and add more if you want it darker, but remember the color will lighten slightly as it bakes. I once used liquid and had to add so much the cupcakes tasted faintly metallic, never again.
Storage and Make-Ahead Tips
Once frosted, keep these in the fridge in an airtight container for up to three days, but let them sit at room temperature for 20 minutes before serving. The frosting gets too firm straight from the cold, and the cake tastes better when it's not chilled. I've also frozen unfrosted cupcakes for up to a month, just thaw them on the counter and frost fresh.
Ways to Dress Them Up
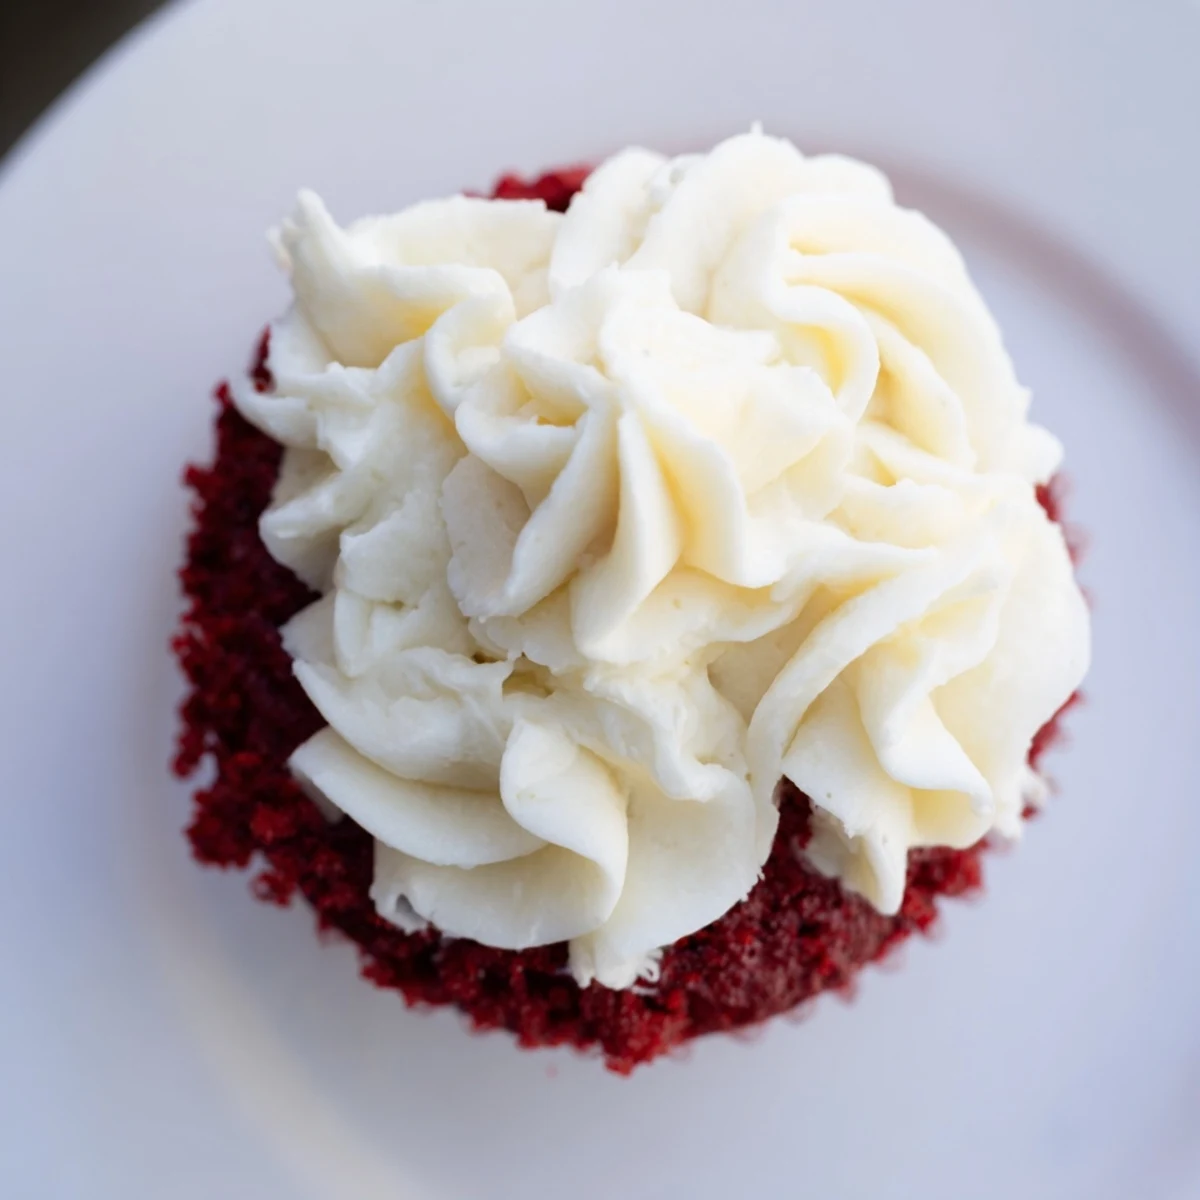
A dusting of red velvet cake crumbs on top of the frosting adds texture and makes them look fancy with almost no effort. You can also tuck a fresh raspberry into the swirl, or finish with a sprinkle of edible gold dust if you're feeling extra. Sometimes I pipe the frosting into rosettes and add a tiny mint leaf, it's all about what feels right for the occasion.
- Try mini chocolate chips folded into the batter for a subtle chocolate punch.
- Top with white chocolate shavings for a beautiful contrast against the red.
- Use a star tip for the frosting to create bakery-style peaks that catch everyone's eye.
 Pin It
 These cupcakes have a way of turning an ordinary afternoon into something memorable, and that's the magic of baking something this beautiful. I hope they bring as much joy to your kitchen as they have to mine.
Recipe FAQs
- → What gives these cupcakes their red color?
-
The vibrant red color comes from red food coloring, which can be gel or liquid, added to the batter for a striking appearance.
- → How can I make the cupcakes more moist?
-
Using ingredients like buttermilk and sour cream enhances moisture and tenderness, resulting in a soft crumb texture.
- → Is it necessary to chill the cupcakes after frosting?
-
Refrigerating the frosted cupcakes helps set the cream cheese frosting and keeps them fresh for up to three days.
- → Can I add chocolate chips to the batter?
-
Yes, adding chocolate chips creates a delightful twist, complementing the cocoa flavor in the cupcakes.
- → What tools are essential for preparing these cupcakes?
-
A muffin tin, paper liners, mixing bowls, and a mixer are key tools for efficient and consistent preparation.
- → How do I know when the cupcakes are fully baked?
-
Insert a toothpick into a cupcake's center; if it comes out clean, the cupcakes are fully baked and ready to cool.