 Pin It
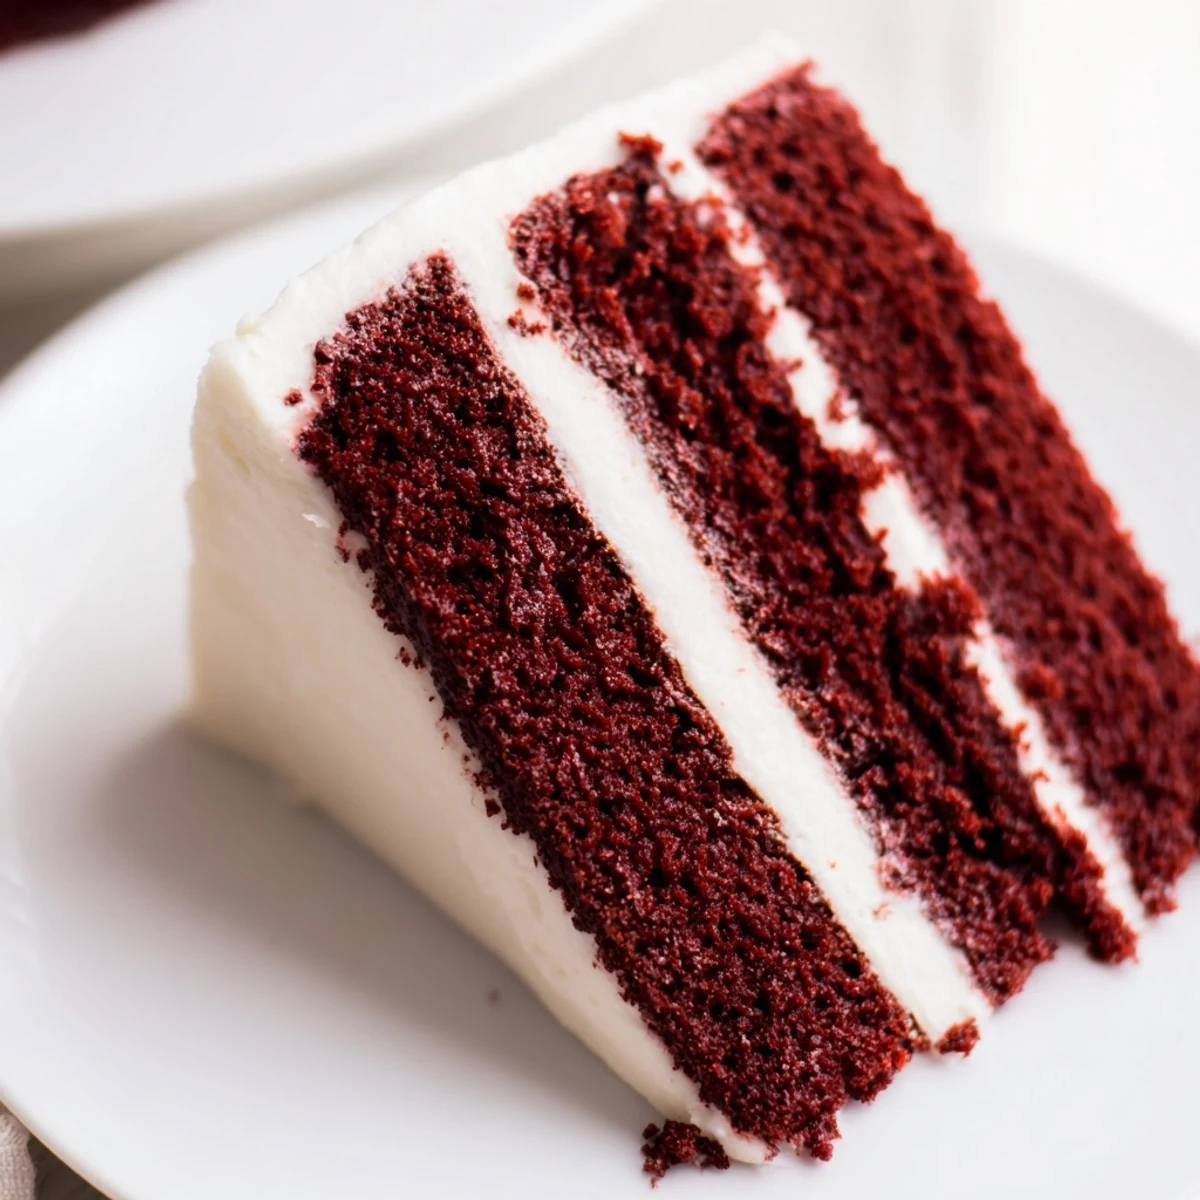
 Create tender, cocoa-enhanced red layers by mixing oil, buttermilk, and food coloring into sifted dry ingredients. Bake until fluffy, then cool completely. Whip together softened cream cheese, butter, and powdered sugar for a tangy frosting. Assemble the tiers, covering the sides and top generously before chilling briefly for clean slices.
The first time I made red velvet cake, I was standing in my kitchen on a gray afternoon, staring at a bottle of red food coloring like it held some kind of secret. My grandmother had always made hers from scratch—no box mix, no shortcuts—and I wanted to understand what made those layers so impossibly tender and that frosting so essential. Three hours later, with cream cheese smudged on my apron and the kitchen smelling like cocoa and vanilla, I pulled out a cake that looked like something from a magazine. It wasn't perfect, but it was mine.
I made this cake for my partner's birthday last spring, and I remember how their face lit up when I brought it to the table—not because it was fancy, but because it was red and bold and unapologetically decadent. We sat at the kitchen counter in our pajamas, eating it straight from the cake plate with two forks, and somewhere between the second and third bite, they said it tasted like celebration. That's when I knew this recipe was a keeper.
Ingredients
- All-purpose flour (2½ cups): The foundation that keeps the cake tender, not dense. I always sift mine to break up any lumps and incorporate a bit of air.
- Granulated sugar (1½ cups): Dissolves into the batter to create that silky crumb structure that makes each bite melt on your tongue.
- Baking soda (1 tsp): This is the secret to the texture. It reacts with the buttermilk and vinegar to create height and lightness.
- Fine salt (1 tsp): Enhances all the other flavors so nothing tastes one-dimensional.
- Unsweetened cocoa powder (1 tbsp): Adds just enough cocoa depth without making it chocolate cake—this is crucial for that signature red velvet taste.
- Vegetable oil (1½ cups): Keeps the cake moist longer than butter alone would. I learned this the hard way after a dry attempt.
- Buttermilk (1 cup): Must be at room temperature or the batter will be lumpy. The acidity is what gives red velvet its tang.
- Eggs (2 large): Room temperature eggs blend smoothly and create structure. Cold eggs can create a grainy texture.
- Red food coloring (2 tbsp): This seems like a lot, but trust it. The color should be bold and unmistakable.
- Vanilla extract (1 tsp): Use real vanilla if you can. The flavor difference is noticeable in something this simple.
- White vinegar (1 tsp): Works with the baking soda to create lift and adds a subtle tang that balances the sweetness.
- Cream cheese (16 oz): Must be softened to room temperature or it won't beat smooth and will have lumps.
- Unsalted butter (½ cup): The fat that carries the flavor of the frosting. Softened butter creams best with the cheese.
- Powdered sugar (4 cups): Sift it first. I skip this step exactly once per year and regret it every time.
- Vanilla extract for frosting (2 tsp): A little more than in the cake because frosting can handle it.
- Salt pinch: Just enough to make the frosting taste like itself and not like pure sweetness.
Instructions
- Set the stage:
- Preheat your oven to 350°F and get three 8-inch round pans ready by running a light coat of butter and a sprinkle of flour around the insides. Cold pans will mess with your rise, so let them sit in the warm oven for a minute while you prep everything else.
- Build the dry base:
- Sift your flour, sugar, baking soda, salt, and cocoa powder into a large bowl, letting the cocoa powder spread evenly through the dry ingredients. This blending is where a lot of the magic happens—the cocoa becomes part of the structure, not just a flavor floating around.
- Wake up the wet ingredients:
- In a separate bowl, whisk together your oil, room-temperature buttermilk, eggs, food coloring, vanilla, and vinegar until the mixture is smooth and the color is evenly distributed throughout. This is the moment where the batter transforms from clear to that gorgeous deep red.
- Come together gently:
- Pour the wet ingredients into the dry, then fold and stir until you just can't see any white flour streaks anymore. Overmixing here will make the cake tough, so stop as soon as it looks smooth—lumpy is better than overworked at this stage.
- Fill the pans with equal portions:
- Divide the batter evenly among your three prepared pans by pouring roughly one-third into each, then use an offset spatula to smooth the tops level. This ensures they bake at the same rate and stack evenly later.
- Bake until set:
- Slide the pans into the oven and bake for 25 to 30 minutes—the cake is done when a toothpick inserted in the center comes out clean or with just a few moist crumbs clinging to it. Your kitchen will smell incredible, and that's when you'll know you're close.
- Cool with patience:
- Let the cakes rest in their pans for exactly 10 minutes—this lets them firm up enough to handle. Then run a thin knife around the edges, invert them onto wire racks, and let them cool completely before you even think about frosting them.
- Beat the frosting to clouds:
- In a clean bowl with an electric mixer, beat the softened cream cheese and butter together until they're pale and fluffy, which takes about 3 to 4 minutes. Gradually add the sifted powdered sugar a handful at a time, beating after each addition so no lumps form, then mix in vanilla and salt.
- Stack with confidence:
- Place the first cake layer on your serving plate, spread a thick layer of frosting across the top, then repeat with the second layer and frosting. Place the final layer on top, then frost the sides and top generously, swirling it however feels natural to you.
- Chill before serving:
- Pop the finished cake in the refrigerator for 30 minutes so the frosting sets slightly and the layers stay put when you cut into it. You can serve it straight from the fridge or let it come to room temperature for a creamier frosting texture.
 Pin It
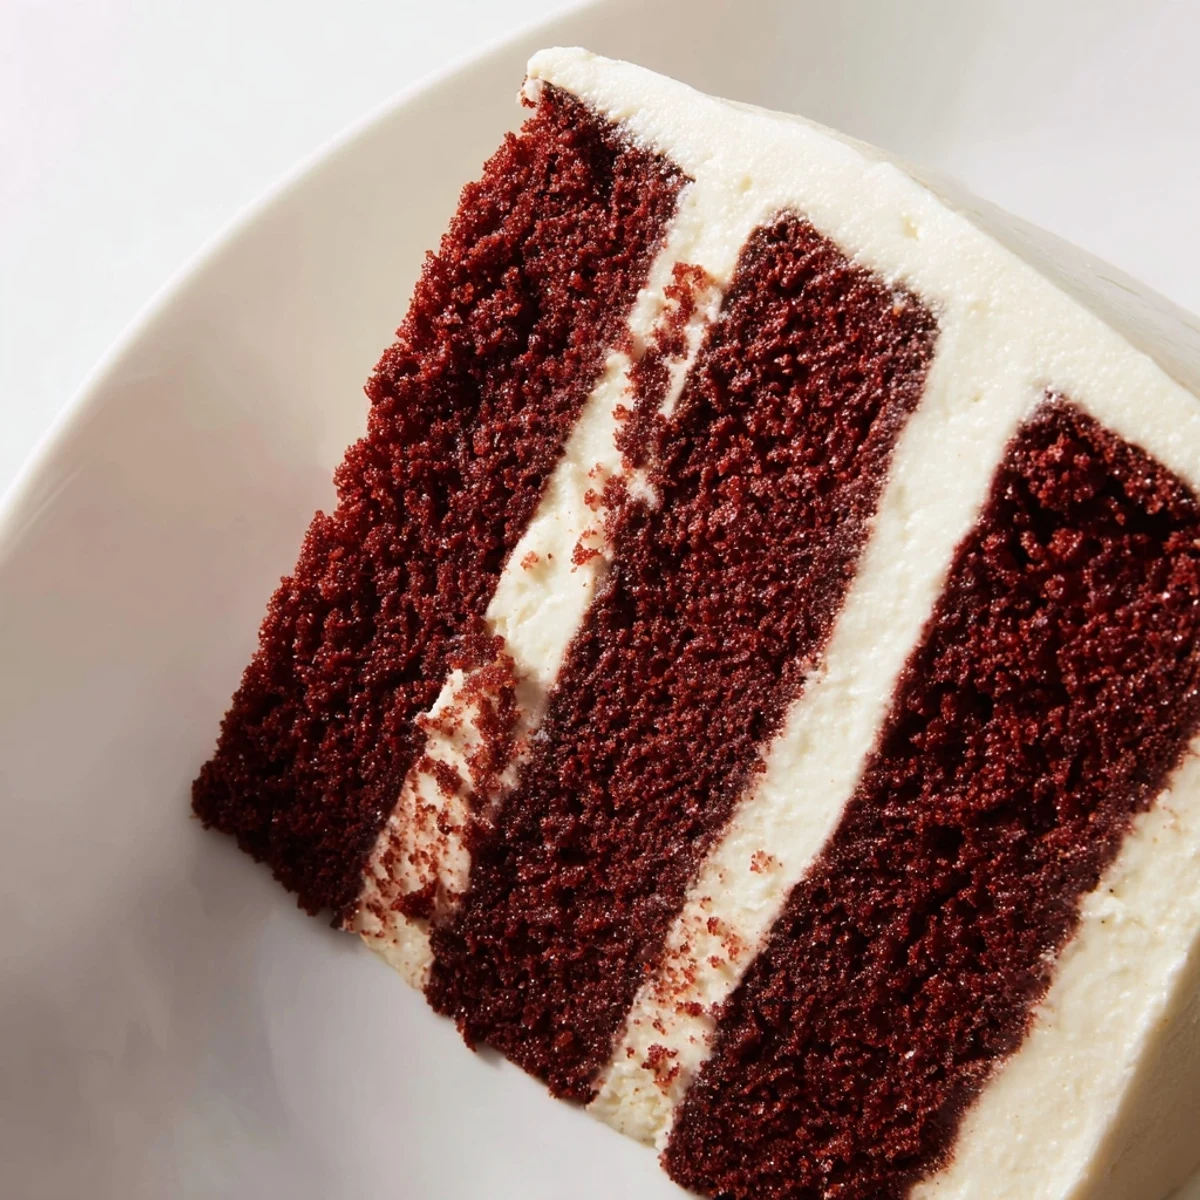
 I've served this cake to friends who swear they don't like sweets, and somehow they always end up asking for a second slice. There's something about the balance of cocoa and tang and that ridiculous bright color that makes it feel like an occasion even on an ordinary Tuesday. It's become the cake I bake when I want someone to feel remembered.
The Story of Red Velvet
Red velvet isn't actually chocolate cake with food coloring—that's a common misconception that bothered me for years until I finally understood the chemistry behind it. The cocoa powder is just enough to add a whisper of chocolate flavor and a subtle earthiness, while the buttermilk and vinegar create a tender crumb and a gentle tang that feels almost creamy. The red color, despite what purists might say, is essential to the experience. It's not just decoration; it's part of the cake's identity, and when you bite into that scarlet layer, your brain is already prepared for something special.
Why This Frosting Matters
Cream cheese frosting gets a bad reputation from people who've only tasted the overly sweet grocery store versions, thick and gluey and more sugar than anything else. But when you make it yourself with real cream cheese and proper technique, it becomes something else entirely—tangy, rich, and floral from the vanilla, with just enough sweetness to balance the spice of the cocoa layers beneath. I've learned that the ratio of cream cheese to butter to sugar is everything; too much sugar and you lose that signature tang, too little and it tastes one-dimensional. This recipe hits that perfect middle ground where the frosting tastes like itself, not like the cake's backup dancer.
Timing and Storage
The beautiful thing about this cake is that it actually improves with time. The layers soak in a tiny bit of frosting and become even more tender, and the flavors marry together overnight into something richer than the day you made it. I usually bake the layers a day ahead, wrap them tightly, and frost the cake the morning of serving. This takes pressure off, and you can focus on the frosting being perfect without rushing through the cake baking.
- Wrapped tightly, the frosted cake keeps in the refrigerator for up to 5 days, though it rarely lasts that long.
- You can freeze the unfrosted layers for up to a month, thawing them completely before frosting.
- Bring leftovers to room temperature for 20 minutes if they've been chilled—the frosting tastes creamier and the cake tastes less cold.
 Pin It
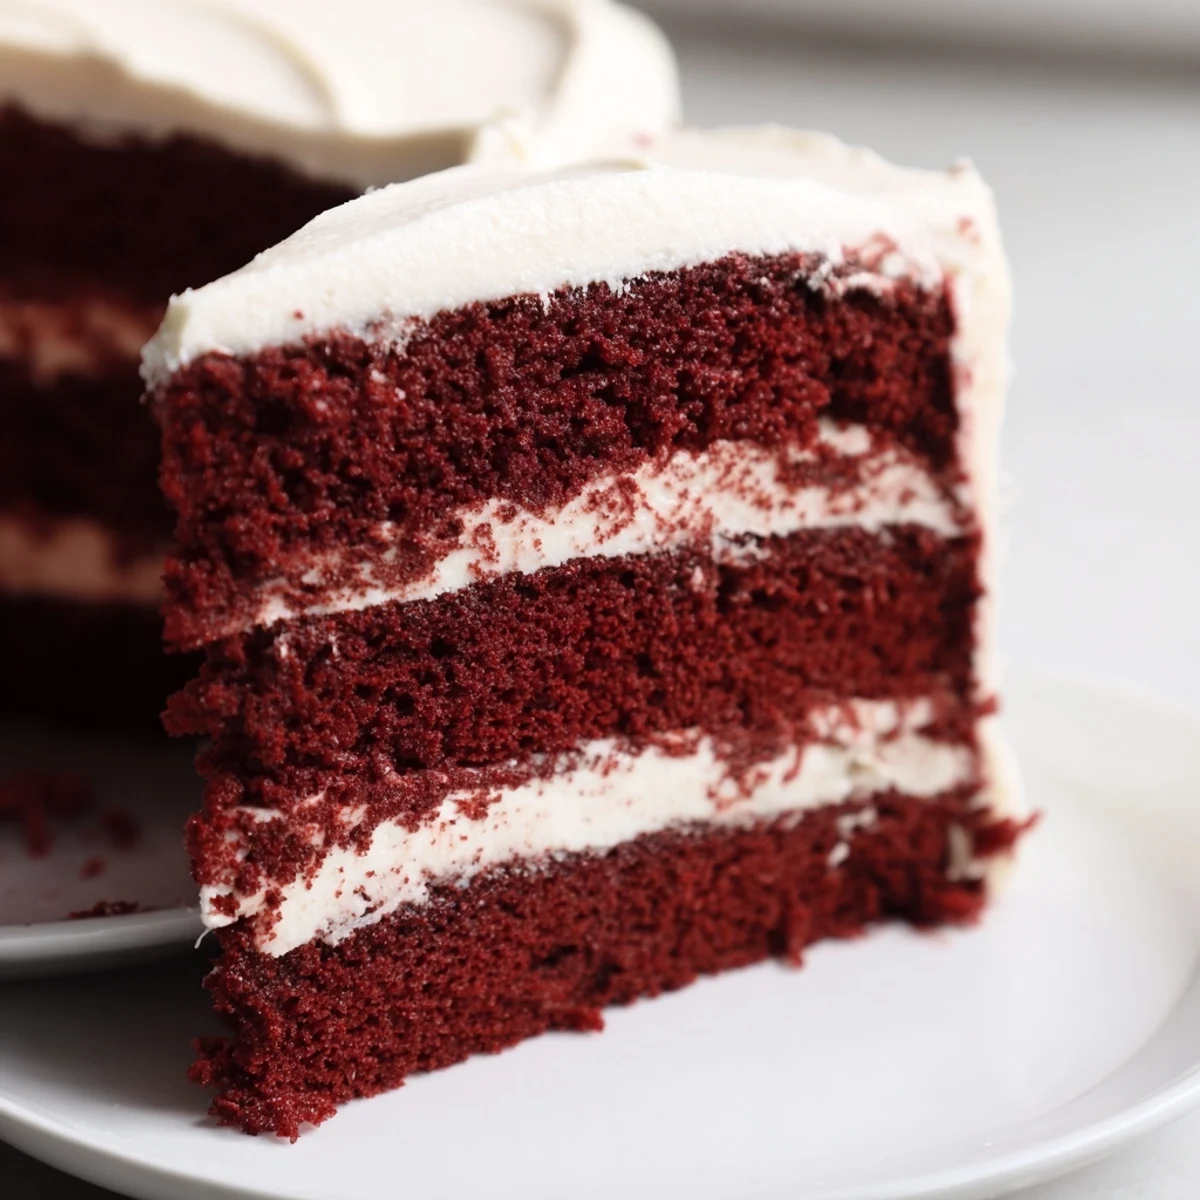
 This cake has become my answer to almost every celebration, and I think once you make it, it might become yours too. There's magic in that combination of simple ingredients creating something that looks like you spent hours perfecting it.
Recipe FAQs
- → What gives the cake its red color?
-
The signature red hue comes from a significant amount of red food coloring, which contrasts with the cocoa powder to create the classic visual appeal.
- → How should I store the finished cake?
-
Since the frosting contains cream cheese and butter, it is best to store the cake in the refrigerator, covered loosely, to maintain its structure and freshness.
- → Why is vinegar added to the batter?
-
White vinegar reacts with the baking soda to help the cake rise and become tender, while also enhancing the deep red color produced by the cocoa.
- → Can I make the layers in advance?
-
Yes, the baked layers can be wrapped tightly in plastic wrap and kept at room temperature for a day or frozen for up to a month before frosting.
- → What can I use instead of buttermilk?
-
You can create a substitute by placing one tablespoon of white vinegar in a measuring cup and adding enough milk to reach one cup, then letting it sit for five minutes.