Pin It
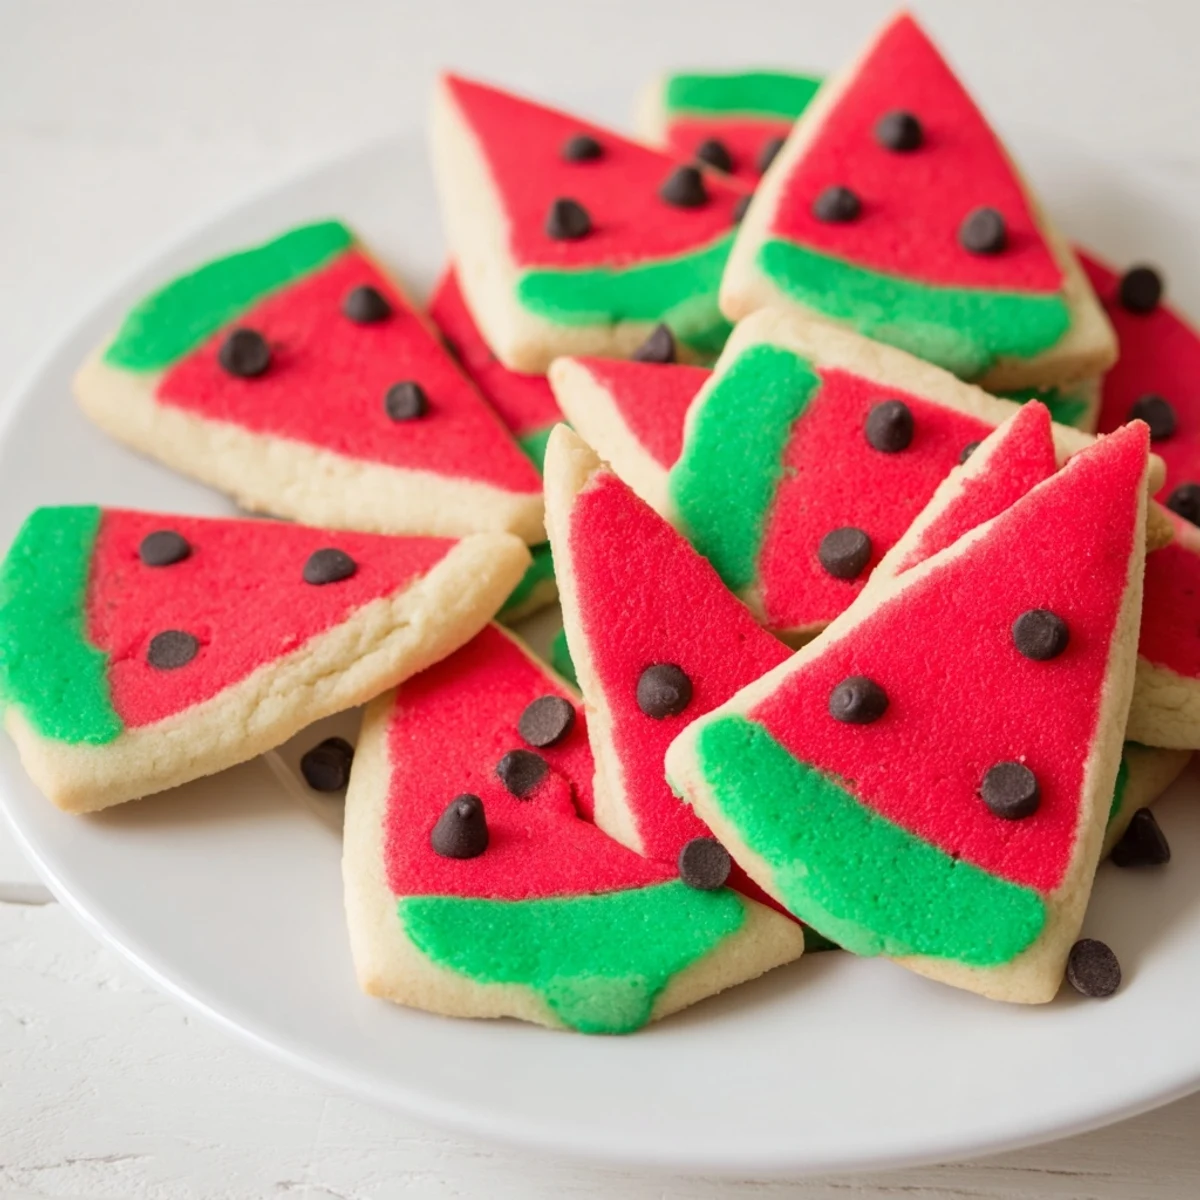
 Transform classic sugar cookie dough into adorable watermelon slices with vibrant red centers and green rinds. The process involves dividing dough, coloring portions, and assembling them into a log before slicing. Each cookie gets mini chocolate chips as watermelon seeds for authentic detail. These festive treats capture summer vibes and are perfect for sharing at picnics, parties, or family baking sessions.
Last July my niece brought over a watermelon from the farmers market and proceeded to eat about three slices while sitting on the kitchen counter. She looked down at the rind and said we should make cookies that look just like this. I rolled my eyes but three hours later there we were covered in red and green food dye trying to get the rind thickness just right.
I brought a batch to my book club and watched three different people pick up a cookie then hesitate checking if it was real fruit first. My friend Sarah actually laughed out loud when she bit into it and realized it was buttery vanilla instead of juicy watermelon. Now they request them every summer even though none of us can explain why something so silly brings so much joy.
Ingredients
- All purpose flour: The structure here matters because you need a dough that holds its shape when sliced and bakes up tender not tough
- Unsalted butter: Softening it properly is non negotiable otherwise you end up with pockets of uncreamed butter that melt into weird puddles
- Red and green gel food coloring: Gel coloring is thicker than liquid so you get vibrant color without adding extra liquid which would throw off the dough texture
- Mini chocolate chips: Regular chips are too big and look comical instead of cute so hunt down the mini ones for realistic watermelon seeds
Instructions
- Whisk the dry ingredients:
- In a medium bowl combine the flour baking powder and salt until everything is evenly distributed
- Cream the butter and sugar:
- Beat the butter and sugar together until the mixture looks pale and fluffy which usually takes about 3 minutes
- Add the eggs and extracts:
- Mix in the egg vanilla extract and almond extract if using until the batter looks smooth and glossy
- Combine everything:
- Gradually stir in the dry ingredients just until a soft dough forms being careful not to overmix
- Divide and color:
- Split the dough into two portions with one about twice as big as the other then tint the larger portion red and the smaller portion green
- Form the watermelon log:
- Roll the red dough into a 10 inch log then roll out the green dough into a rectangle and wrap it around the outside pressing gently to seal
- Chill thoroughly:
- Wrap the log in plastic and refrigerate for at least 1 hour because warm dough will lose its distinct layers when you try to slice it
- Prep and slice:
- Heat the oven to 350°F line your baking sheets with parchment then cut the log into ¼ inch rounds and halve each one
- Add the seeds and bake:
- Press mini chocolate chips into the red part of each slice then bake for 8 to 10 minutes until set but not browned
 Pin It
 My neighbor now texts me every June asking if I have started my annual watermelon cookie production yet. I never thought I would be known as the watermelon cookie lady but here we are and honestly it is a strange title to hold.
Getting The Rind Right
The most common mistake I see is making the green rind too thick or too thin. You want it proportional to real watermelon which means aiming for about ¼ inch of green around the edge. Roll the green dough between two sheets of parchment to get an even thickness then use a ruler or your eye to measure before wrapping.
Making Ahead
These cookies are practically made for planning ahead. You can wrap the dough log in plastic then foil and freeze it for up to three months. When you are ready to bake just slice from the frozen log and add an extra minute or two to the baking time.
Serving Ideas
I have found these work best arranged on a wooden cutting board alongside actual fruit for maximum confusion factor. They are also perfect for bake sales since people are drawn to the novelty. You can even package them in clear cellophane bags tied with green ribbon for gifts.
- Set up a decorating station at parties letting guests press their own chocolate chip seeds
- Stack them in a clear glass jar so the layers are visible from the outside
- Serve them alongside real watermelon slices and watch people do a double take
 Pin It
 Every time I make these I remember that summer afternoon on the kitchen counter with sticky juice everywhere and a little girl who thought cookies should look like fruit. Some ideas are ridiculous and wonderful all at once.
Recipe FAQs
- → Can I make these cookies ahead of time?
-
Yes! The dough logs can be prepared and frozen for up to 3 months. Simply thaw in the refrigerator before slicing and baking. Finished cookies also freeze well in airtight containers for later enjoyment.
- → What if I don't have gel food coloring?
-
Liquid food coloring works but may make the dough slightly softer. Add a tablespoon of flour if needed to compensate. Gel coloring provides more vibrant shades with less moisture, which yields cleaner slices.
- → Can I use natural food dyes?
-
Beet juice or raspberry powder creates natural red hues. Matcha powder or spirulina works for green coloring. Keep in mind natural dyes may produce softer colors, so adjust quantities to reach desired vibrancy.
- → Why chill the dough before slicing?
-
Chilling firms the dough so slices hold their shape during baking. Without chilling, the red and green layers might blur together. One hour minimum is recommended, but overnight chilling produces the cleanest results.
- → Can I skip the almond extract?
-
Absolutely! Almond extract adds depth but vanilla alone creates delicious results. If omitting, increase vanilla to 1 1/2 teaspoons. Lemon extract is another tasty alternative that complements the fruity theme.
- → How do I prevent the green dough from cracking?
-
Roll the green dough thinly and evenly before wrapping. If it feels stiff, let it warm slightly at room temperature for 5 minutes. Work gently and press seams together firmly to ensure the layers adhere properly.