 Pin It
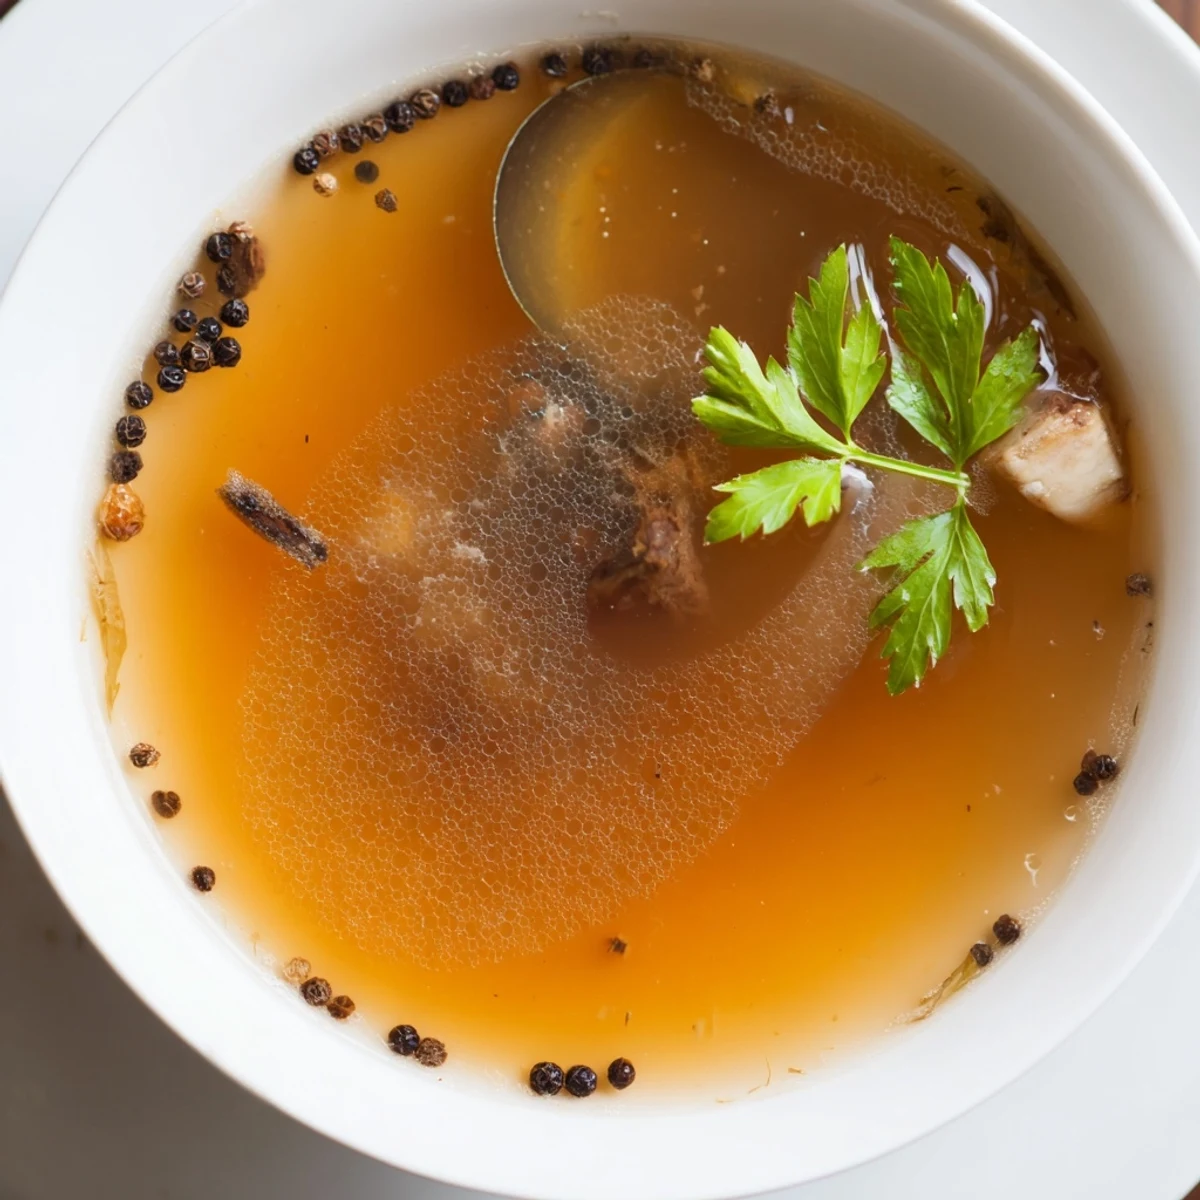
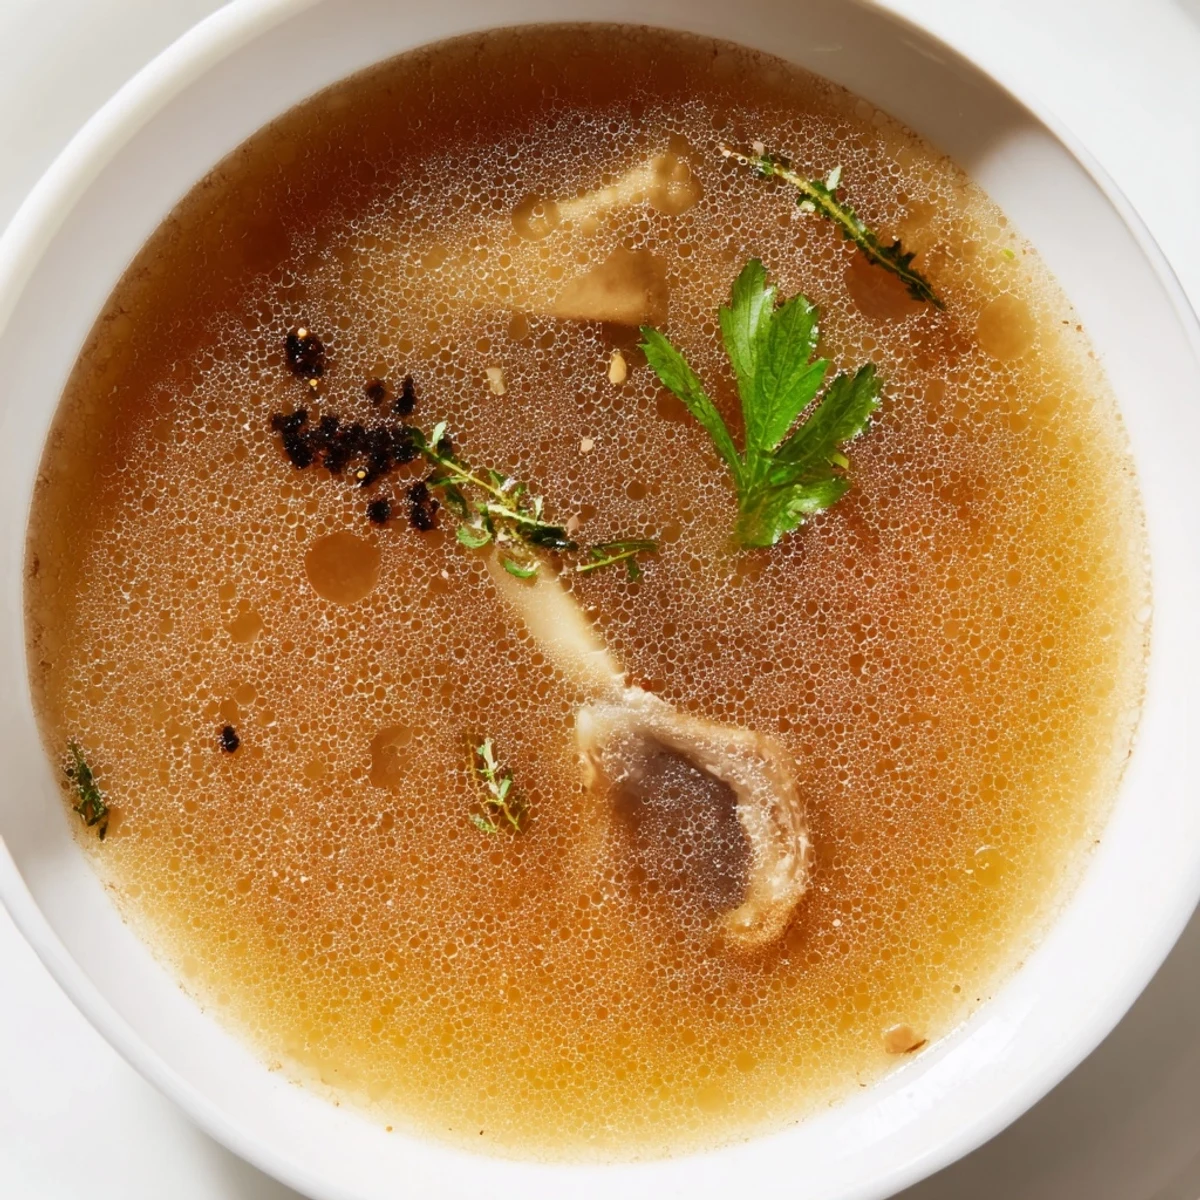
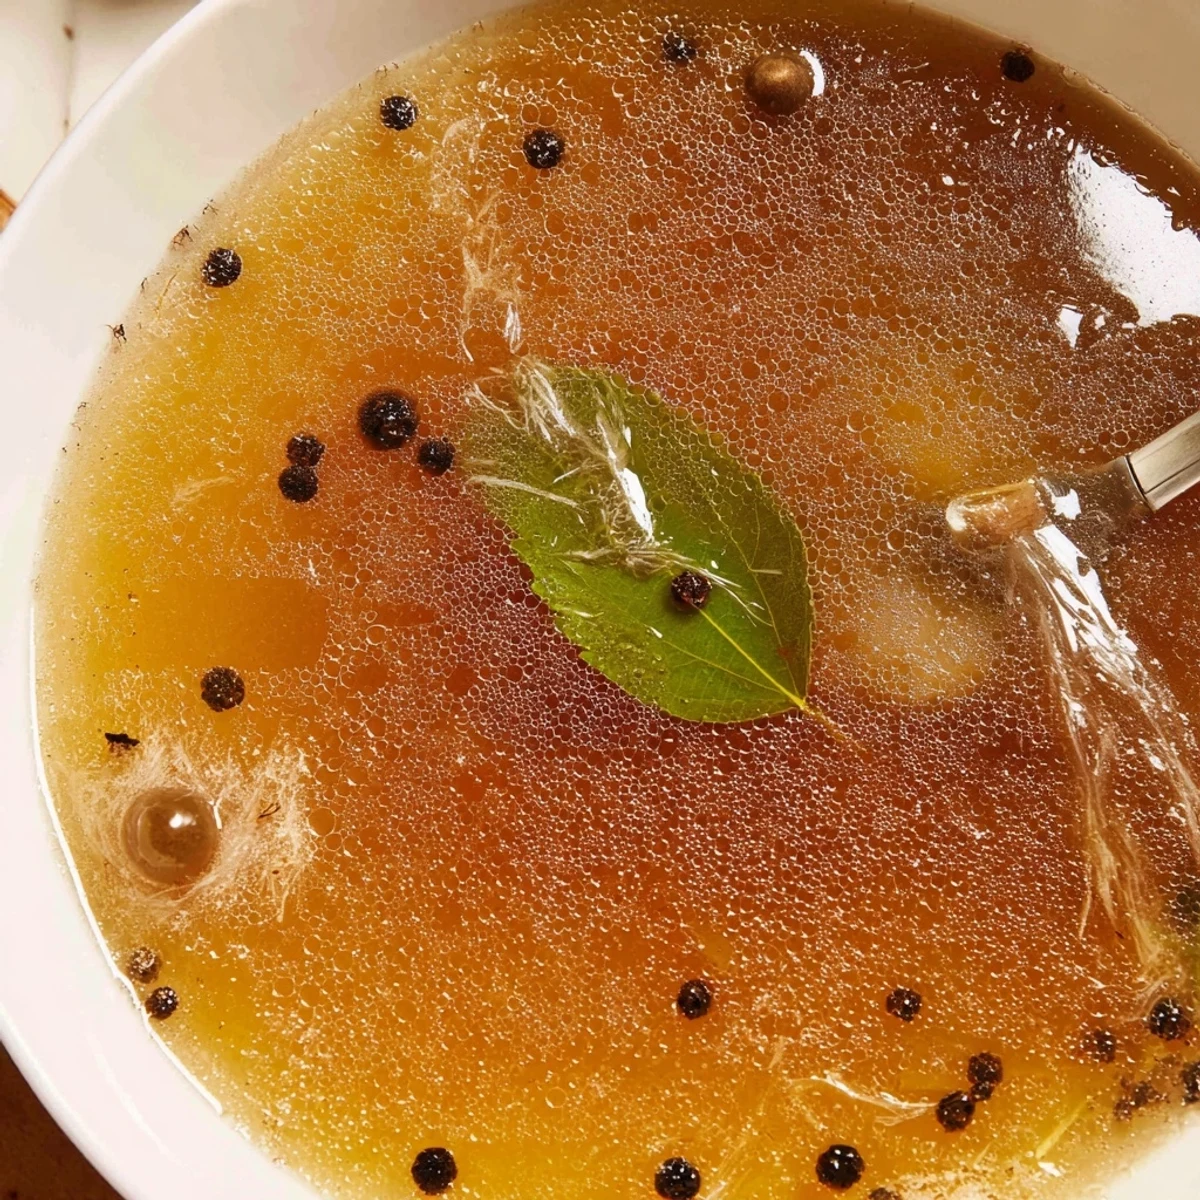
 Make a nourishing beef bone broth by simmering roasted or raw marrow, knuckle, and oxtail bones with carrots, celery, onion, garlic, bay, parsley and peppercorns. Add apple cider vinegar and cold water, bring to a gentle simmer, skim impurities, and cook uncovered at low heat for 12+ hours. Strain, season with salt, cool and refrigerate; skim solidified fat if desired. Use as a warming drink or a gelatinous base for soups and sauces.
The kitchen smelled like something ancient and sacred, the kind of aroma that makes neighbors knock on your door asking what on earth you are cooking. I started making beef bone broth during a particularly brutal winter when my grandmother insisted over the phone that nothing else would fix what ailed me. She was right, as grandmothers always seem to be, and now a pot simmering on the back burner has become a weekend ritual I genuinely look forward to. The whole process feels less like cooking and more like a slow meditation on patience and nourishment.
My friend Sarah came over one Sunday while the broth was midway through its simmer and sat in my kitchen reading a book for three hours just breathing it in. She left with a jar of it and now texts me every time she makes her own batch with little updates about foam skimming and gelatin achievements. There is something weirdly bonding about watching bones transform over the course of a day.
Ingredients
- Beef bones (2.5 lbs or 1.1 kg): A mix of marrow, knuckle, and oxtail gives the best balance of flavor and gelatin, and your butcher will usually cut them to size if you ask nicely.
- Carrots (2, roughly chopped): These add a gentle sweetness that rounds out the deeply savory notes from the bones.
- Celery stalks (2, roughly chopped): Celery might seem like a background player but it contributes a surprising amount of mineral depth.
- Large onion (1, quartered): Leave the skin on for a richer color in your final broth.
- Garlic cloves (4, smashed): Smashing rather than mincing lets the garlic infuse gently without turning bitter over the long cook.
- Bay leaves (2): These quietly tie every flavor together so do not be tempted to skip them.
- Fresh parsley (1 small bunch): Added near the end or from the start, parsley brings a fresh brightness to an otherwise heavy brew.
- Whole black peppercorns (1 tsp): Whole peppercorns give subtle warmth without overpowering the broth the way ground pepper would.
- Apple cider vinegar (2 tbsp): This is the secret weapon, helping draw minerals out of the bones and into your broth.
- Cold water (12 cups or 3 liters): Always start with cold water because it pulls flavor from the bones more effectively as it heats.
- Salt (to taste): Wait until the very end to salt so you can control the concentration precisely.
Instructions
- Roast the bones if you are feeling ambitious:
- Spread the bones on a baking sheet and roast at 400 degrees F for about 30 minutes until deeply browned. This step is optional but transforms a good broth into something hauntingly rich and amber colored.
- Load up the pot:
- Place the bones into a large stockpot or slow cooker and add the carrots, celery, onion, garlic, bay leaves, parsley, and peppercorns all at once. Everything should look crowded and a little chaotic at this stage, which is exactly right.
- Pour in the liquids:
- Add the apple cider vinegar and cold water, making sure the bones and vegetables are well submerged. Give it a gentle stir and let it sit for about ten minutes before turning on the heat so the vinegar can start working.
- Bring to a simmer and skim:
- Over medium heat, bring the pot to a gentle simmer and watch for grey foam rising to the surface during that first hour. Skim it off with a ladle whenever you notice it building up because this is what keeps your broth clear and clean tasting.
- The long patient simmer:
- Lower the heat and let it go uncovered or partially covered for at least 12 hours, checking every so often to make sure the bones stay submerged and adding water as needed. Your kitchen will smell incredible and you will probably find yourself wandering in just to breathe it.
- Strain and season:
- Pour the broth through a fine mesh sieve or cheesecloth into a large bowl or second pot, discarding all the solids. Now add salt to taste, starting with less than you think you need because you can always add more.
- Cool and store:
- Let the broth cool to room temperature, then refrigerate overnight so the fat solidifies on top into a solid layer you can easily lift off. The broth keeps for up to 5 days in the fridge or freezes beautifully for up to 3 months.
 Pin It
 Pouring a steaming mug of this broth on a cold evening feels like receiving a gift you made for yourself without realizing how much you needed it. It became my go to whenever anyone in my household so much as sniffled, and now they request it by name.
What to Look For When Buying Bones
Not all bones are created equal and your butcher is your best ally here. Knuckle bones and joints contain more collagen, which translates directly to that satisfying gelatin wobble in the finished broth. Marrow bones contribute deep richness and body, while oxtail pieces add sweetness and complexity. Ask for a mixed bag and do not be shy about requesting they cut large bones in half so the marrow can escape into your pot.
Ways to Use Every Last Drop
Beyond sipping it from a mug, this broth becomes the backbone of incredible soups, stews, risottos, and pan sauces. I have even used it to cook grains like quinoa and farro, which soak up all that savory depth and taste nothing like their water cooked counterparts. A ladleful deglazing a skillet after searing meat will elevate a quick weeknight sauce into something that tastes like it took all day.
Troubleshooting and Final Thoughts
Every batch teaches you something new and the learning curve is forgiving. Here are the things I wish someone had told me early on.
- If the broth tastes watery, next time reduce the water by a couple of cups or extend the simmer by a few hours.
- A slow cooker on low works beautifully for the overnight simmer and frees up your stove entirely.
- Never add salt before the final reduction is complete because evaporation will concentrate the saltiness unexpectedly.
 Pin It
 Once you have made your own bone broth, the store bought versions will never satisfy you again. It is one of the simplest, most rewarding things you can do in a kitchen, and your future self will thank you every time you reach for a jar from the freezer.
Recipe FAQs
- → How long should I simmer the bones?
-
Simmer bones low and slow for at least 12 hours to extract collagen and minerals; longer (18–24 hours) yields a richer, more gelatinous body. Keep the heat barely at a gentle simmer.
- → Should I roast the bones first?
-
Roasting bones at 400°F (200°C) for about 30 minutes deepens color and adds caramelized, savory notes, but you can skip roasting for a lighter, cleaner-tasting broth.
- → Why add apple cider vinegar?
-
Acid like apple cider vinegar helps draw minerals and collagen from the bones into the liquid; a small amount (about 2 tbsp per 3 liters) is sufficient and won’t make the broth tangy.
- → How do I clarify and store the broth?
-
Strain through a fine-mesh sieve or cheesecloth to remove solids. Cool, refrigerate to let fat solidify on top, then skim if desired. Store in the fridge up to 5 days or freeze up to 3 months.
- → How can I adjust flavor and aromatics?
-
Add more aromatics like leeks, thyme, or rosemary, and adjust salt after cooking. Roasting vegetables or adding extra herbs toward the end changes the flavor profile.
- → What are common uses for the finished broth?
-
Enjoy it hot as a restorative drink, or use it as a base for soups, stews, risotto and sauces to impart depth and body to dishes.