 Pin It
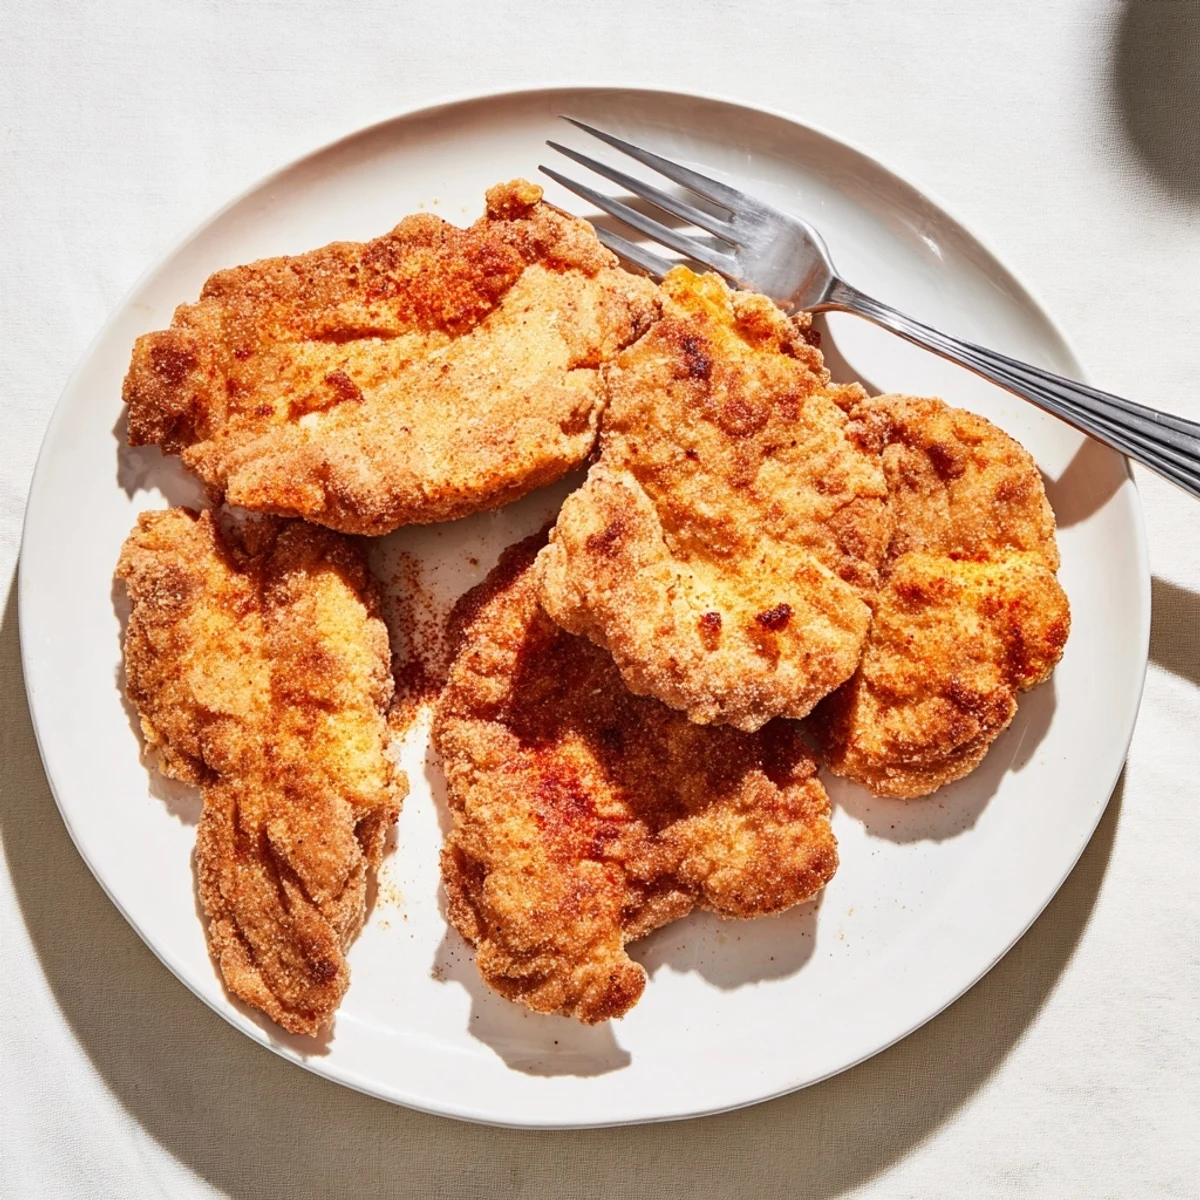
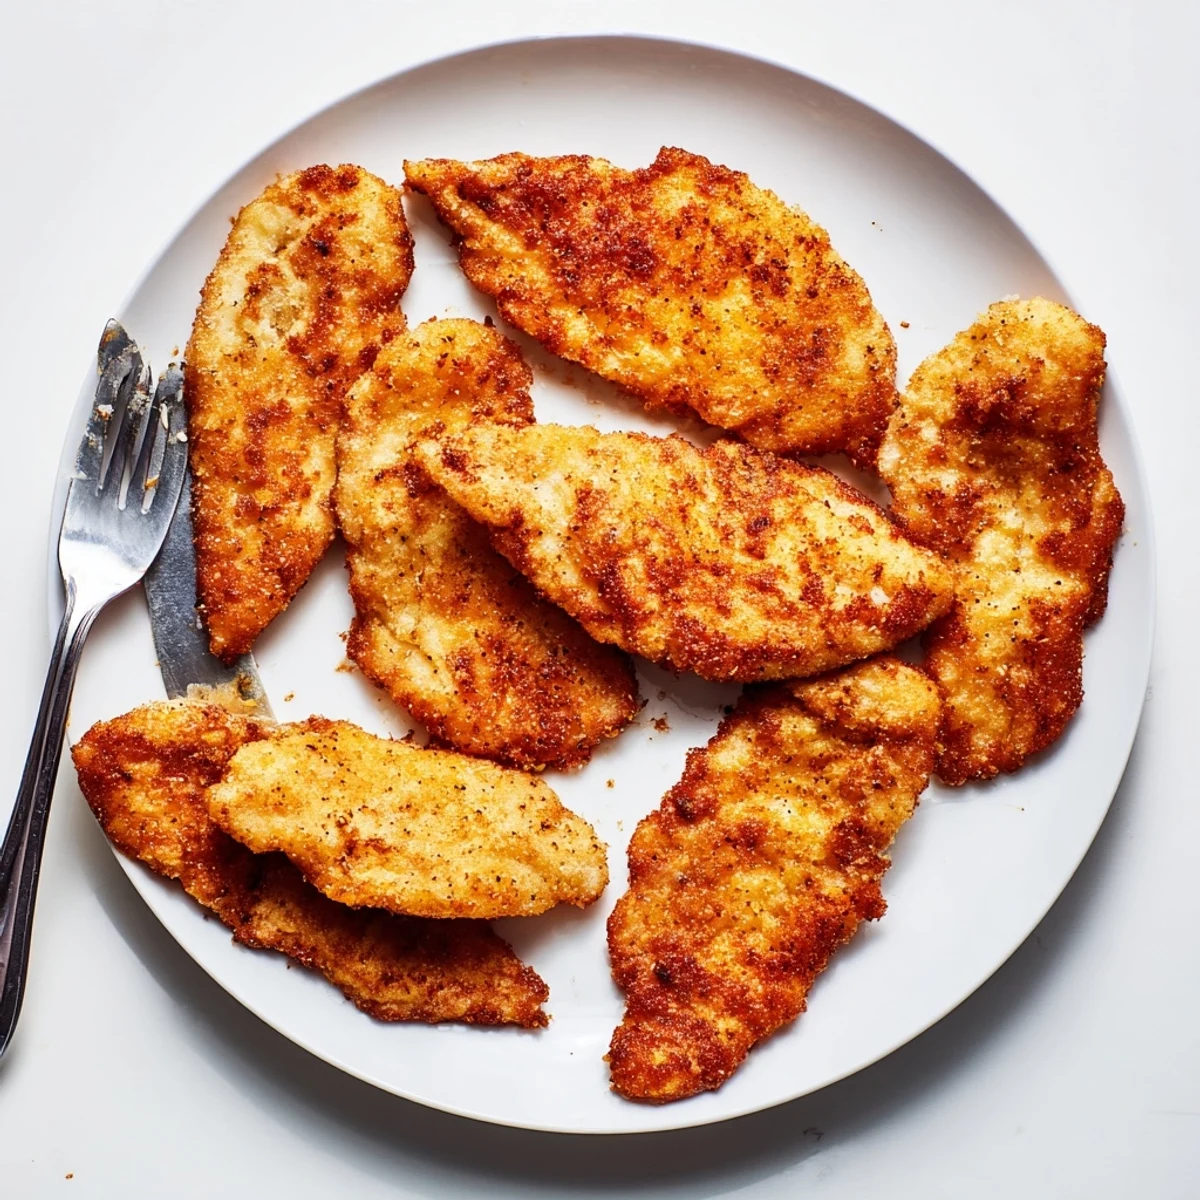
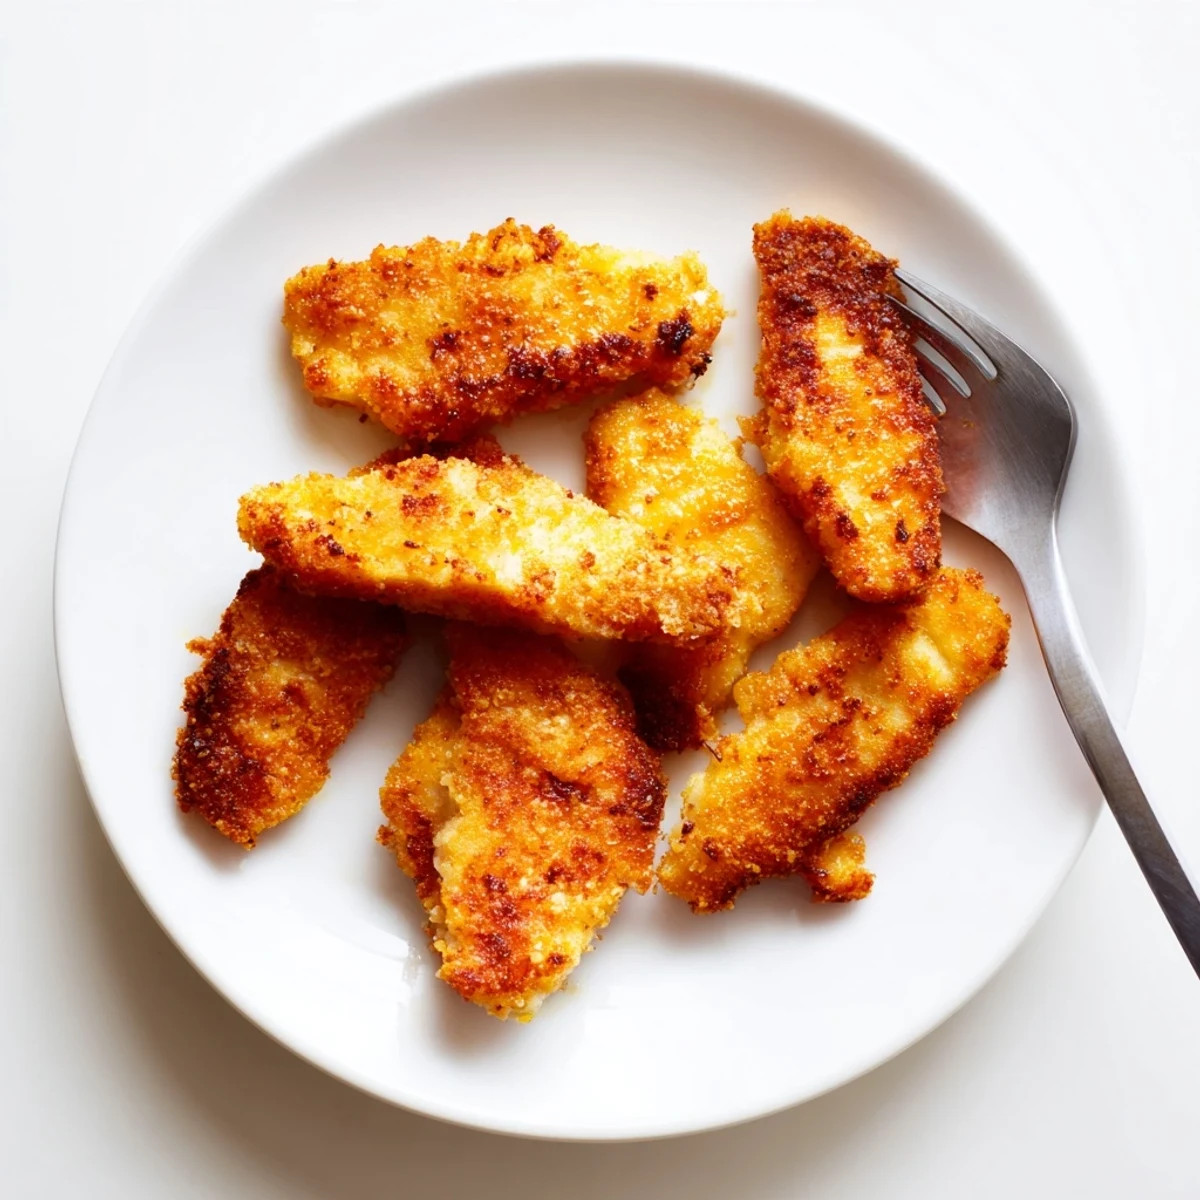
 These fried chicken breasts deliver restaurant-quality crunch with a juicy, tender interior. The buttermilk marinade keeps the meat moist while the spiced flour coating creates that irresistible golden crust. Perfect for weeknight dinners, this American classic comes together in just 30 minutes and serves four generously.
The technique is simple but effective: pound the chicken to even thickness for uniform cooking, marinate in seasoned buttermilk for tenderness, then coat thoroughly in the aromatic flour blend before frying to golden perfection.
There is something deeply satisfying about the sound of chicken hitting hot oil, that sharp sizzle that immediately fills the kitchen with promise. My neighbor Deb heard it through the open window last July and wandered over with a bottle of cold white wine, announcing she was not leaving without a plate. We stood around the kitchen island eating fried chicken off paper towels, and it was somehow better than any restaurant meal I have had in years.
I made this for a rainy Saturday lunch when my cousin was visiting from Chicago, and she stood at the counter sneaking pieces before I even finished the second batch. She claimed she was quality testing, but I saw her go back three times.
Ingredients
- 4 boneless, skinless chicken breasts: Pounding them to an even thickness is the single most important step for even cooking and juicy results.
- 1 cup buttermilk: This is what makes the meat tender and helps the breading cling beautifully.
- 1 teaspoon salt for marinade: Salt in the marinade seasons the chicken from the inside out.
- 1/2 teaspoon black pepper for marinade: Freshly ground if you have it, it adds a gentle warmth.
- 1/2 teaspoon garlic powder for marinade: A quiet background note that rounds everything out.
- 1 1/2 cups all-purpose flour: The foundation of your crispy coating, so do not skimp.
- 1 teaspoon paprika: Gives the crust its inviting golden color and a mild sweetness.
- 1/2 teaspoon cayenne pepper: Just enough heat to notice but not enough to overwhelm.
- 1 teaspoon onion powder: Adds savory depth without any raw onion harshness.
- 1 teaspoon salt for breading: This seasons the crust itself, which is key because the outside is what hits your tongue first.
- 1/2 teaspoon black pepper for breading: Layered pepper in both the marinade and the flour builds complexity.
- Vegetable oil for frying: You need about 2 cups, enough to come halfway up the chicken in the skillet.
Instructions
- Flatten the chicken:
- Sandwich each breast between two sheets of plastic wrap and use a mallet or rolling pin to pound gently to about half an inch thick. Work from the center outward and listen for that soft, even thud that tells you the thickness is uniform.
- Make the buttermilk bath:
- Whisk together the buttermilk, salt, pepper, and garlic powder in a bowl until combined. Drop in the chicken, turn to coat every surface, and let it swim for at least 30 minutes or cover and tuck it into the fridge overnight for the best results.
- Build your seasoned flour:
- In a shallow dish, stir together the flour, paprika, cayenne, onion powder, salt, and pepper until the color looks even throughout. Run your fingers through it to break up any lumps.
- Heat the oil:
- Pour oil into a large skillet to about half an inch deep and set it over medium high heat until it reaches 350 degrees Fahrenheit. A small piece of breading dropped in should sizzle immediately but not smoke.
- Coat the chicken:
- Lift each breast from the buttermilk, let the excess drip back into the bowl, then lay it in the flour and press firmly on both sides. Really press the flour into the meat with your palms so it forms a solid, crusty layer.
- Fry to golden perfection:
- Lower the coated chicken carefully into the hot oil and fry for 6 to 7 minutes per side until deeply golden and the internal temperature reads 165 degrees Fahrenheit. Work in batches if your pan is crowded because overcrowding drops the oil temperature and you will lose the crunch.
- Rest before serving:
- Transfer the chicken to a wire rack or paper towel lined plate and let it rest for 5 minutes. This pause lets the juices redistribute and the crust settle into its final crunch.
 Pin It
 The first time I got this recipe right, my roommate walked in, grabbed a piece burning hot off the rack, and burned his tongue but kept eating anyway. That reaction told me everything I needed to know.
Serving Ideas Worth Trying
Piled on a plate with fluffy mashed potatoes and a scoop of coleslaw, this chicken becomes a full comfort meal that feeds something deeper than hunger. A drizzle of honey over the crust is a revelation I stumbled into by accident one breakfast when I had leftovers and a sweet tooth.
Making It Your Own
Swap the paprika for smoked paprika if you want a deeper, campfire kind of flavor that works beautifully in cooler months. Gluten free flour works seamlessly in the breading, and I have served it to gluten sensitive friends who could not tell the difference.
Kitchen Notes and Final Thoughts
A wire rack is better than paper towels for draining because it keeps air circulating under the chicken so the crust stays crunchy on every side. Keep your cooked pieces warm in a low oven around 200 degrees Fahrenheit while you finish frying the rest.
- A meat thermometer takes the guesswork out of doneness and is honestly worth owning for this recipe alone.
- Leftover cold fried chicken from the fridge the next morning is an entirely valid breakfast.
- Remember that the oil temperature will drop when you add chicken, so adjust the heat as needed between batches.
 Pin It
 Fried chicken has a way of turning an ordinary afternoon into something people remember and ask about months later. Keep this recipe close because someone you love is going to request it again.
Recipe FAQs
- → How do I get extra crispy chicken?
-
Double-dip by returning the chicken to the marinade after the first flour coating, then dredge again in flour. This creates a thicker, crunchier crust.
- → Can I make this gluten-free?
-
Yes, substitute the all-purpose flour with a 1:1 gluten-free flour blend. The coating technique remains exactly the same.
- → What oil temperature should I use?
-
Heat your oil to 350°F (175°C). Use a kitchen thermometer for accuracy, as oil that's too cool makes soggy coating while too hot burns the exterior.
- → How long should I marinate the chicken?
-
Marinate for at least 30 minutes for tenderizing results. You can refrigerate overnight for even more flavor penetration and moisture retention.
- → How do I know when the chicken is done?
-
The coating should be deep golden brown, and an instant-read thermometer inserted into the thickest part should read 165°F (74°C).
- → Can I bake instead of fry?
-
While frying gives the best crunch, you can bake at 400°F for 20-25 minutes, flipping halfway. Spray the coated chicken with oil first to help browning.