 Pin It
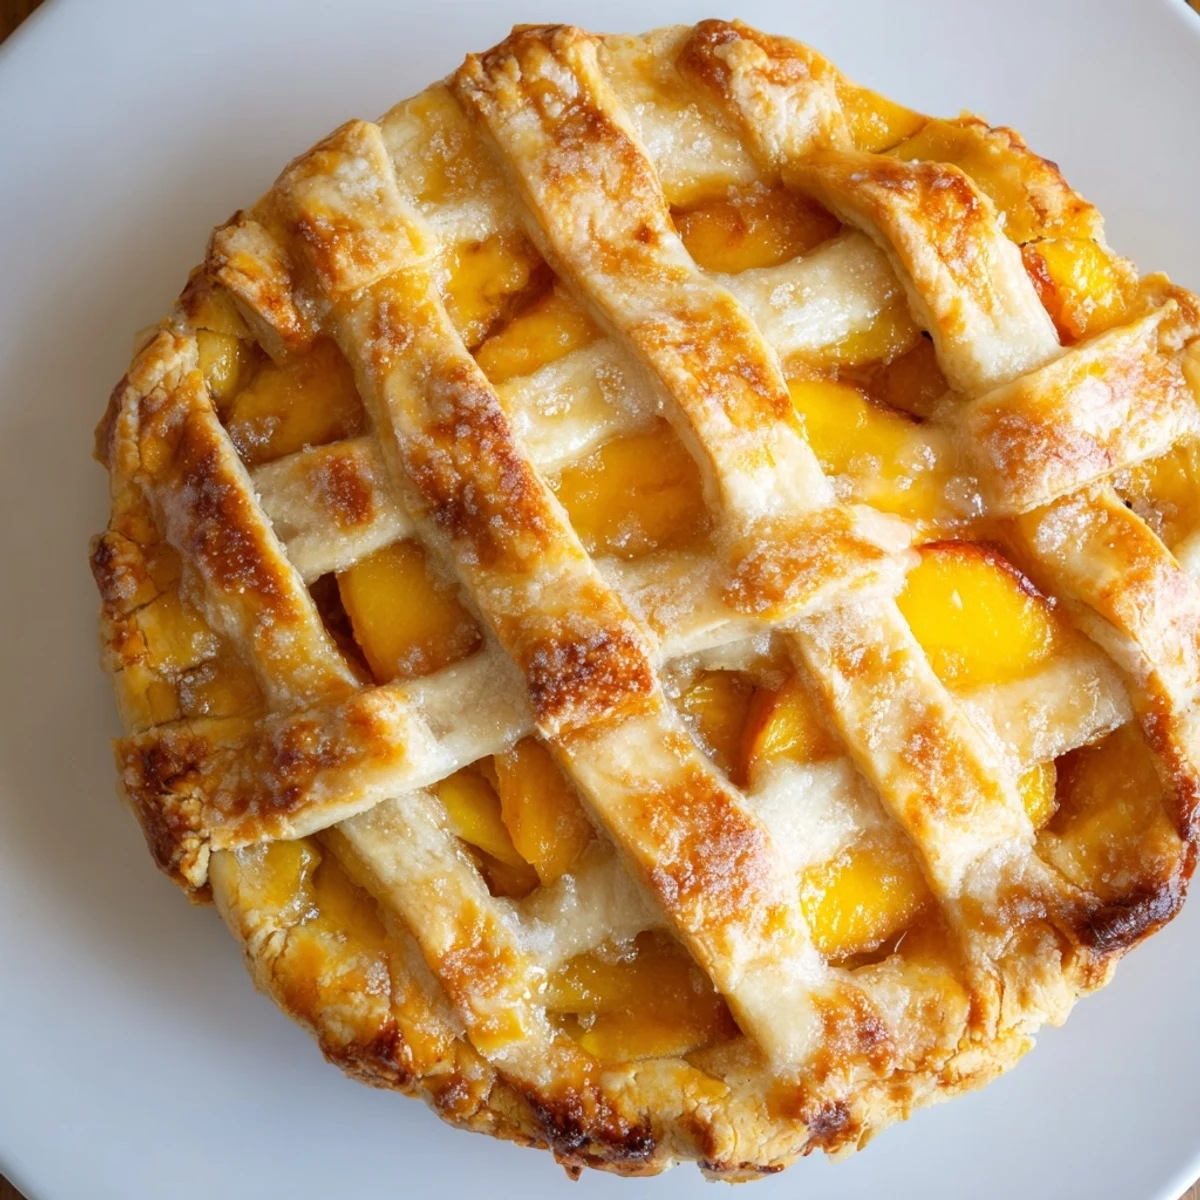
 This traditional Southern peach pie combines fresh, ripe peaches with warm cinnamon and nutmeg, all enveloped in a homemade buttery crust that bakes to golden perfection. The filling features six cups of peeled peach slices tossed with granulated and brown sugar, cornstarch for thickening, and bright lemon juice. After sealing with a top crust—either whole or lattice—brush with egg wash and sprinkle with coarse sugar for that beautiful bakery finish. The double-bake method at high heat then moderate temperature ensures the crust becomes perfectly flaky while the peach filling bubbles and thickens. Allow at least two hours of cooling time for the filling to set properly before slicing into this warm, comforting dessert that pairs wonderfully with vanilla ice cream or fresh whipped cream.
My grandmother's kitchen always smelled like peaches in July, the kind of scent that makes you stop in the hallway and just breathe. She taught me that a perfect peach pie isn't about following a recipe exactly—it's about knowing when the peaches have sat in sugar long enough to release their juices but not so long that they turn mushy. Last summer I made six pies before getting the balance right, and my neighbor's kids started appearing on my porch at 5 PM every evening, hoping for a slice still warm from the oven.
I once served this pie at a potluck where nobody knew each other, and halfway through dessert people were leaning across tables sharing stories about their own grandmothers' pies. Something about peach pie breaks down walls—maybe it's the messiness of eating it, juice running down your chin, or maybe it's just that peaches taste like summer itself and nobody can stay grumpy around summer.
Ingredients
- All-purpose flour: The backbone of your crust—sift it first to avoid tough dough and remember that different brands absorb moisture differently
- Cold butter: Keep it ice-cold and cut into small cubes before you start, because warm butter means a sad, flat crust instead of flaky layers
- Ice water: Add it one tablespoon at a time and stop as soon as the dough holds together—too much water makes a tough crust
- Fresh ripe peaches: They should give slightly to gentle pressure but not feel mushy, and if you can get them from a roadside stand, do
- Cornstarch: This thickens the peach juices so you get a luscious filling instead of a soupy mess, but don't add more than the recipe calls for
- Lemon juice: Brightens all that sugar and helps keep the peaches from turning brown while you work
Instructions
- Make the pie dough:
- Whisk together the flour, salt, and sugar in a large bowl, then work in the cold butter until the mixture looks like coarse crumbs with some pea-sized pieces still visible. Sprinkle in the ice water a tablespoon at a time, tossing gently with a fork, until the dough just holds together when squeezed. Divide into two disks, wrap tightly, and chill for at least an hour—this relaxes the gluten and prevents shrinking during baking.
- Prepare the filling:
- Toss the sliced peaches with both sugars, cornstarch, spices, salt, lemon juice, and vanilla until every piece is coated. Let them sit for about 10 minutes while you roll out the bottom crust, giving the sugar time to pull out some of the peach juices before baking.
- Assemble your pie:
- Roll one dough disk on a lightly floured surface until it's about 12 inches across, then carefully drape it into your pie dish. Pour in the peach filling and any accumulated juices. Roll out the second disk and place it on top—either whole with slits cut for steam or woven into a lattice if you're feeling fancy. Trim the overhang to about an inch, fold the edges under, and crimp them with your fingers or a fork to seal everything tight.
- Bake until golden:
- Brush the top crust with beaten egg and sprinkle with coarse sugar for that bakery sparkle. Bake at 400°F for 20 minutes, then reduce to 350°F for another 35 to 40 minutes until the crust is deeply golden and you can see the filling bubbling through the vents. This two-temperature method ensures the crust cooks through before the peach filling boils over.
 Pin It
 The first time I made this for my husband, he took one bite and declared it better than his mother's—which I'm pretty sure is legally binding grounds for marriage in the South. Now every August we drive two hours to the same orchard where I watched my grandmother pick peaches, carrying home more than we can possibly eat just to fill the freezer for winter pies.
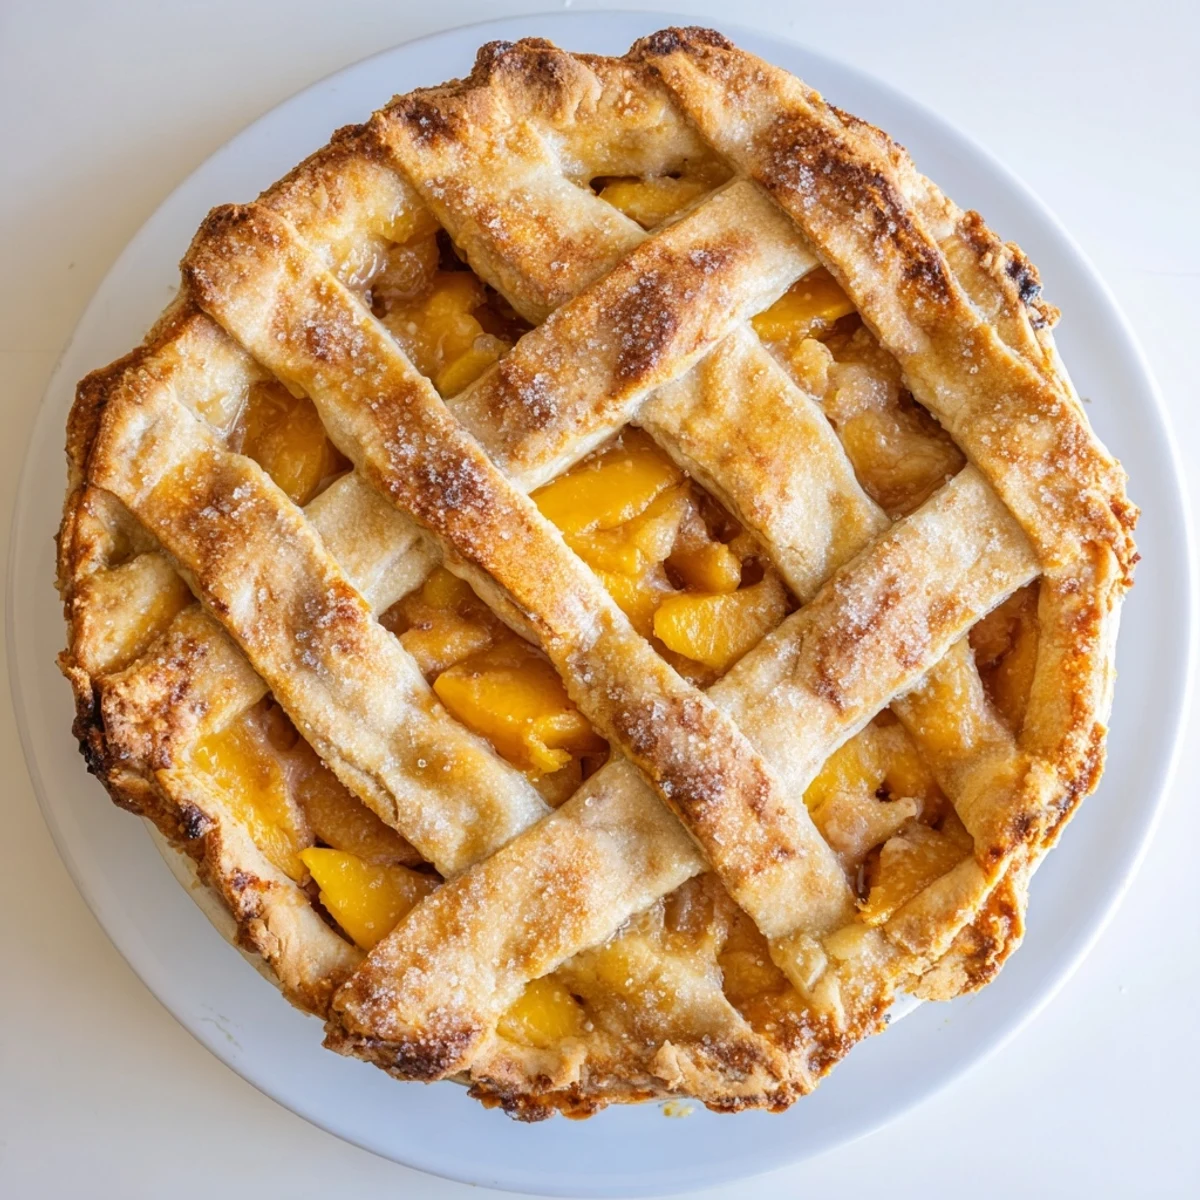
The Secret to a Lattice Top
Lattice tops look intimidating but they're actually just a weave pattern—over, under, over, under—like those friendship bracelets we made at summer camp. I keep a small ruler in my kitchen to cut even strips, and if one breaks, I just press it back together. The peaches will bubble through the gaps beautifully, and honestly, even a messy lattice tastes better than a whole crust because more surface area means more golden, crispy edges.
Choosing the Right Peaches
Freestone peaches are your best friend here—the pit pops right out instead of fighting you like clingstone varieties. I learned this the hard way one afternoon when I ended up with mangled peaches and juice everywhere. You want peaches that yield to gentle pressure but still feel firm, with that unmistakable peach scent at the stem end. If they're underripe, let them sit in a paper bag for a day, but never refrigerate them until they're fully ripe—cold kills their flavor dead.
Serving Suggestions That Elevate Everything
Warm pie is divine, but room temperature lets the flavors really shine and the filling sets up properly. A scoop of vanilla bean ice cream melting into the gaps is classic for a reason, but if you want to be the person everyone talks about at dinner parties, serve it with a dollop of bourbon-spiked whipped cream. I've also been known to crumble a little salty bacon over the top—don't knock it until you've tried it, because that salt-sweet-smoke combination is transformative.
- If your pie bubbles over during baking, don't panic—the baking sheet saved you
- Leftovers (if they exist) reheat beautifully in a 350°F oven for about 15 minutes
- Wrap any remaining pie tightly and refrigerate—it's even better the next morning for breakfast
 Pin It
 There's something profoundly satisfying about pulling a golden peach pie from the oven, knowing you've turned ordinary fruit into something that makes people close their eyes and hum. It's not just dessert—it's a memory waiting to happen.
Recipe FAQs
- → Should I peel the peaches before making the filling?
-
Yes, peeling the peaches is recommended for the best texture. The skins can become tough and chewy during baking, while peeled peaches create a smooth, tender filling. To peel easily, score the bottom with an X, blanch in boiling water for 30 seconds, then transfer to ice water—the skins will slip right off.
- → Can I use frozen peaches instead of fresh?
-
Frozen peaches work well as a substitute. Thaw them completely and drain thoroughly before using to prevent excess liquid in your filling. You may need to increase the cornstarch slightly to account for the additional moisture from freezing.
- → How do I know when the peach pie is done baking?
-
The pie is ready when the crust is deep golden brown and the filling is bubbling vigorously through the steam vents. The bubbling indicates that the cornstarch has activated and thickened properly. If the crust browns too quickly, tent with foil.
- → Why is it important to let the pie cool for 2 hours?
-
Cooling allows the cornstarch-thickened filling to set properly. Cutting too early will result in a runny filling that spills out. The pie continues to cook as it cools, so patience ensures clean, beautiful slices that hold their shape on the plate.
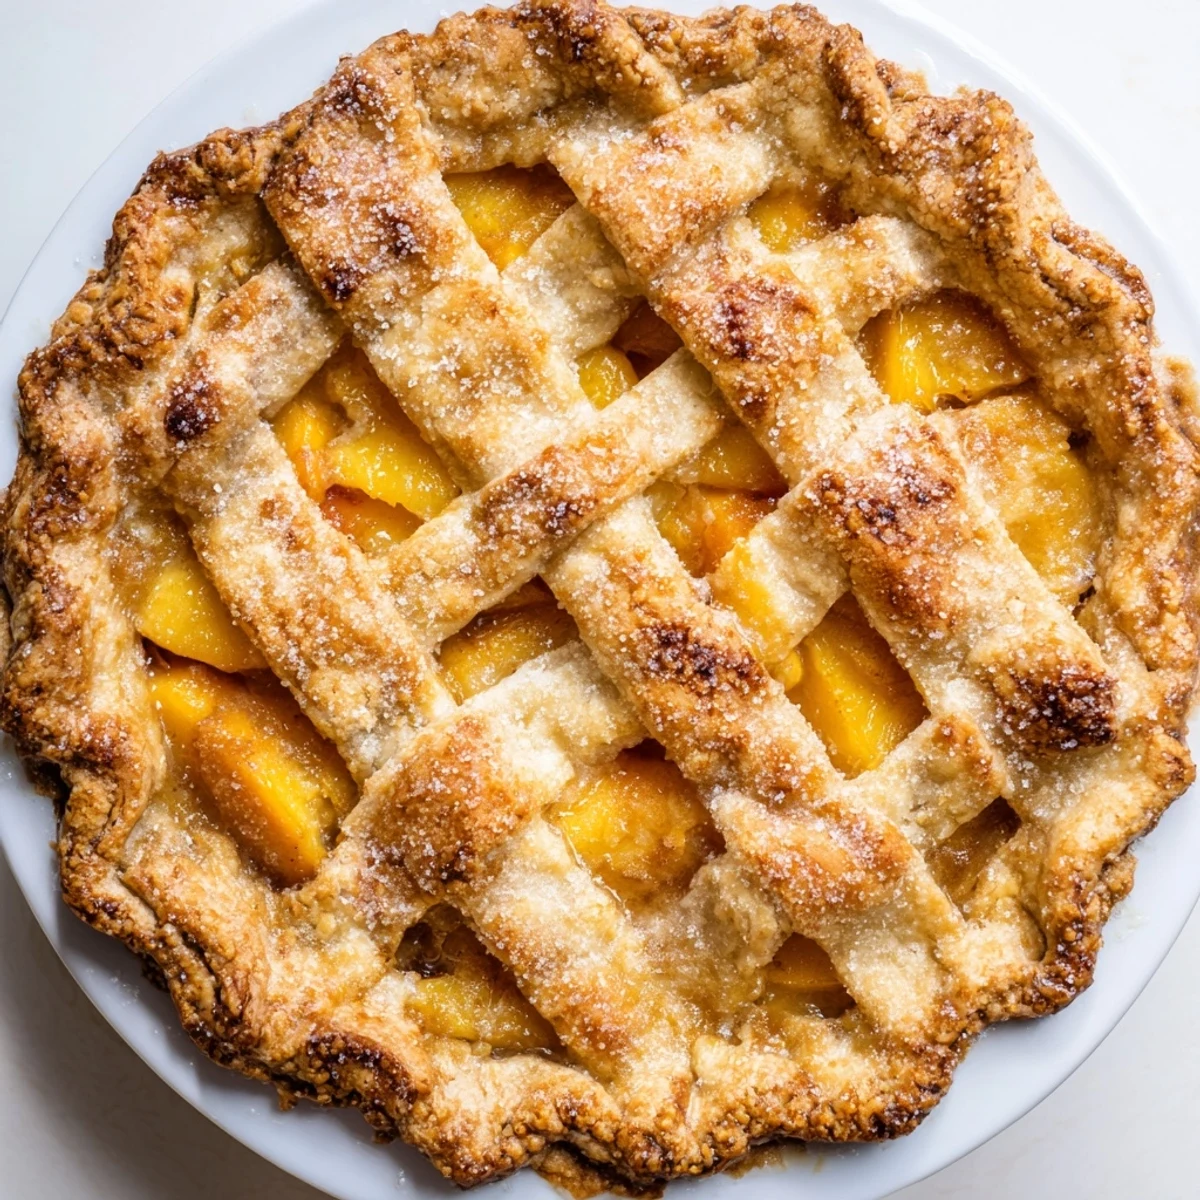
- → What's the difference between a whole top crust and lattice?
-
A whole top crust with steam vents creates a more enclosed environment that keeps more moisture in, resulting in a softer, juicier filling. A lattice top allows more evaporation during baking, creating a thicker, more concentrated filling and showcases the beautiful peach color. Both bake beautifully.
- → Can I make the dough ahead of time?
-
Absolutely. The dough disks can be wrapped tightly in plastic and refrigerated for up to 2 days or frozen for up to 3 months. Thaw frozen dough in the refrigerator overnight before rolling. This makes preparation much easier on the day you plan to bake.