 Pin It
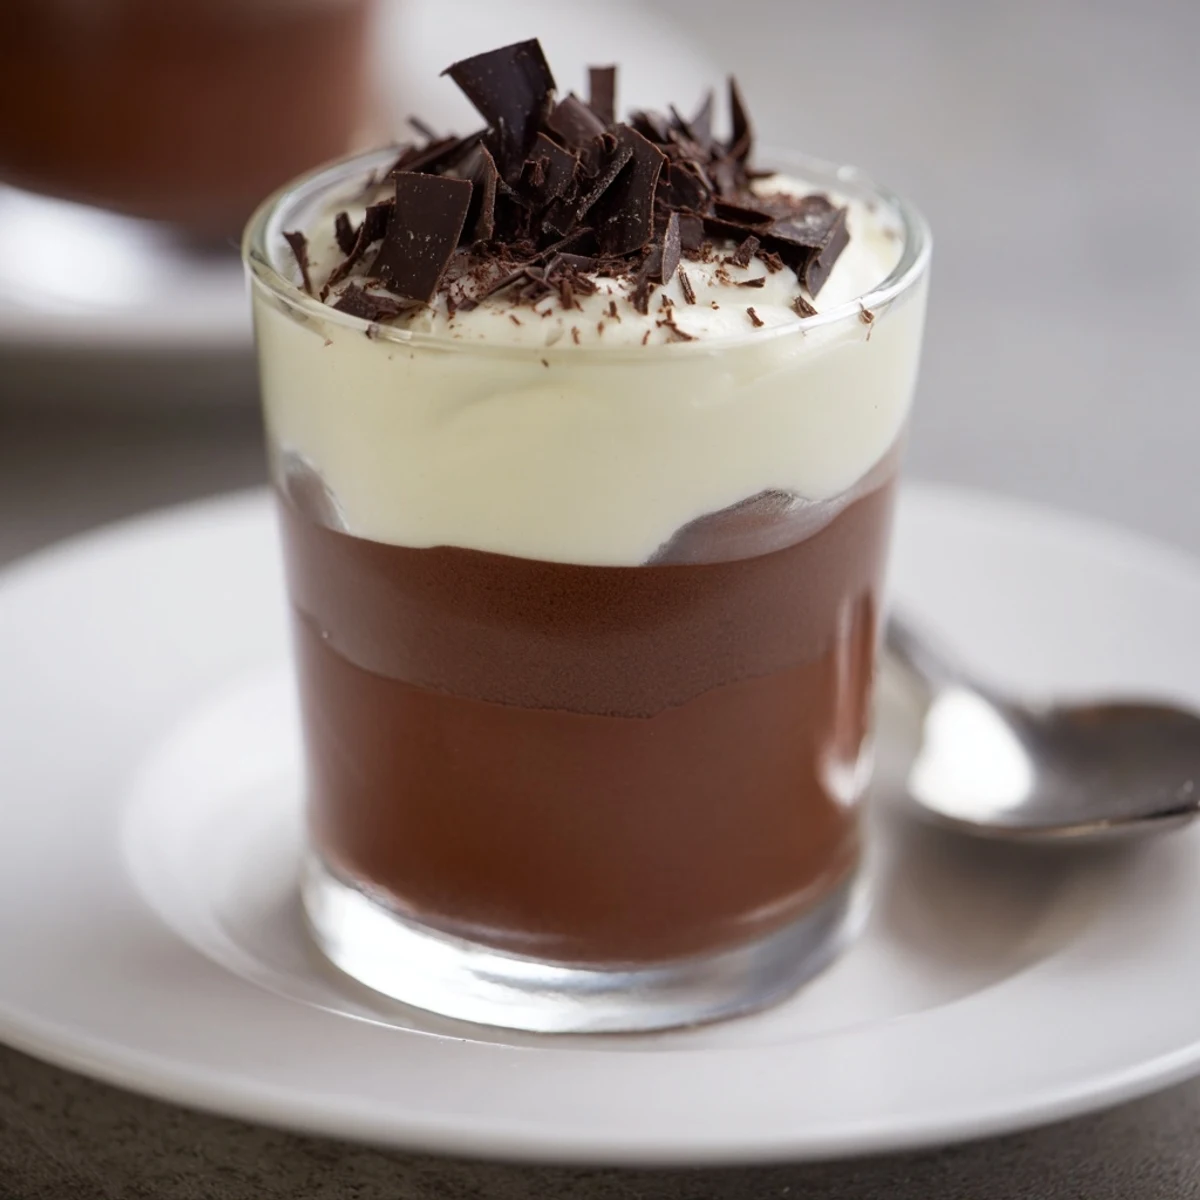
 This yields six elegant cups of layered dark, milk and white chocolate mousse. Each layer is made with 100 g chocolate, an egg yolk, 1½ tbsp sugar and 100 ml cold cream: melt chocolate, fold into the sweetened yolk, then gently incorporate softly whipped cream. Spoon or pipe layers, chilling between each (25–30 minutes faster in the freezer). Finish with shaved chocolate or a dusting of cocoa and chill at least 1 hour before serving. Add a splash of coffee liqueur to the dark layer for extra depth.
There’s something quietly thrilling about layering mousse while the kitchen fills with the scent of warm chocolate: a hush, as if you’re building a tiny edible masterpiece. I tried these Triple Chocolate Mousse Cups on an ordinary Tuesday afternoon while testing whether I could pull off restaurant-style desserts at home. My first attempts were anything but photogenic—swirls and smudges, my spoon slipping into the wrong layer. Eventually, though, precise or not, my family’s excitement at the first creamy bite made me forget perfection and just enjoy the process.
The first time I served these at a winter dinner party, we wound up abandoning our formal seating for the living room just to dig in together by the fire. Everyone insisted on guessing which layer was the best, and not a single cup remained unfinished.
Ingredients
- Dark chocolate (min 60% cocoa): Go for higher quality chocolate here – you’ll taste the difference in richness and depth.
- Milk chocolate: Balances the intensity of the dark layer and adds a mellow, creamy sweetness.
- White chocolate: The sweetest layer, white chocolate brings lightness; melt it slowly to avoid scorching.
- Egg yolks: Give the mousse its luxurious, silky texture—bring them to room temperature for easy blending.
- Sugar: Just enough sweetness to accent each layer without overpowering the chocolate.
- Heavy cream (cold): Essential for that cloud-like, airy mousse—don’t skip chilling your whisk and bowl for soft, stable peaks.
- Shaved chocolate or cocoa powder (optional): Adds a stylish finish with a bit of extra chocolate oomph on top.
Instructions
- Begin with the dark chocolate:
- Melt your chopped dark chocolate gently using a bain-marie or in brief microwave bursts, then let it cool just enough so it won’t scramble your eggs.
- Make the base:
- Whisk the egg yolk with sugar until it shifts to a pale, creamy color – listen for the quiet tap of your whisk against the bowl as the mixture thickens.
- Combine and fold:
- Little by little, fold the cooled chocolate into the egg mixture, followed by soft peaks of freshly whipped cream—use patient, broad strokes.
- Build your first layer:
- Spoon the dark chocolate mousse gently into the bottom of each serving cup, using a spatula to smooth the surface before chilling.
- Repeat with milk and white chocolate:
- Prepare the milk and white chocolate mousses just as before, layering each onto the chilled mousse below; carefully spread so the colors stay distinct.
- Chill and finish:
- Let the filled cups rest in the fridge for at least an hour, then top with shaved chocolate or cocoa powder just before serving.
 Pin It
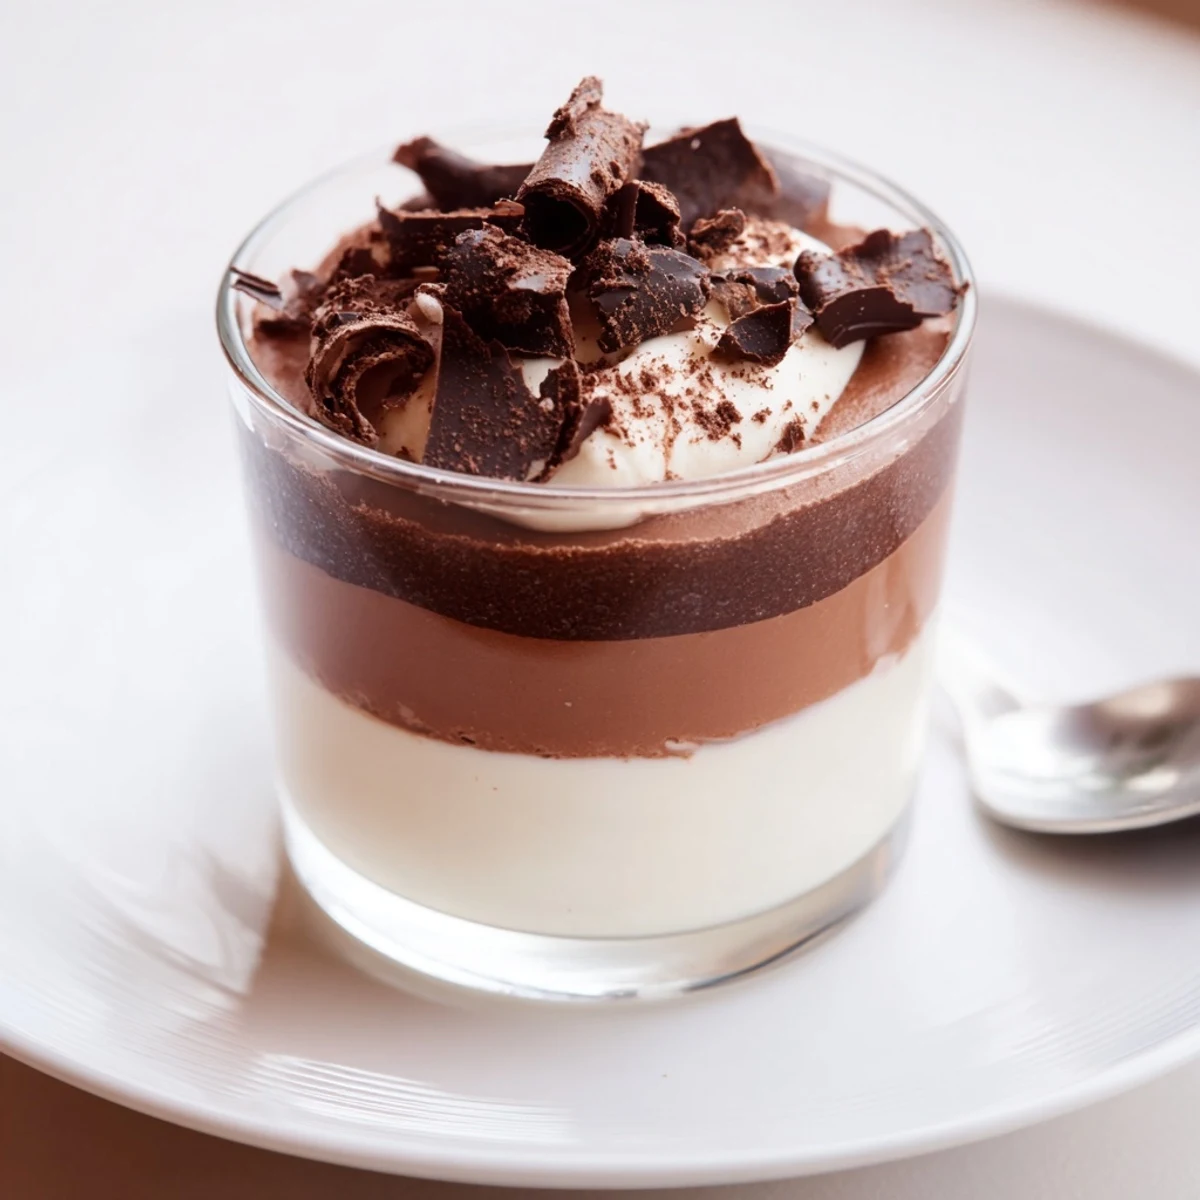
 Watching a friend’s face light up after their first spoonful of all three mousses together was the moment I realized dessert can turn any meal into a celebration.
How to Get That Clean, Even Layer
If patience isn’t your strong suit, you’re not alone—I’ve tilted a few cups and let gravity handle things, but slow, steady spooning and a chilled base are the secrets. Sometimes, I pipe the mousse using a zip-top bag with a snipped corner, which works wonders on the final layer to get that swirled look.
Swapping and Tuning the Flavors
One day, I added a trace of espresso to the dark chocolate, and suddenly it was like eating chocolate cake in a café. If you want to play, try flavored chocolates, a hint of orange zest, or a dash of liqueur for grown-up flair—but always use chocolate you’d be happy to nibble plain.
Troubleshooting in Real Life Kitchens
Not every batch is flawless: once, my white chocolate seized and became grainy, but a gentle touch of extra cream saved it. Mousse feels forgiving when you roll with its quirks.
- If your mousse looks too thick, fold in a touch more whipped cream.
- Keep your utensils clean between layers for sharp stripes.
- A quick chill in the freezer firms up the layers fast but set a timer so they don’t freeze solid.
 Pin It
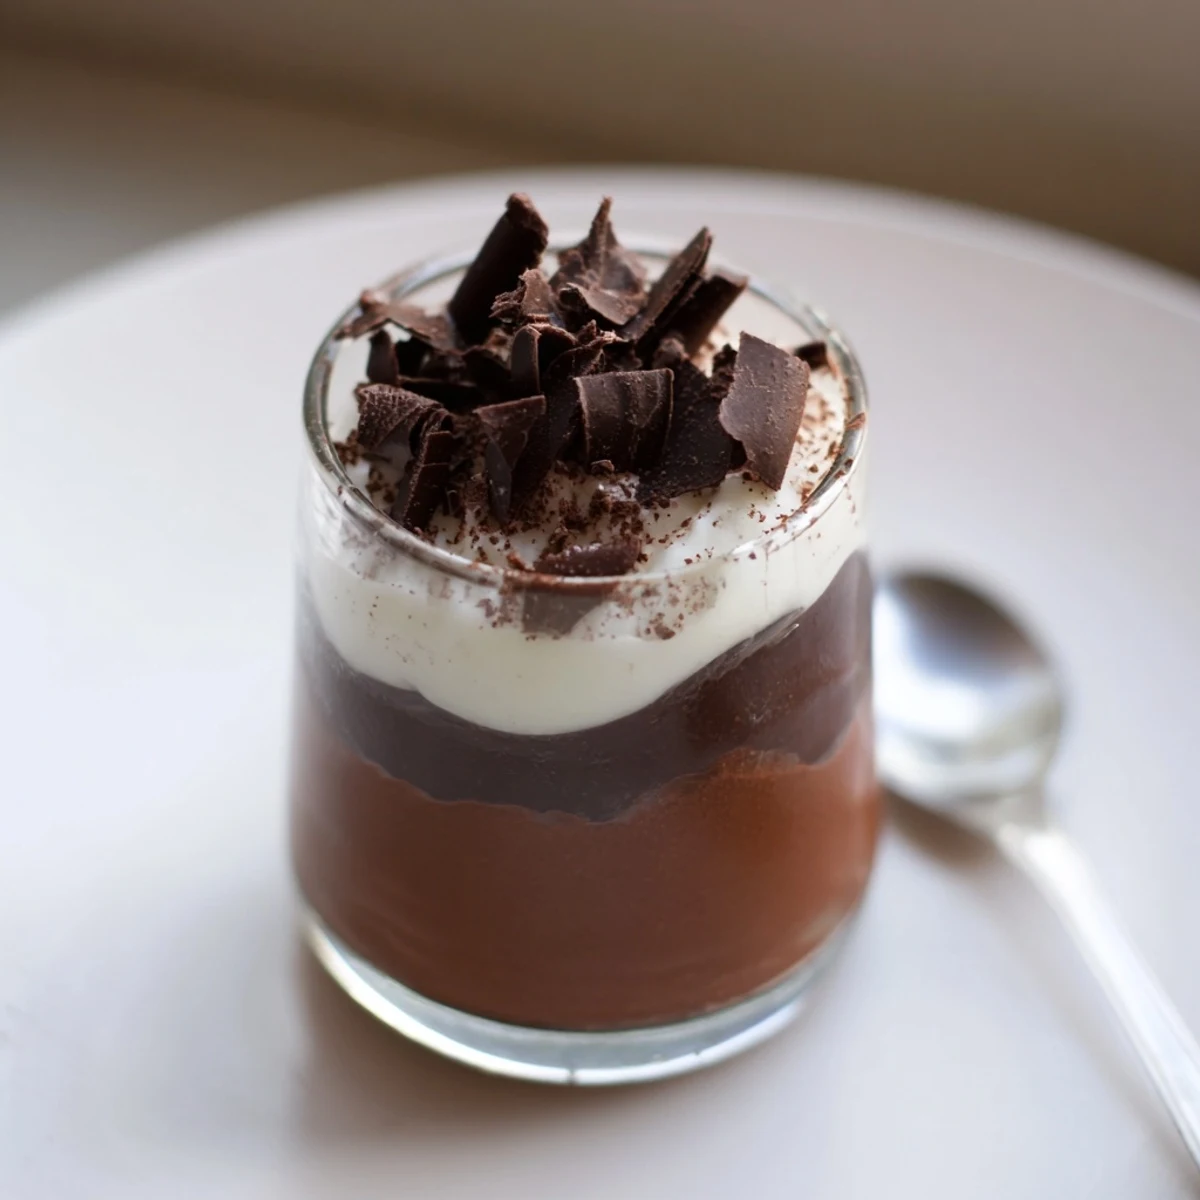
 Little rituals—like tasting the leftover spatula or sharing a cup with someone you love—make this dessert as special as any occasion. May every spoonful bring you a moment of quiet celebration or a good story to share.
Recipe FAQs
- → How long should I chill between layers?
-
Chill each layer until it firms enough to support the next — typically 25–30 minutes in the freezer or 45–60 minutes in the refrigerator. Faster chilling can help keep clean layer lines.
- → Can I prepare these ahead of time?
-
Yes. Once fully set and covered, the cups keep in the refrigerator for 2–3 days. For longer storage, wrap tightly and freeze up to 2 weeks; thaw in the fridge before serving.
- → How do I avoid a grainy chocolate mousse?
-
Ensure melted chocolate cools slightly before folding into the egg yolk to avoid cooking. Gently fold in whipped cream to retain air; overmixing can deflate the mousse and affect texture.
- → Are there good substitutes for the egg yolks?
-
For an egg-free version, use stabilized whipped cream with melted chocolate and a little mascarpone or cream cheese for structure, or use a commercial stabilizer designed for mousses.
- → What chocolate should I use for best results?
-
Use high-quality chocolate: at least 60% cocoa for the dark layer, good milk chocolate for the middle, and real couverture or baking-grade white chocolate for the top. Check labels for added ingredients.
- → How can I add extra flavor without changing texture?
-
Add a splash of coffee liqueur to the dark layer, a teaspoon of vanilla to the milk layer, or a hint of citrus zest to the white layer. Add extracts sparingly to avoid breaking the mousse.