 Pin It
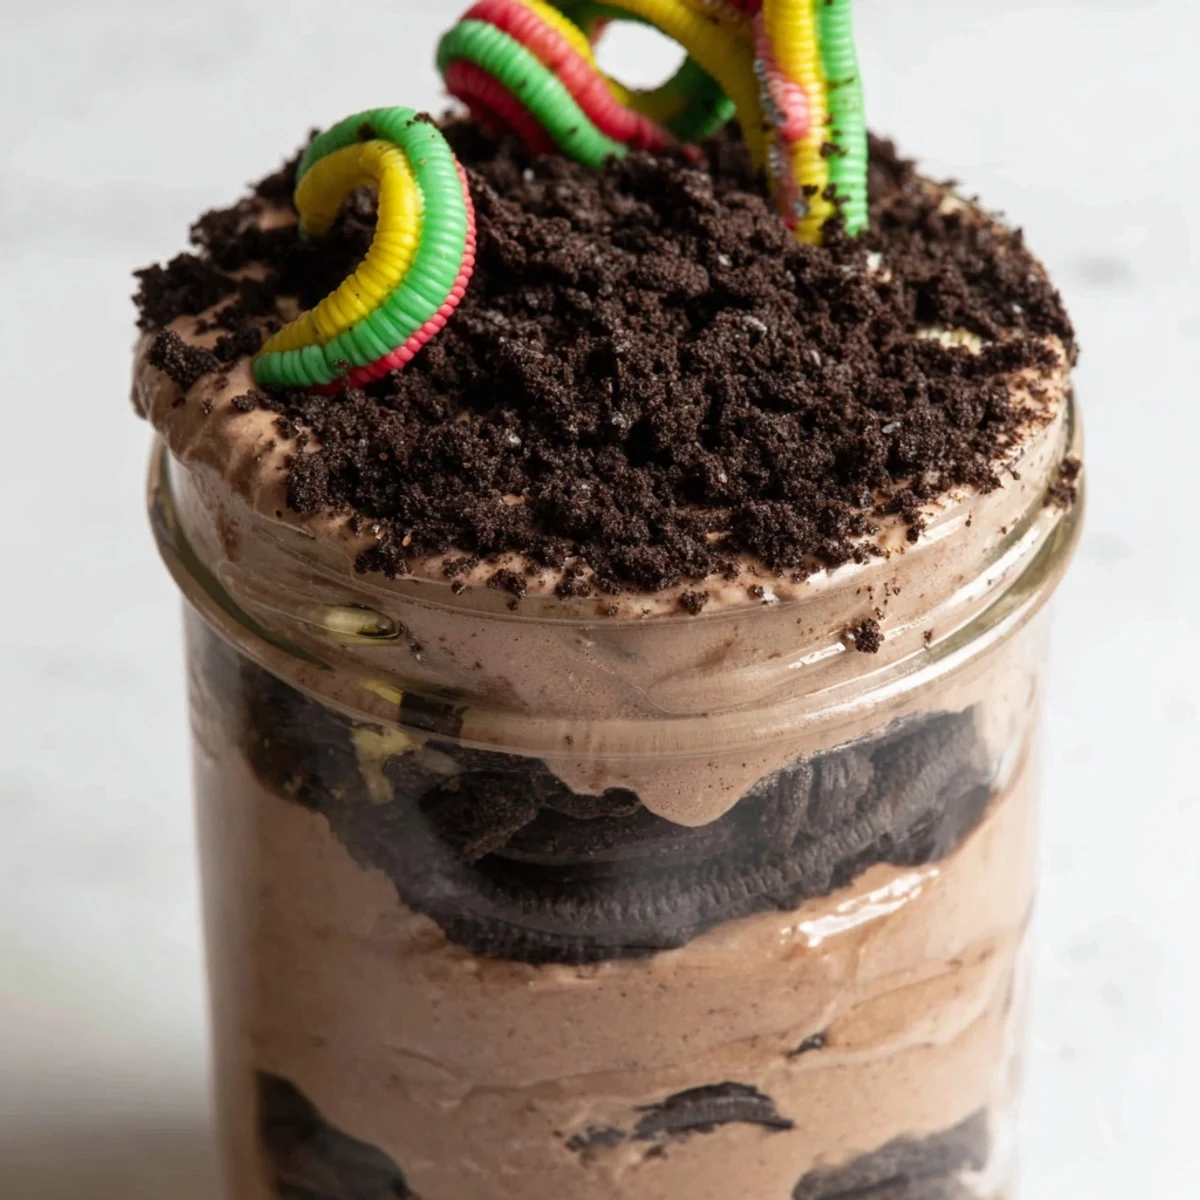
 This playful layered dessert combines rich chocolate pudding with crunchy chocolate cookie crumbs for a delightfully messy treat perfect for parties. The crushed cookies create a realistic dirt appearance while gummy worms peek through the surface, making it especially appealing to children. Simply whisk instant pudding with milk, fold in whipped topping, and alternate layers in cups or jars with the cookie crumble. Chill for an hour to let the flavors meld and achieve the perfect creamy texture. You can easily adapt it with gluten-free cookies or add cream cheese for extra richness.
Last summer I brought dirt pudding to my niece's birthday party and watched adults and kids alike light up at the sight of those gummy worms poking out of chocolate crumb layers. Something about the playful presentation transports people back to childhood, regardless of age. My sister actually asked for the recipe before she even finished her first spoonful. Now it's become my go-to whenever I need to bring something that guarantees smiles.
I first made this for a church potluck when I was running late and needed something quick. The youth pastor literally laughed out loud when he saw gummy worms in his dessert bowl then proceeded to tell everyone it was the best thing hed eaten all month. Now whenever I walk in with those clear jars showing off the dirt layers, people instantly gravitate toward the dessert table.
Ingredients
- Instant chocolate pudding mix: The 3.9 ounce package gives you exactly the right amount of chocolate flavor without being overwhelmingly rich
- Cold milk: Use whole milk for the creamiest result though 2 percent works perfectly fine if thats what you keep on hand
- Whipped topping: Thawed completely this lightens the pudding and makes it airy rather than dense
- Chocolate sandwich cookies: Oreos are classic but any chocolate sandwich cookie will work and the filling gets incorporated into the dirt texture
- Gummy worms: These are the star of the show so grab the colorful ones that really pop against the dark crumbs
Instructions
- Prepare the pudding base:
- Whisk the instant pudding mix with cold milk for a full two minutes until it noticeably thickens. This step is crucial for getting that velvety smooth texture rather than a runny mixture.
- Lighten the mixture:
- Gently fold in the whipped topping using a spatula with a light hand. Take your time with this step to keep those air bubbles intact for maximum fluffiness.
- Make the dirt:
- Crush those sandwich cookies until theyre fine crumbs that look just like garden soil. A food processor works fast but a rolling pin and zip-top bag lets you work out some stress.
- Build your layers:
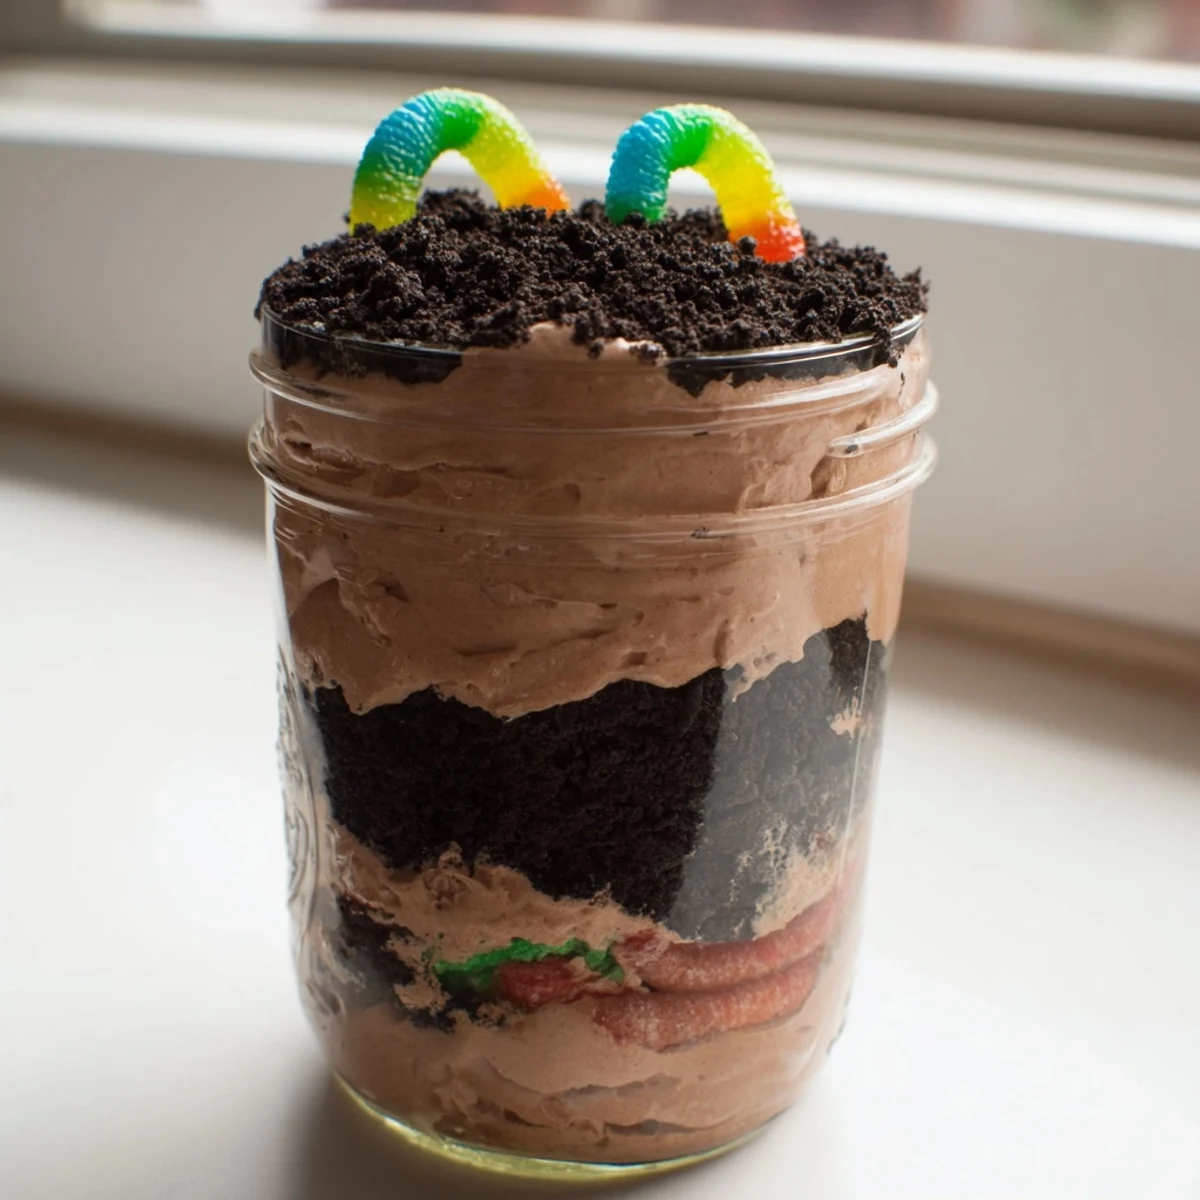
- Spoon cookie crumbs into the bottom of each cup followed by a generous layer of pudding then repeat until cups are full. End with enough crumbs to completely hide the pudding layer.
- Add the finishing touch:
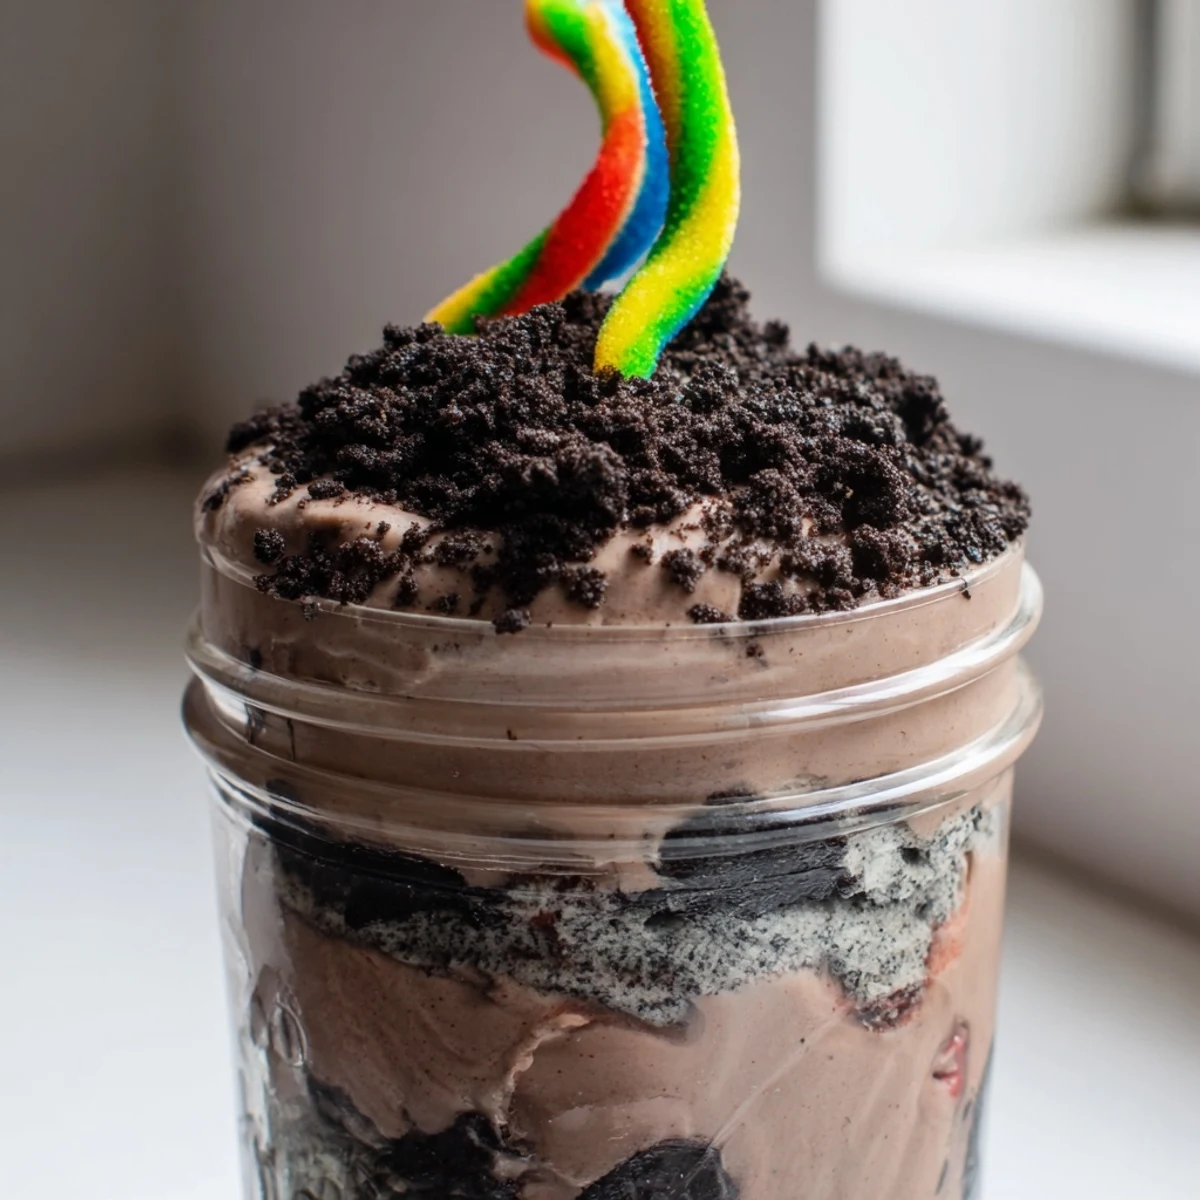
- Press gummy worms into the crumbs so they look like theyre emerging from the dirt. Position them at different angles for that realistic crawling effect.
- Chill before serving:
- Let everything set in the refrigerator for at least one hour. This short wait makes all the difference between a loose dessert and one that holds its beautiful layers perfectly when scooped.
 Pin It
 My daughter requested these for her class party and came home beaming because her teacher asked for the recipe. There's something magical about watching adults get genuinely excited about a dessert that's essentially chocolate pudding and crushed cookies. The kids went wild for them but honestly the parents were just as enthusiastic.
Making It Your Own
Ive learned that vanilla pudding works just as well if you want a lighter flavor or need to accommodate chocolate allergies. One time I accidentally bought mint Oreos which turned out to be a happy mistake that everyone loved. The base recipe is so forgiving that you can play around with different flavors while keeping the same irresistible texture.
Presentation Ideas
Clear glass jars show off those beautiful layers and make the dirt concept immediately obvious to guests. For garden themed parties I once used clean terracotta flowerpots with artificial flowers stuck in the middle which was absolutely adorable. Individual servings work better than one large trifle dish because everyone gets their own gummy worms and the presentation stays intact longer.
Timing and Storage
The cookie layer will soften over time so these are best eaten the same day they're made though they're still delicious the next morning if there are any leftovers. Assembly takes about twenty minutes start to finish which is perfect for last minute dessert needs.
- Crush more cookies than you think you need because having extra dirt on hand saves you from running back to the store
- Let the pudding set for about five minutes after whisking before adding the whipped topping for smoother folding
- Keep the gummy worms in their packaging until the very end so they stay fresh and dont get sticky
 Pin It
 Watch how quickly these disappear at your next gathering and save the recipe for whenever you need a guaranteed crowd pleaser.
Recipe FAQs
- → How far ahead can I make dirt pudding?
-
You can prepare dirt pudding up to 24 hours in advance. The cookie crumbs will soften slightly over time, creating a more cohesive texture. For the crispest dirt effect, add the final layer of crumbs just before serving.
- → Can I make dirt pudding in one large bowl instead of individual cups?
-
Absolutely. A large trifle bowl or clear serving dish works beautifully. The layers will still be visible through the sides, and guests can scoop out portions. Adjust the gummy worm placement so they're evenly distributed throughout the top layer.
- → What can I substitute for whipped topping?
-
Freshly whipped cream stabilized with a bit of powdered sugar works wonderfully. For a lighter version, use Greek yogurt thinned with a splash of milk, though the texture will be slightly tangier.
- → How do I crush cookies without a food processor?
-
Place cookies in a zip-top bag, seal it, and crush with a rolling pin, meat mallet, or the bottom of a heavy glass. For finer crumbs, pulse in small batches using a blender.
- → Can I freeze dirt pudding?
-
Freezing isn't recommended as the pudding texture becomes grainy and the whipped topping separates when thawed. It's best enjoyed fresh from the refrigerator within 2-3 days of preparation.
- → What other decorations work well with dirt pudding?
-
Artificial flowers in clean flower pots create a garden theme. Chocolate rocks, candy insects, or edible flowers make fun additions. For holidays, use seasonal gummies like candy corn for autumn or pastel shapes for spring.